
How to Balance Patterns in a Bathroom
A bathroom can combine patterned floors, expressive walls and colorful cabinetry without feeling unsettled. The key is deciding which surface leads. Begin with the pattern you most want to keep, then compare scale, contrast and the quiet areas around it.
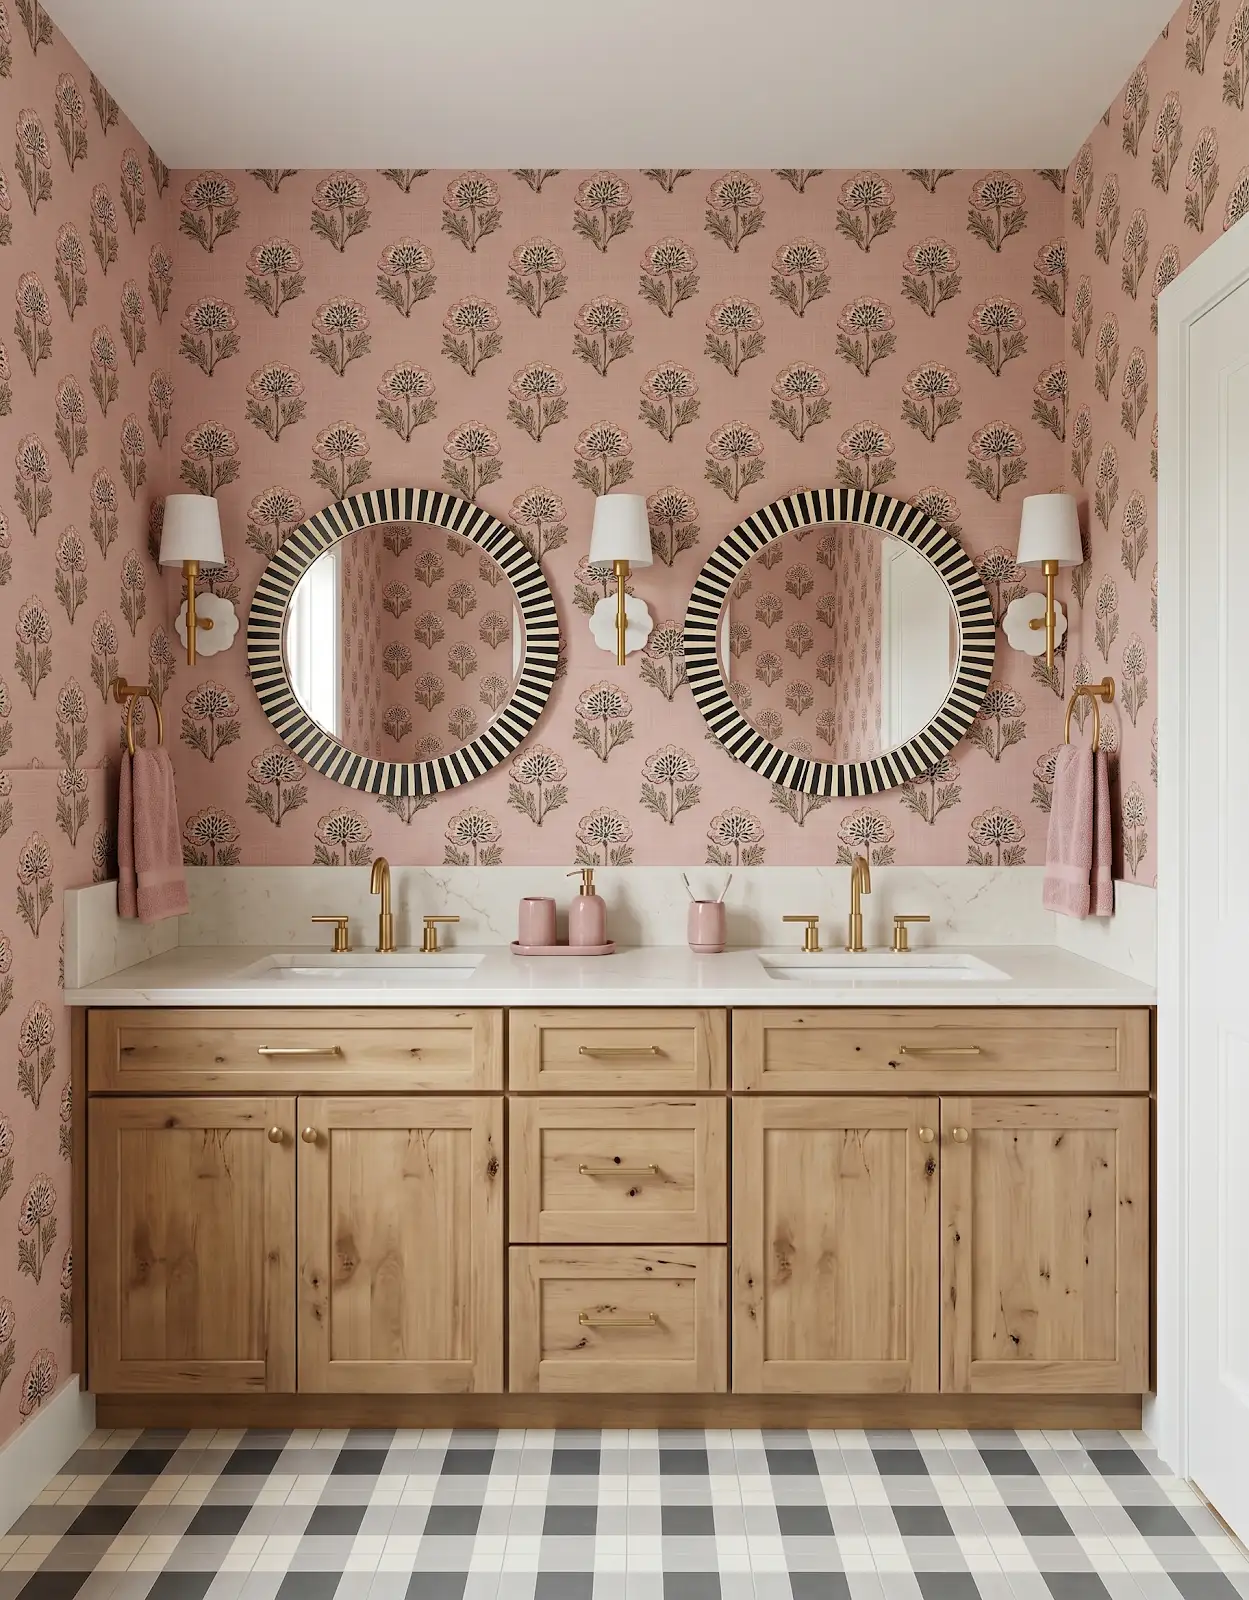
AI-generated design concepts from Anna’s approved inspiration library. Images illustrate color, proportion and finish relationships; they are not completed customer projects or exact manufacturer products.
1. Choose the main pattern
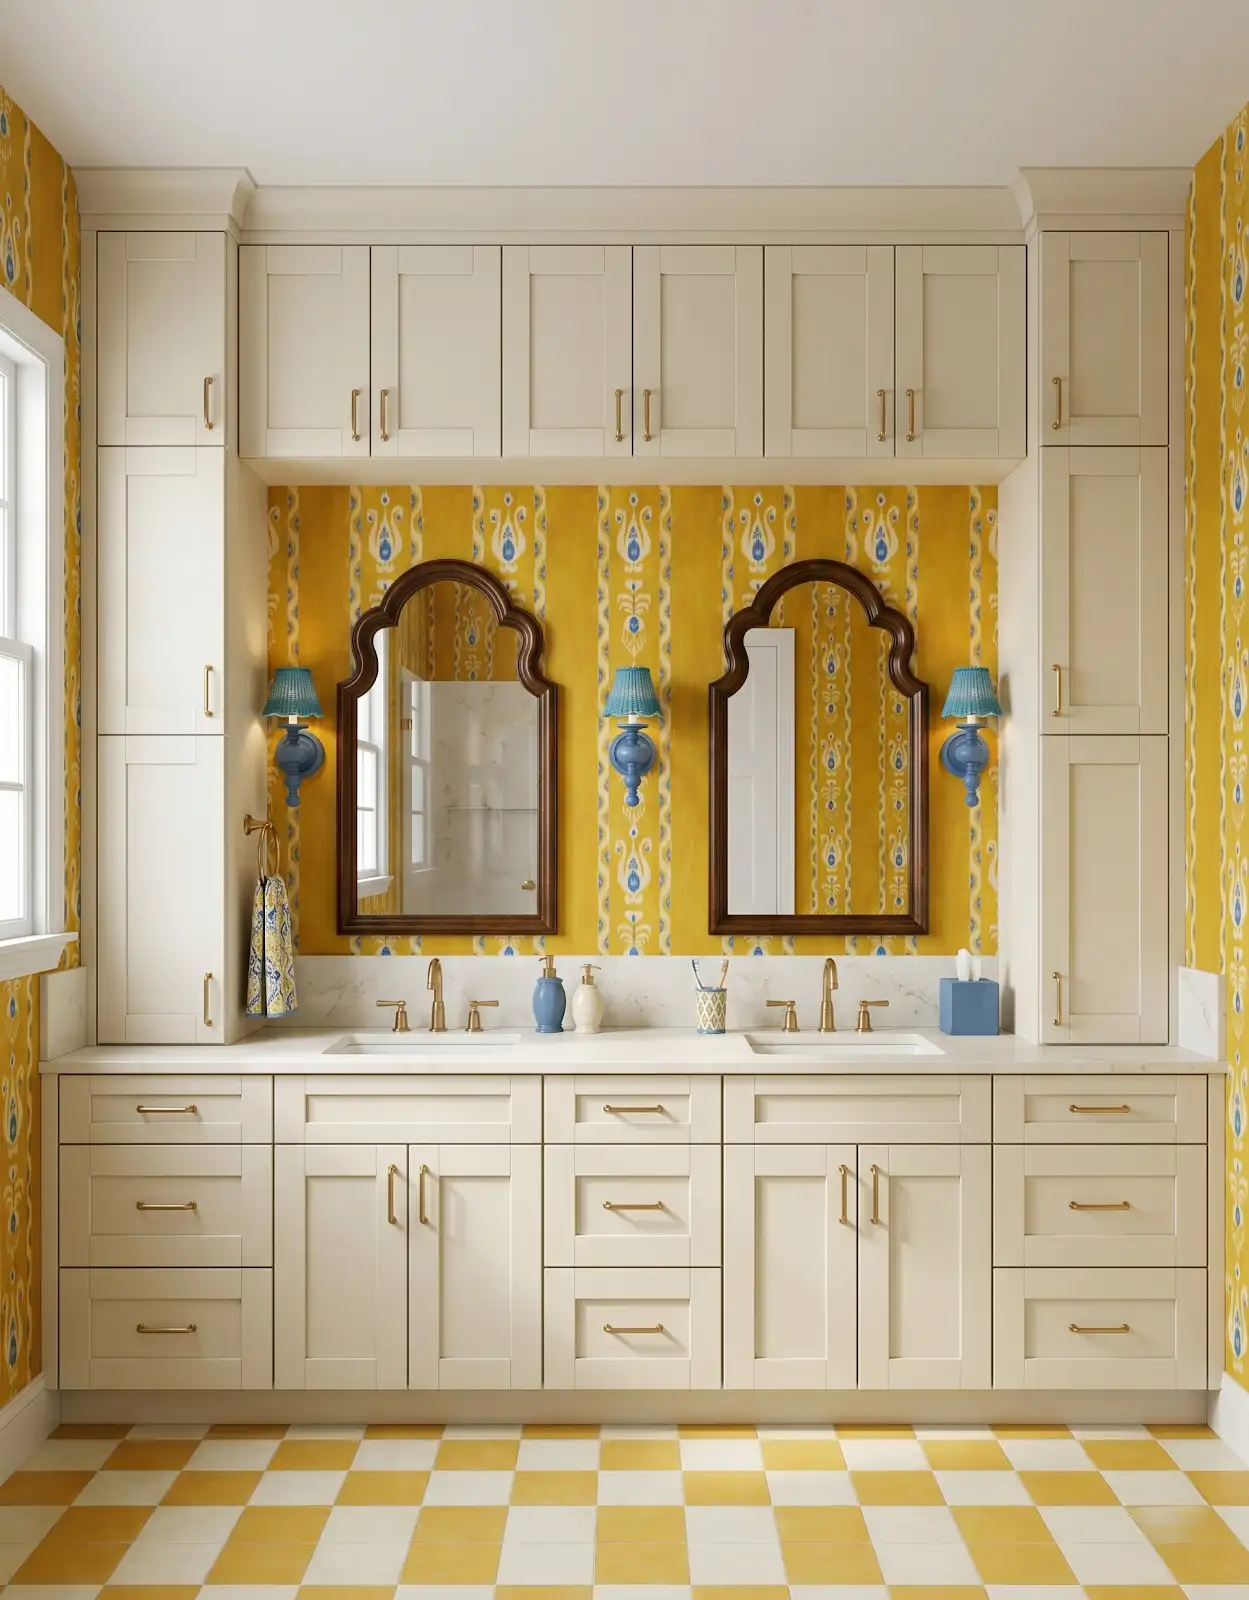
Decide whether the wall or floor is the feature. Put that sample at the center of the palette before adding other materials. This makes it easier to judge whether a second pattern contributes something useful or simply repeats the same visual intensity.
2. Compare the size of the repeats
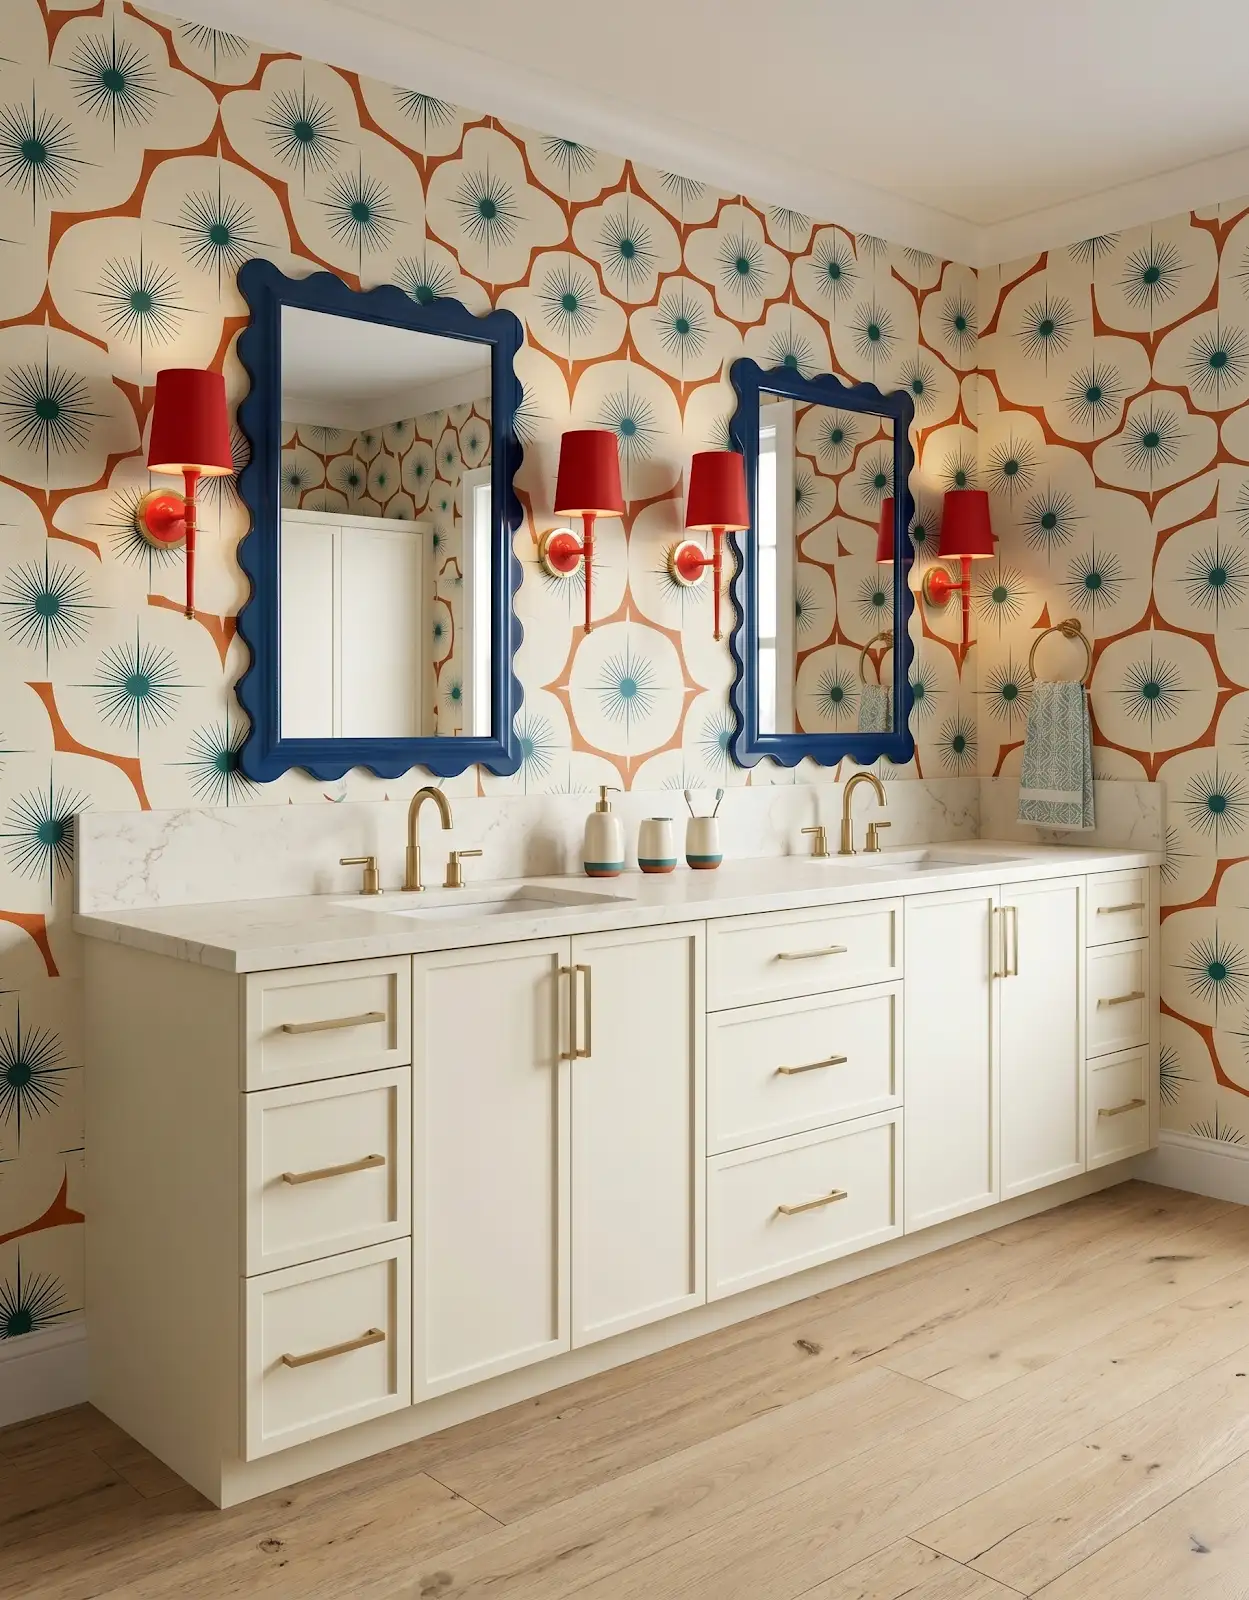
Look at several repeats rather than one decorative motif. A small, closely spaced pattern reads differently from a large shape across the room. Compare that rhythm with the size of the vanity and the amount of visible wall or floor.
3. Give the vanity a clear role
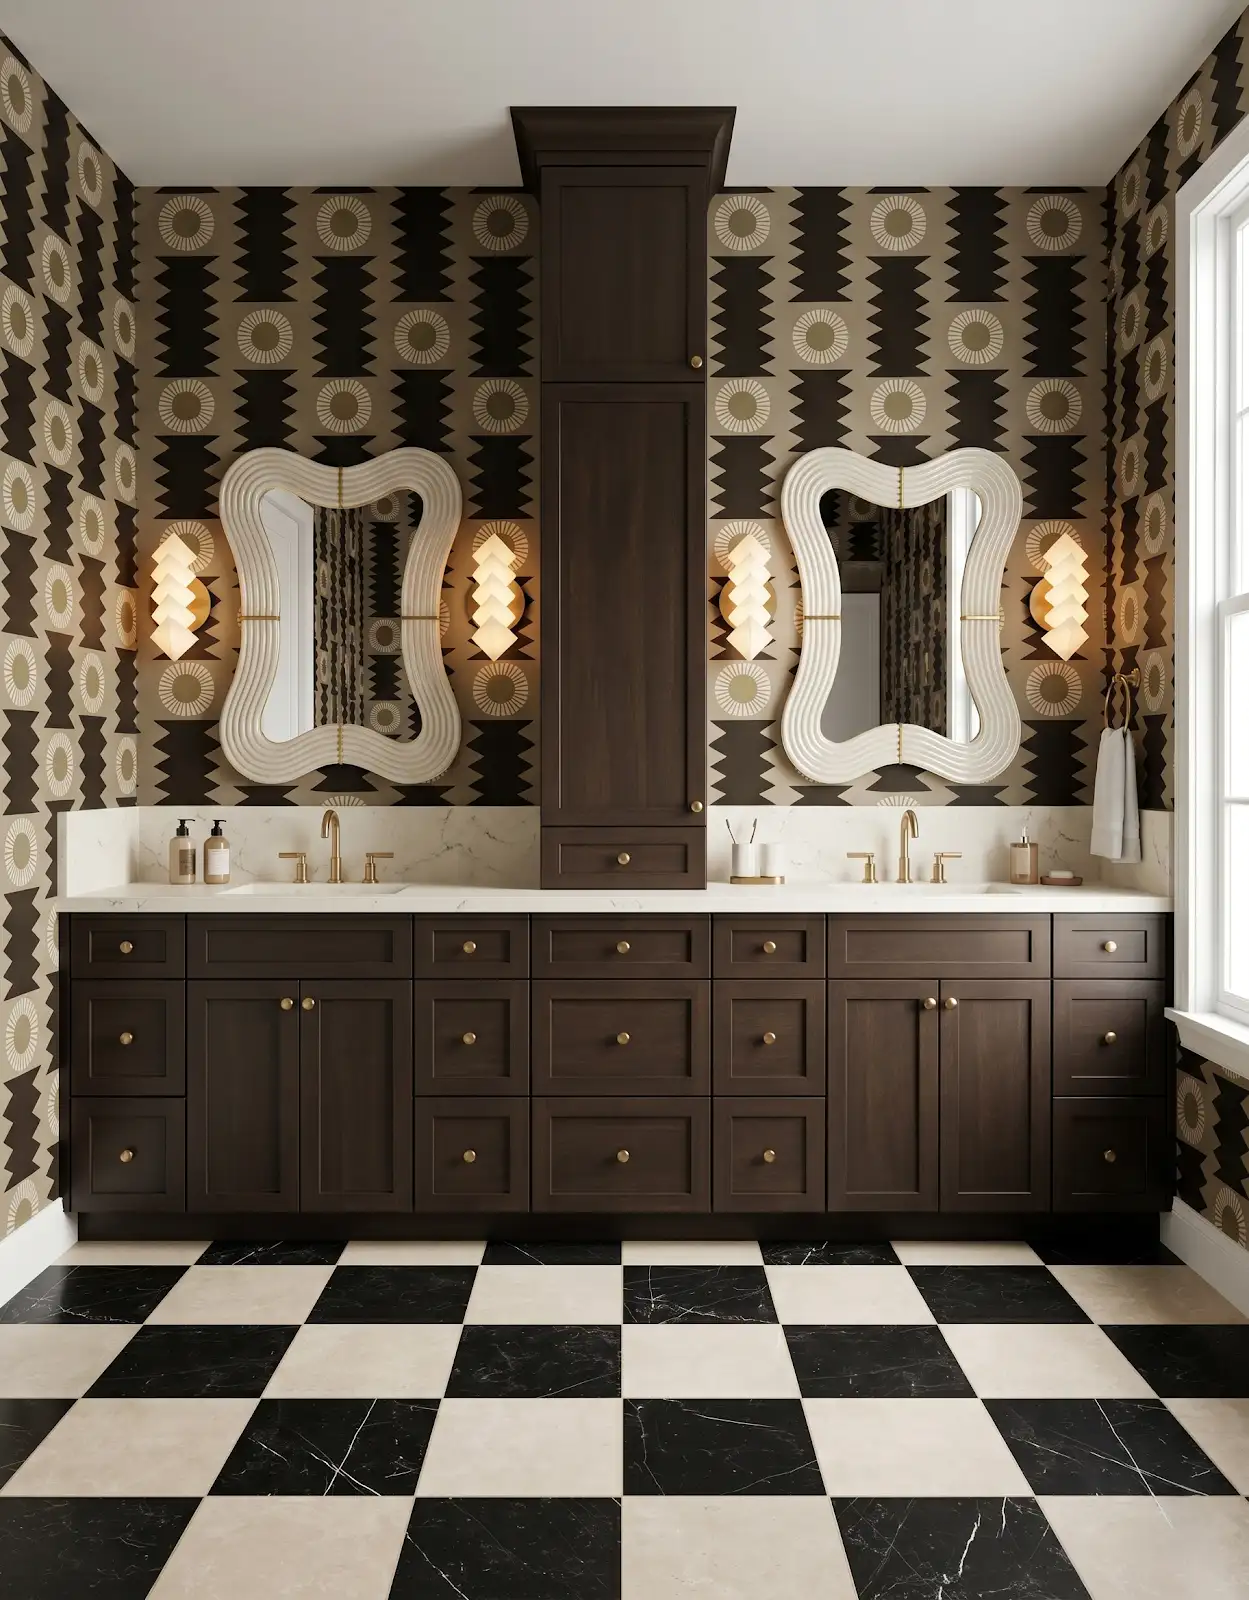
A plain cabinet finish can provide a resting point between patterned surfaces. Wood grain introduces another type of movement, even when its color is neutral. Decide whether you want that extra texture before treating wood as the automatically quiet option.
4. Connect a small number of colors
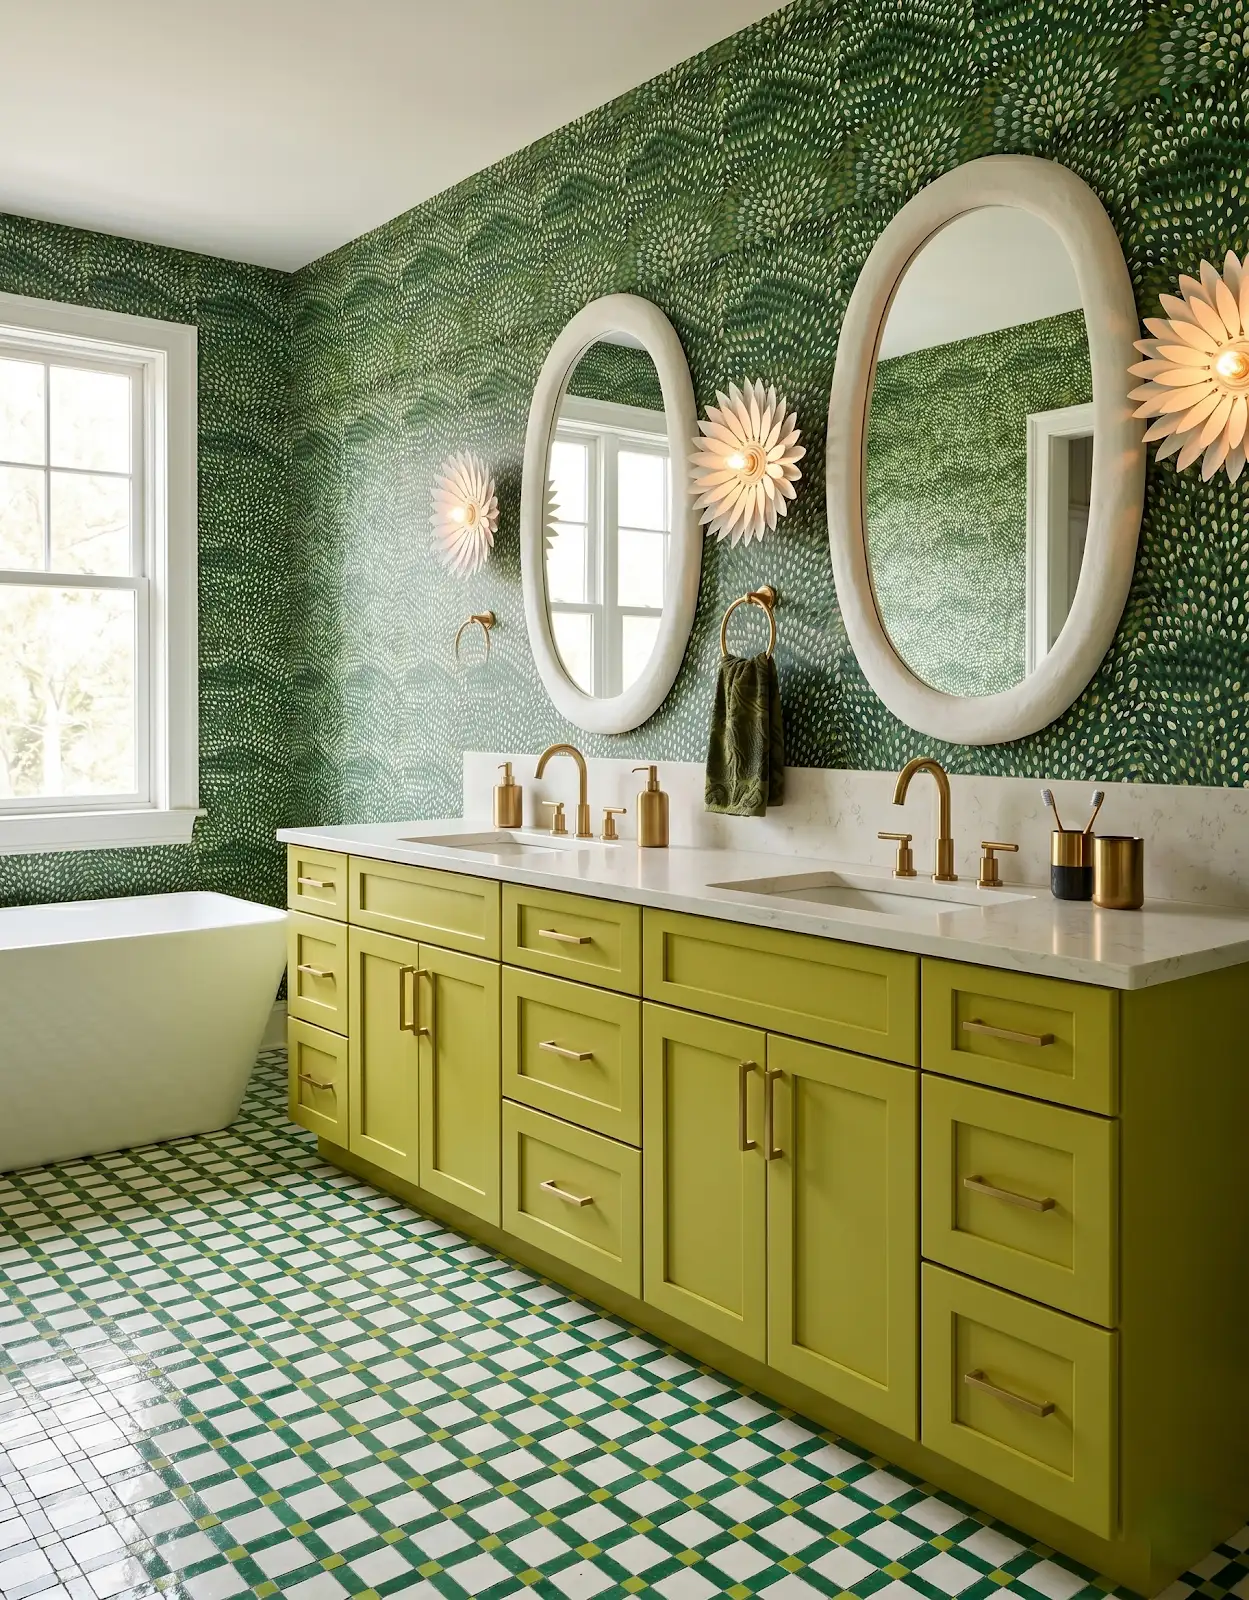
Look for one or two color relationships between the surfaces. They do not need to be exact matches. A shared warm background or repeated dark accent can connect patterns while allowing each material to retain a distinct appearance in the room.
5. Include the countertop early
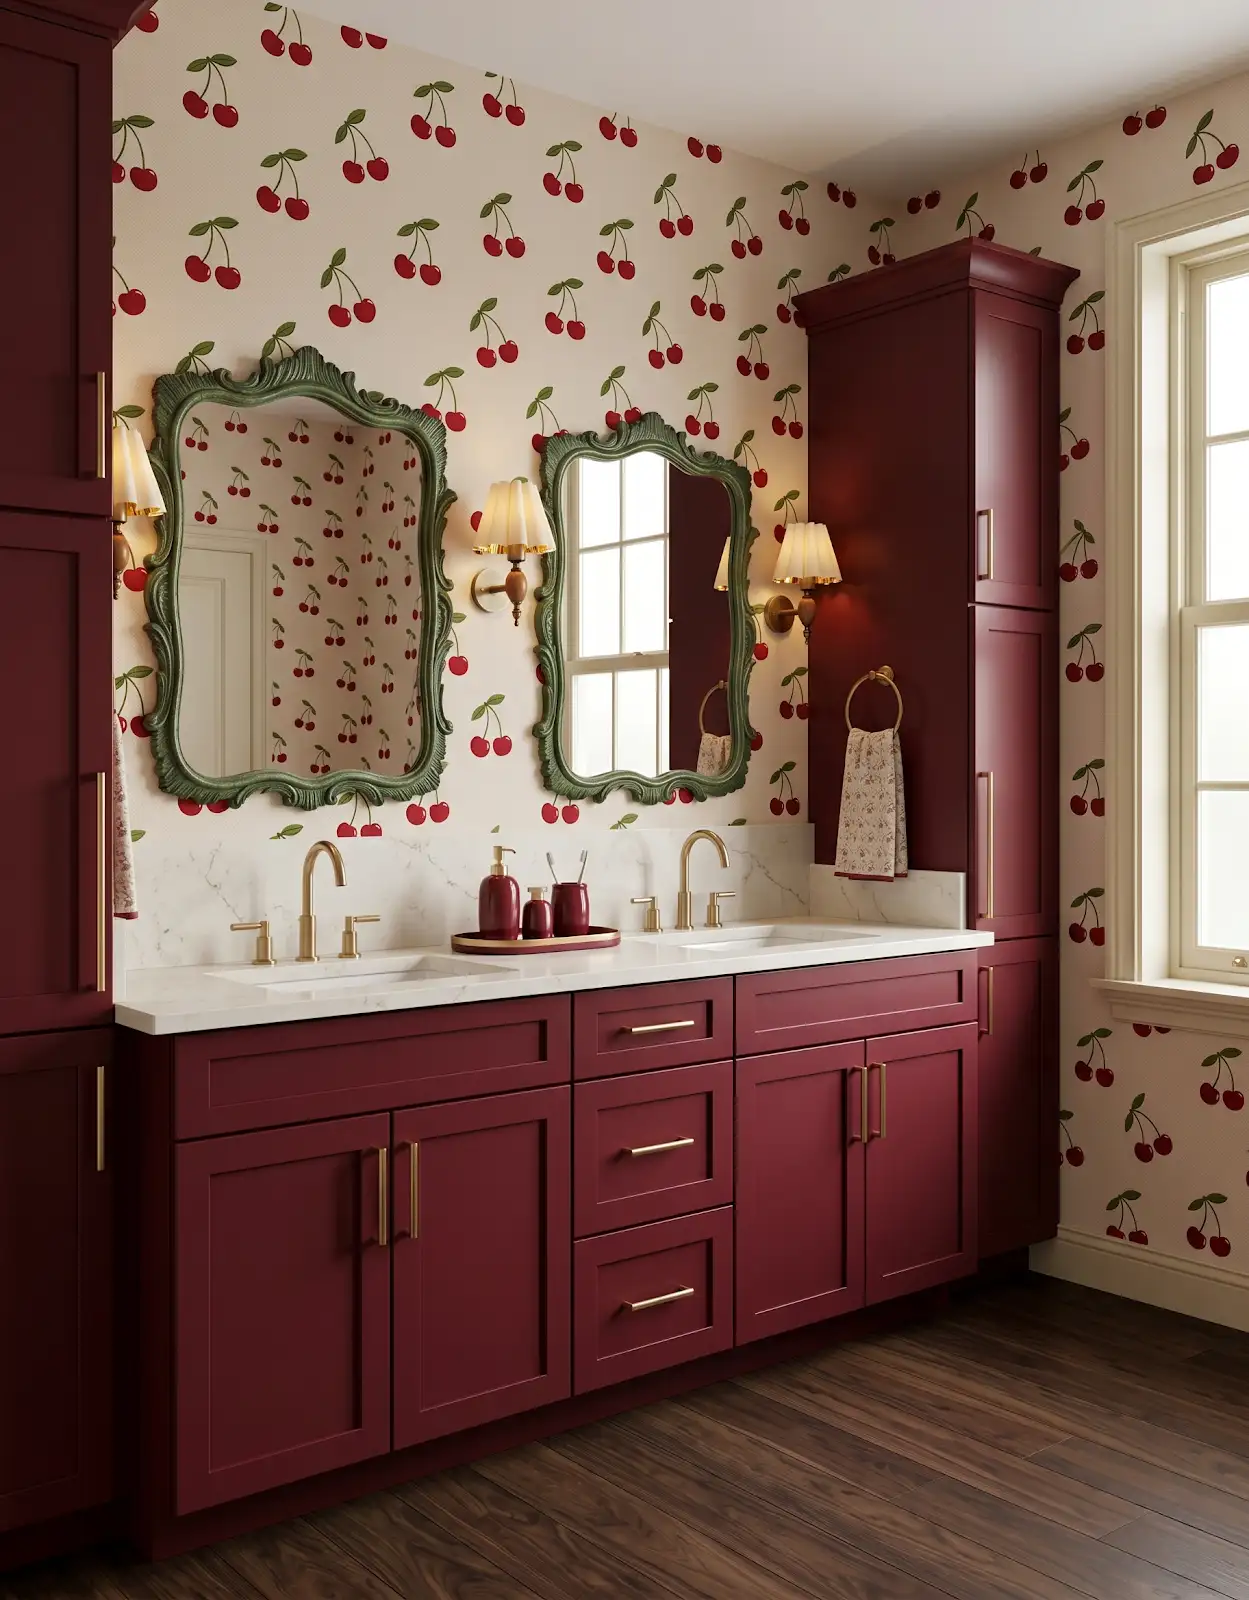
A veined counter is another pattern, even when it occupies less area than the floor. Compare a representative section with the other surfaces. If the palette feels crowded, try a quieter counter before abandoning the wall or floor you liked most.
6. Test grout with tile
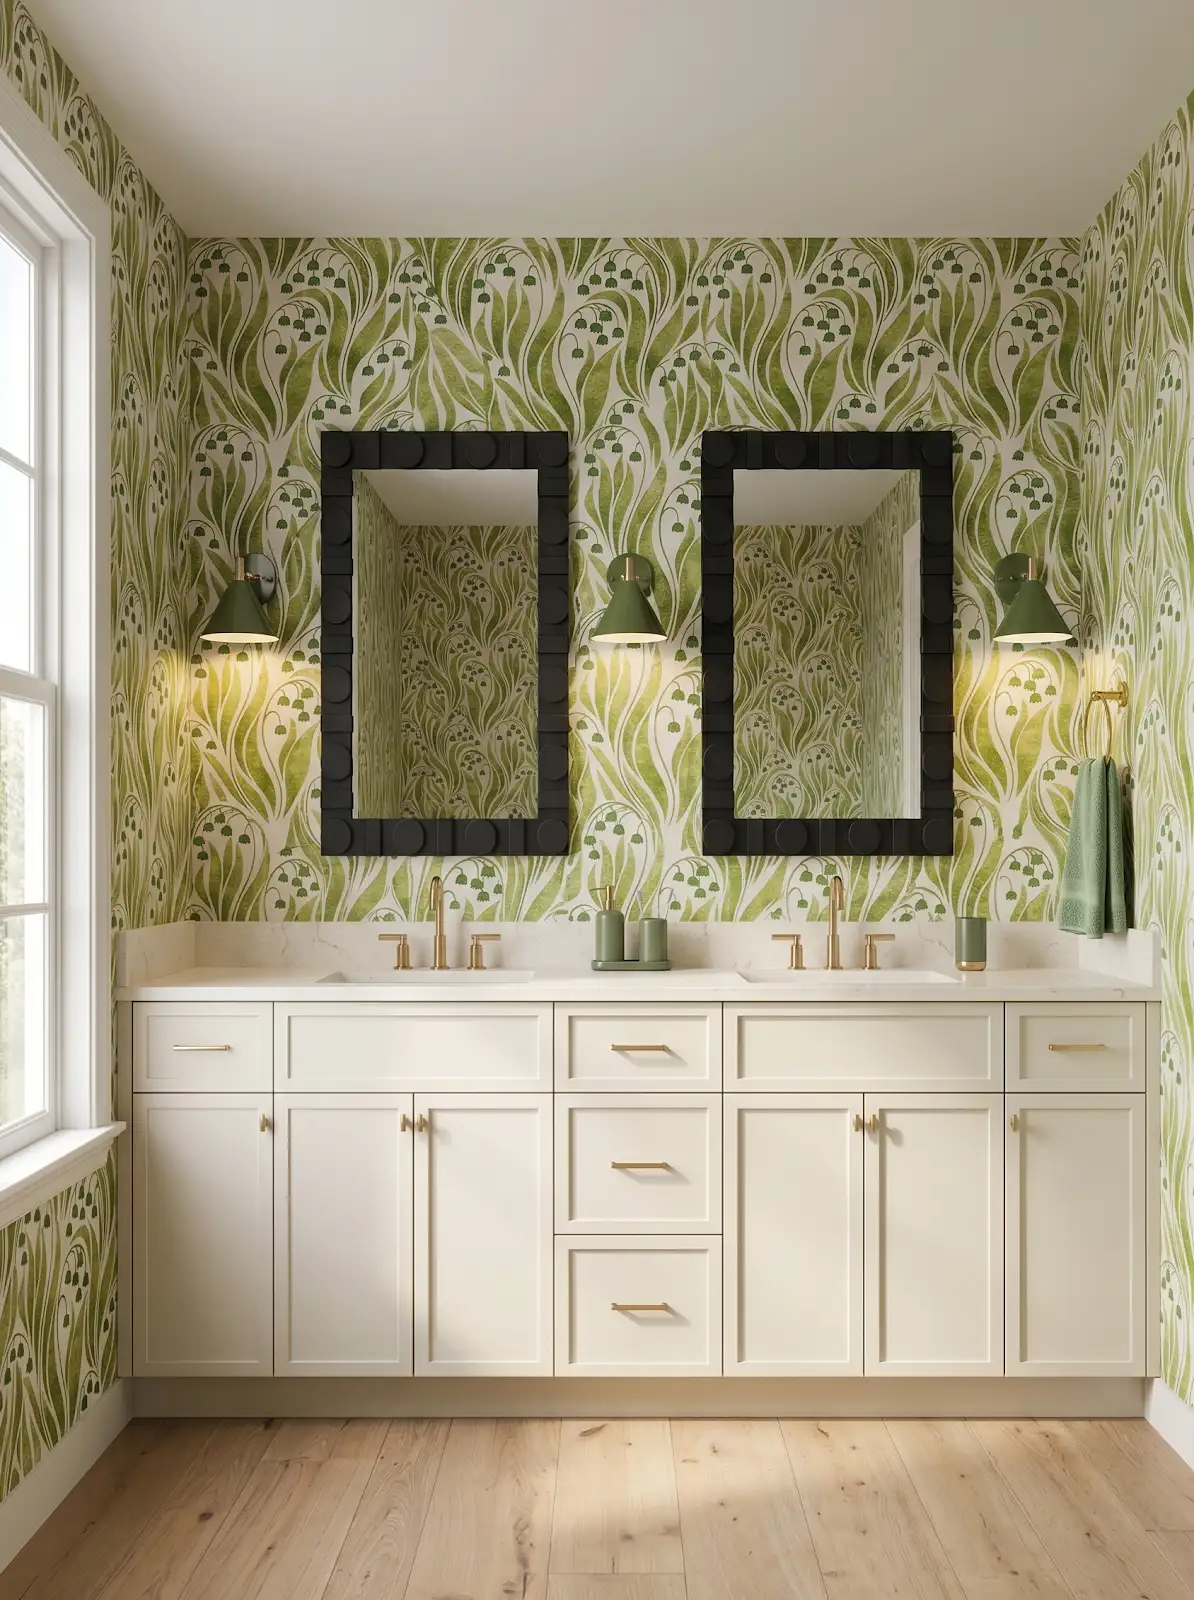
Grout can emphasize individual tile shapes or let them blend into a broader field. Compare a sample alongside the tile and review the intended joint with the installer. The tile layout and grout choice work together to create the finished rhythm.
7. Think about edges and interruptions
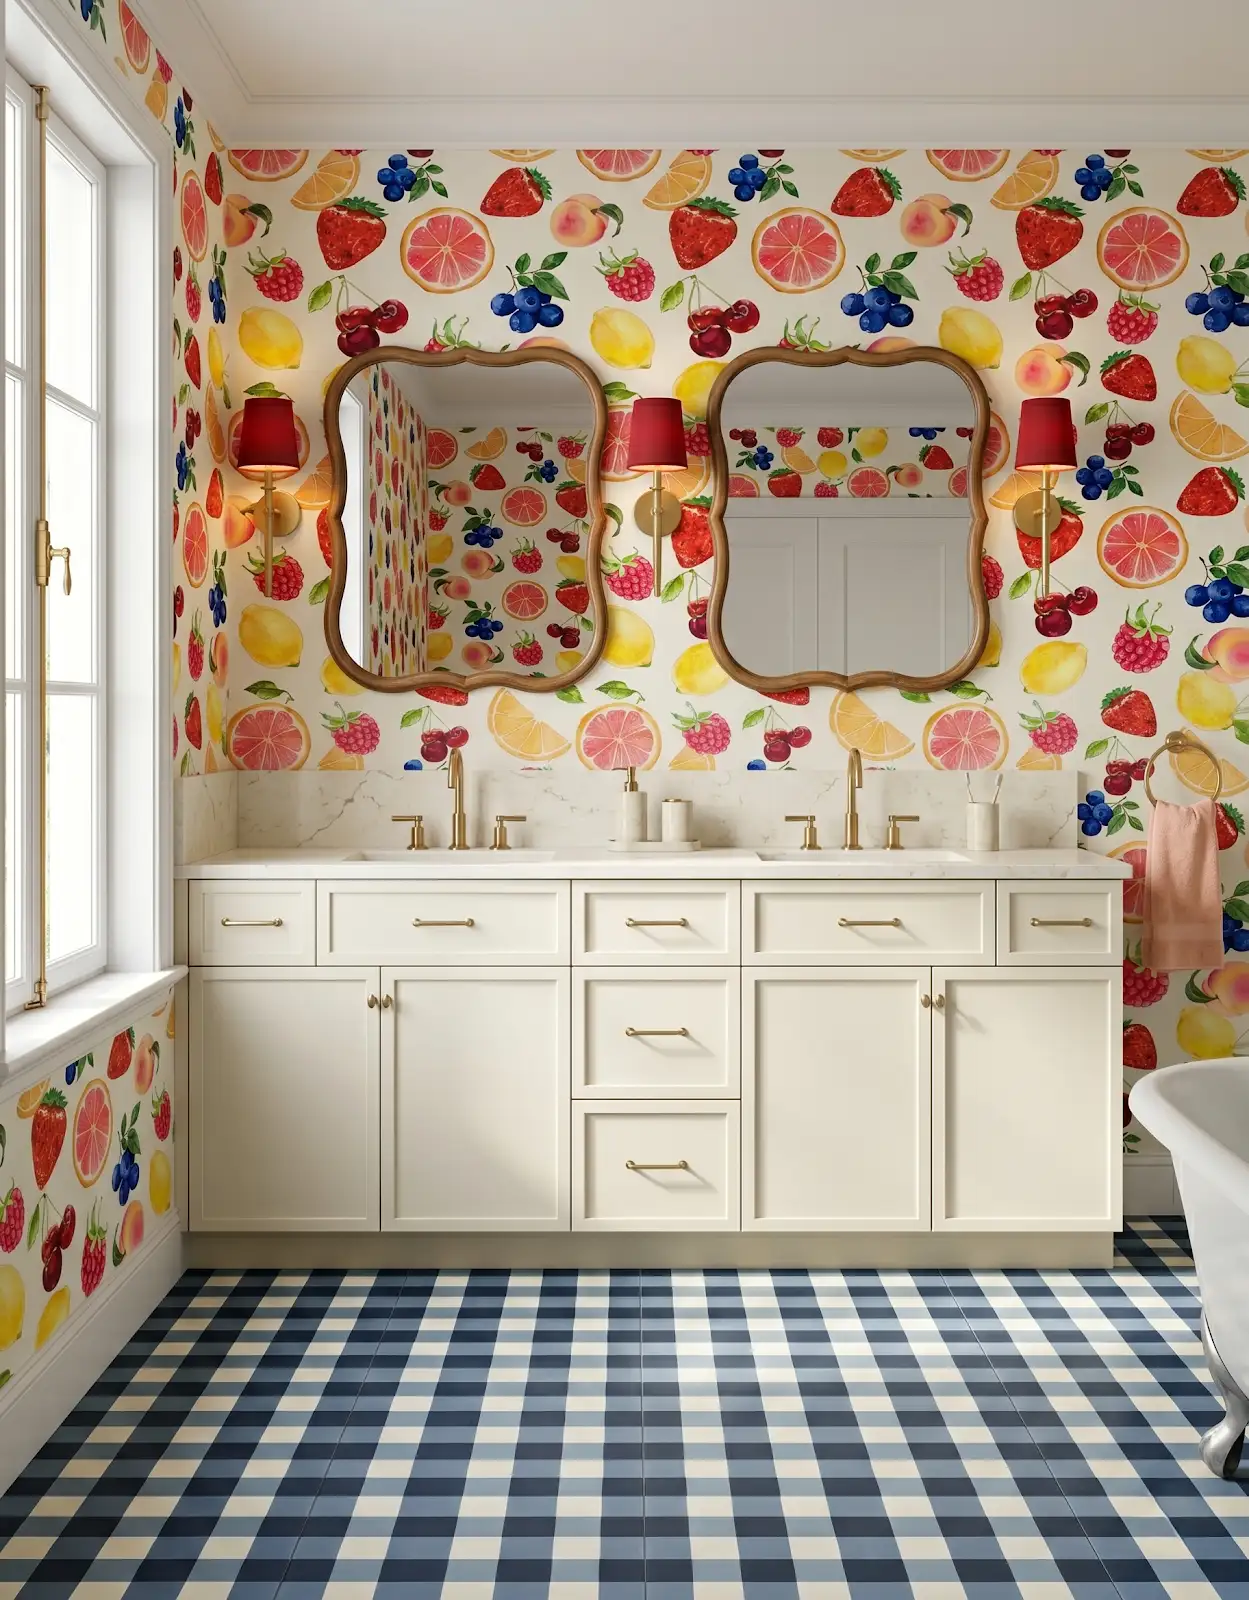
Mirrors, cabinetry and openings break up a wall pattern. Photograph the actual wall and mark where the design would stop. A pattern that feels balanced across a whole inspiration wall may be harder to read in several narrow sections.
8. Keep the product use separate from the look
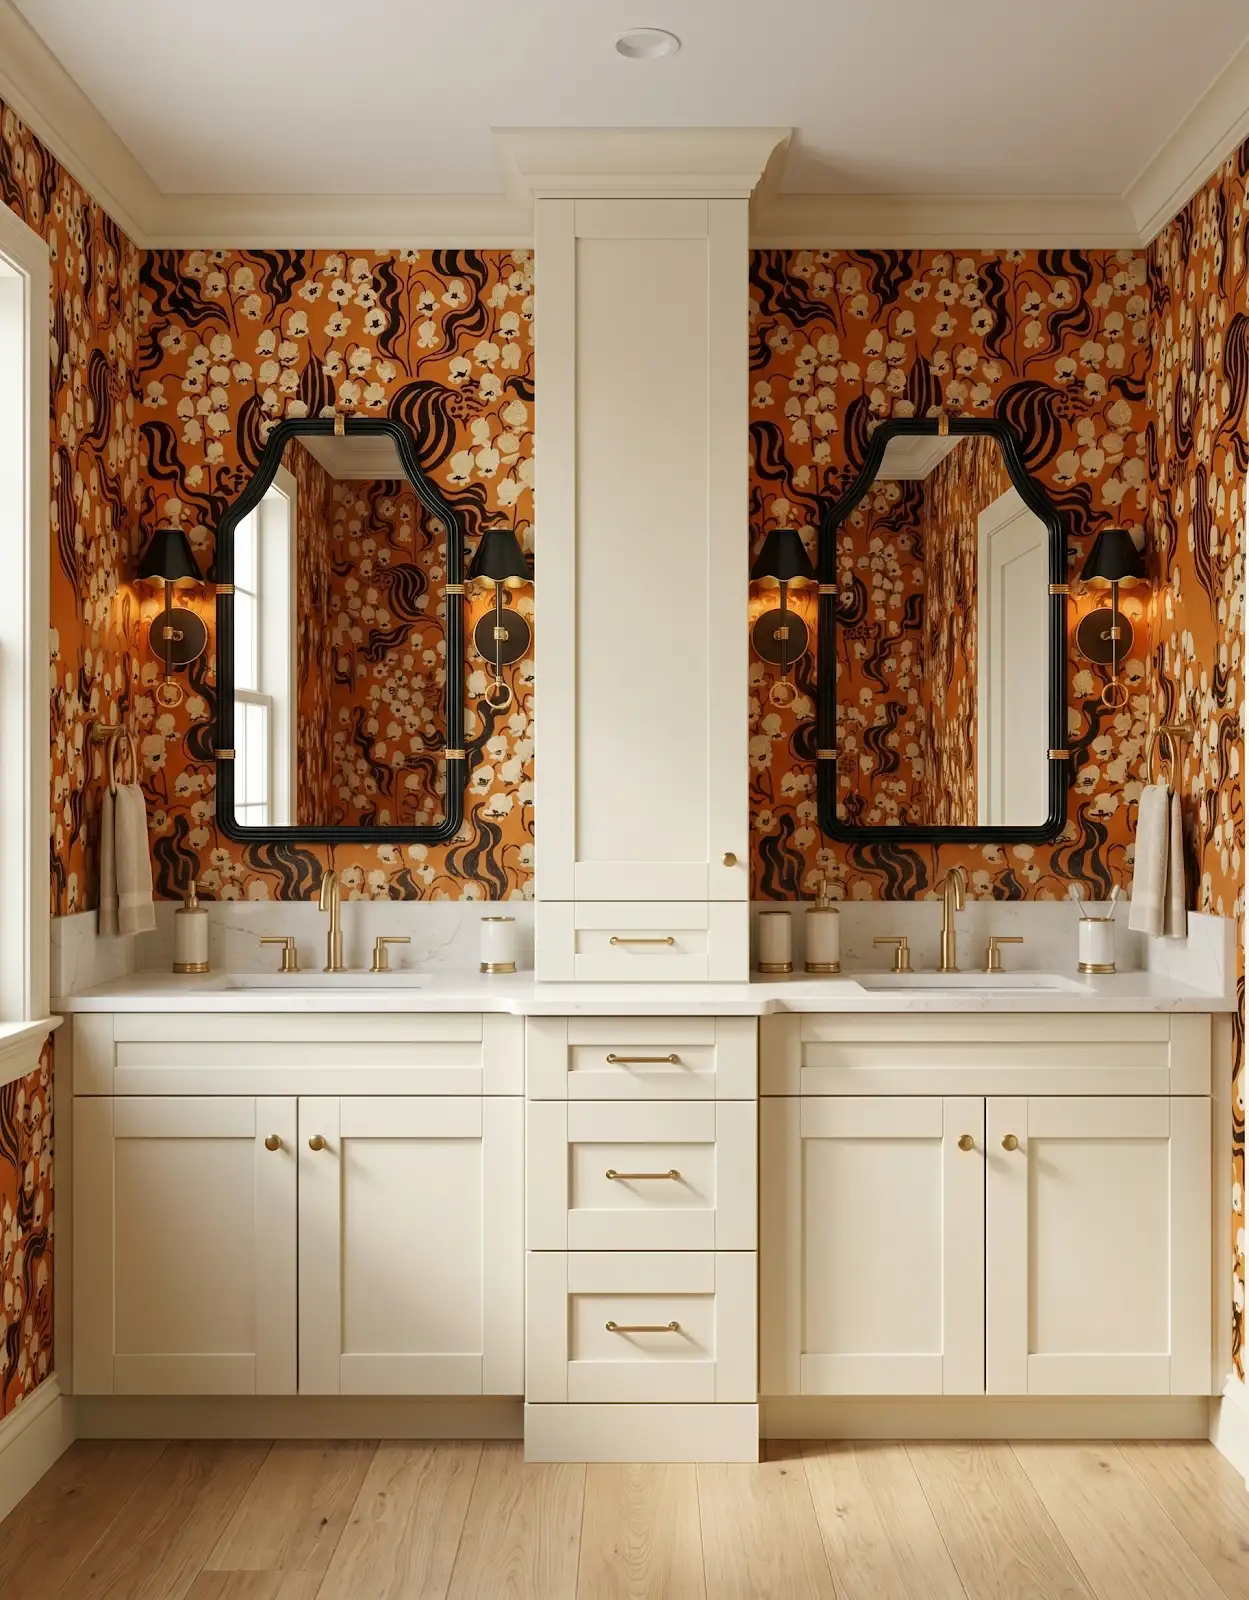
A concept may show a convincing patterned surface without identifying its material. For an actual tile selection, confirm suitability for the intended wall or floor location. Browse Daltile, Olympia Tile and The Masonry Center with the application clearly in mind.
9. Compare the full set in person
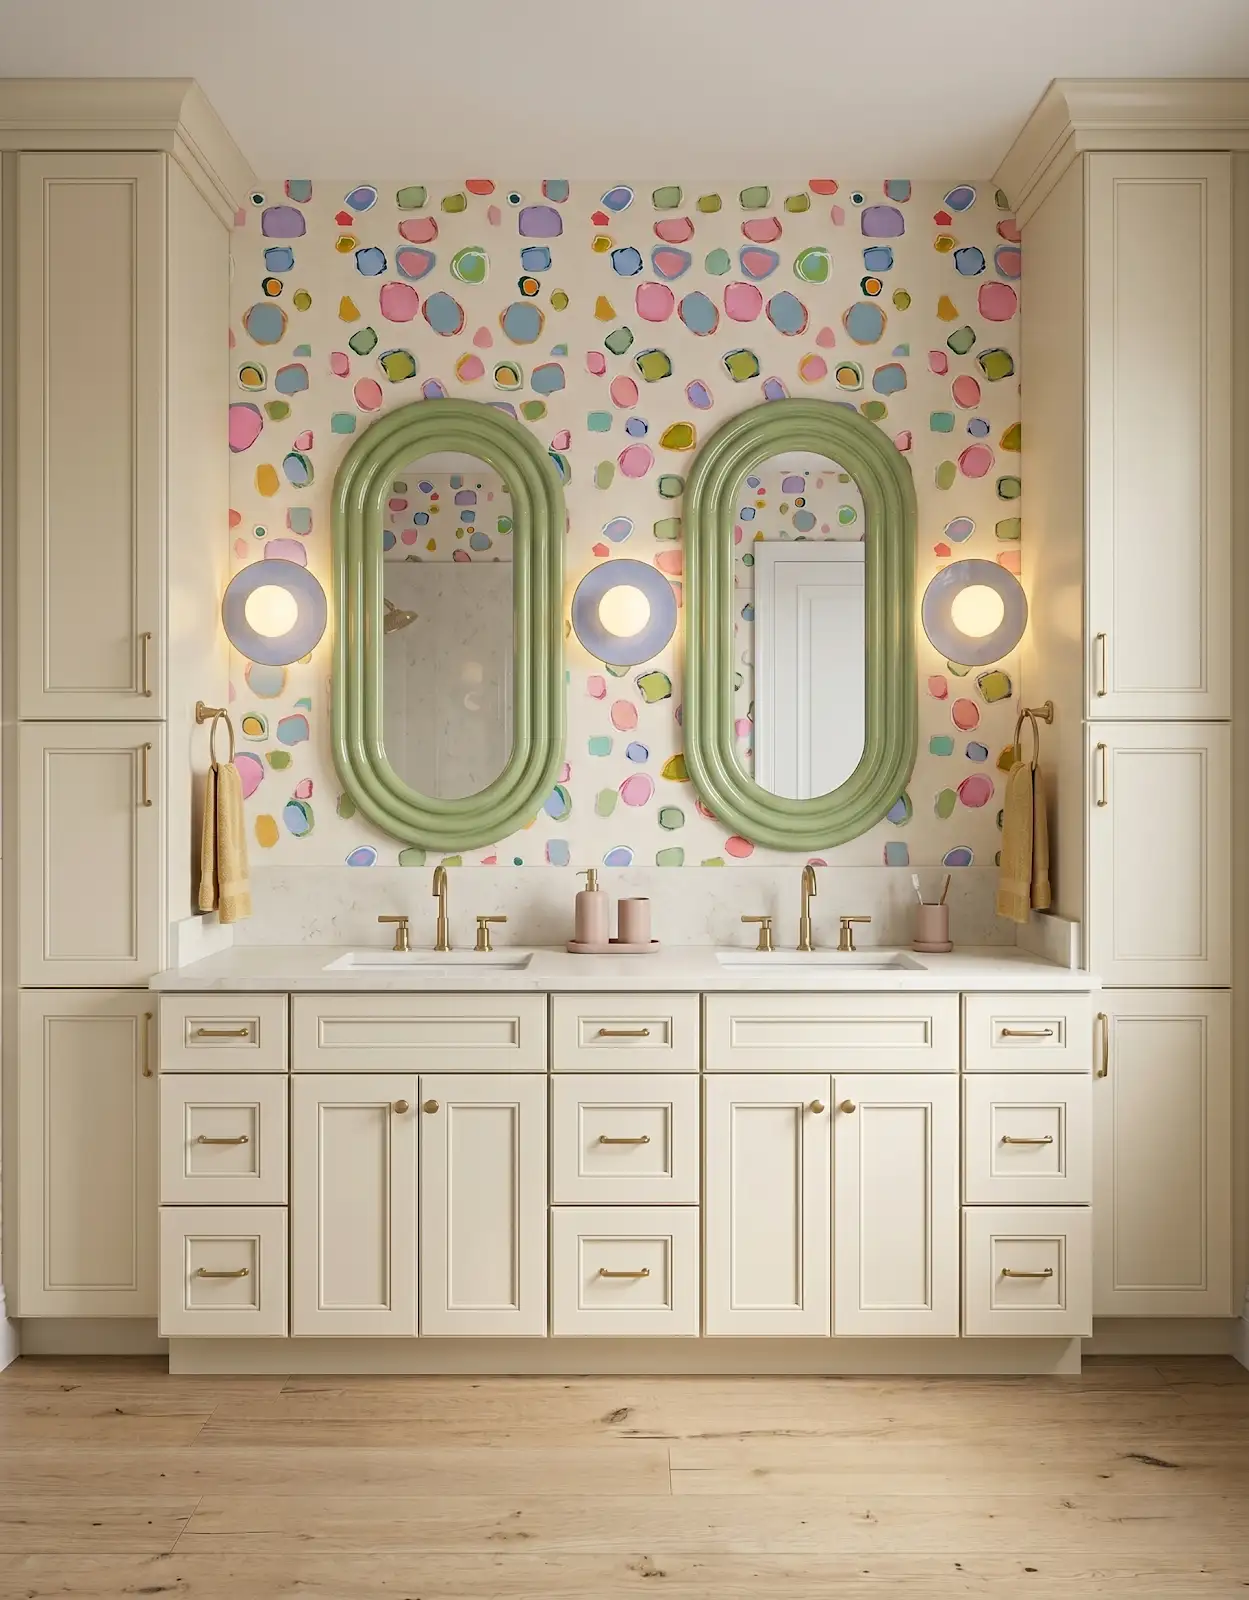
Bring the vanity, counter and tile directions to The Design Center together. We can help compare the palette and narrow catalog options. Save the collection, color, size and finish for each choice so a similar-looking product does not replace the intended one.
Compare the options with The Design Center
Browse the relevant guides and official catalogs, then bring your room photos and exact product details to the showroom. We can help coordinate selections and confirm availability, pricing and timing for your project.
Tile for Floors, Walls & Backsplashes Daltile Olympia Tile The Masonry Center Search Daltile tile Browse Olympia residential tile Mosaics and accents All design ideasTHE DESIGN CENTER / OROFINO, IDAHO
Come in with an idea. Leave with a direction.
A favorite color. A cabinet sample. A room that needs a little love. Bring it to the showroom and let’s find the finishes that feel like you.
Step inside the showroomFind us on Johnson Ave.
124 Johnson Ave, Orofino, ID 83544
Monday–Friday · 8am–5pm
Call or text 208-786-0361
Directions & contact details