
Choosing Grout Color as Part of the Tile Design
Grout belongs in the tile selection conversation from the beginning. It changes how clearly you see individual shapes and how the overall surface relates to cabinets and counters. Compare the tile, grout and surrounding finishes together before the layout is finalized.
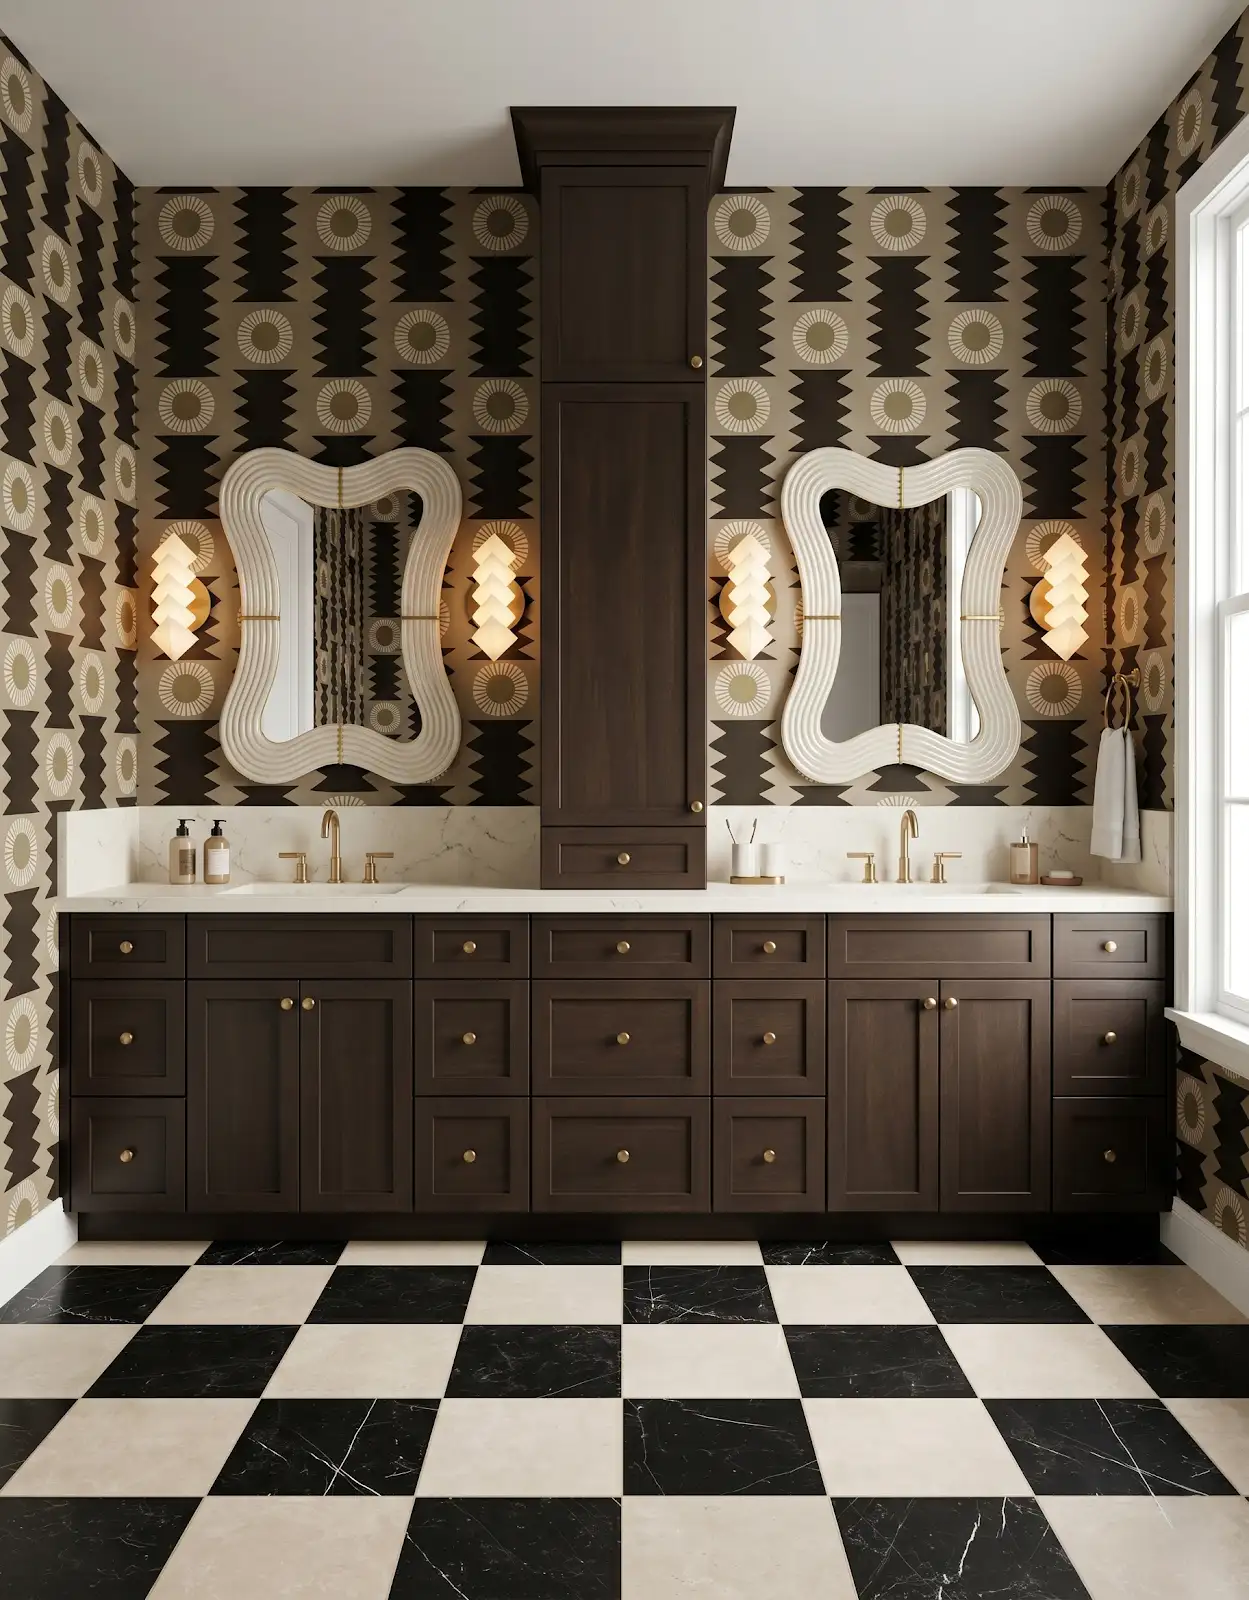
AI-generated design concepts from Anna’s approved inspiration library. Images illustrate color, proportion and finish relationships; they are not completed customer projects or exact manufacturer products.
1. Decide whether the grid should stand out
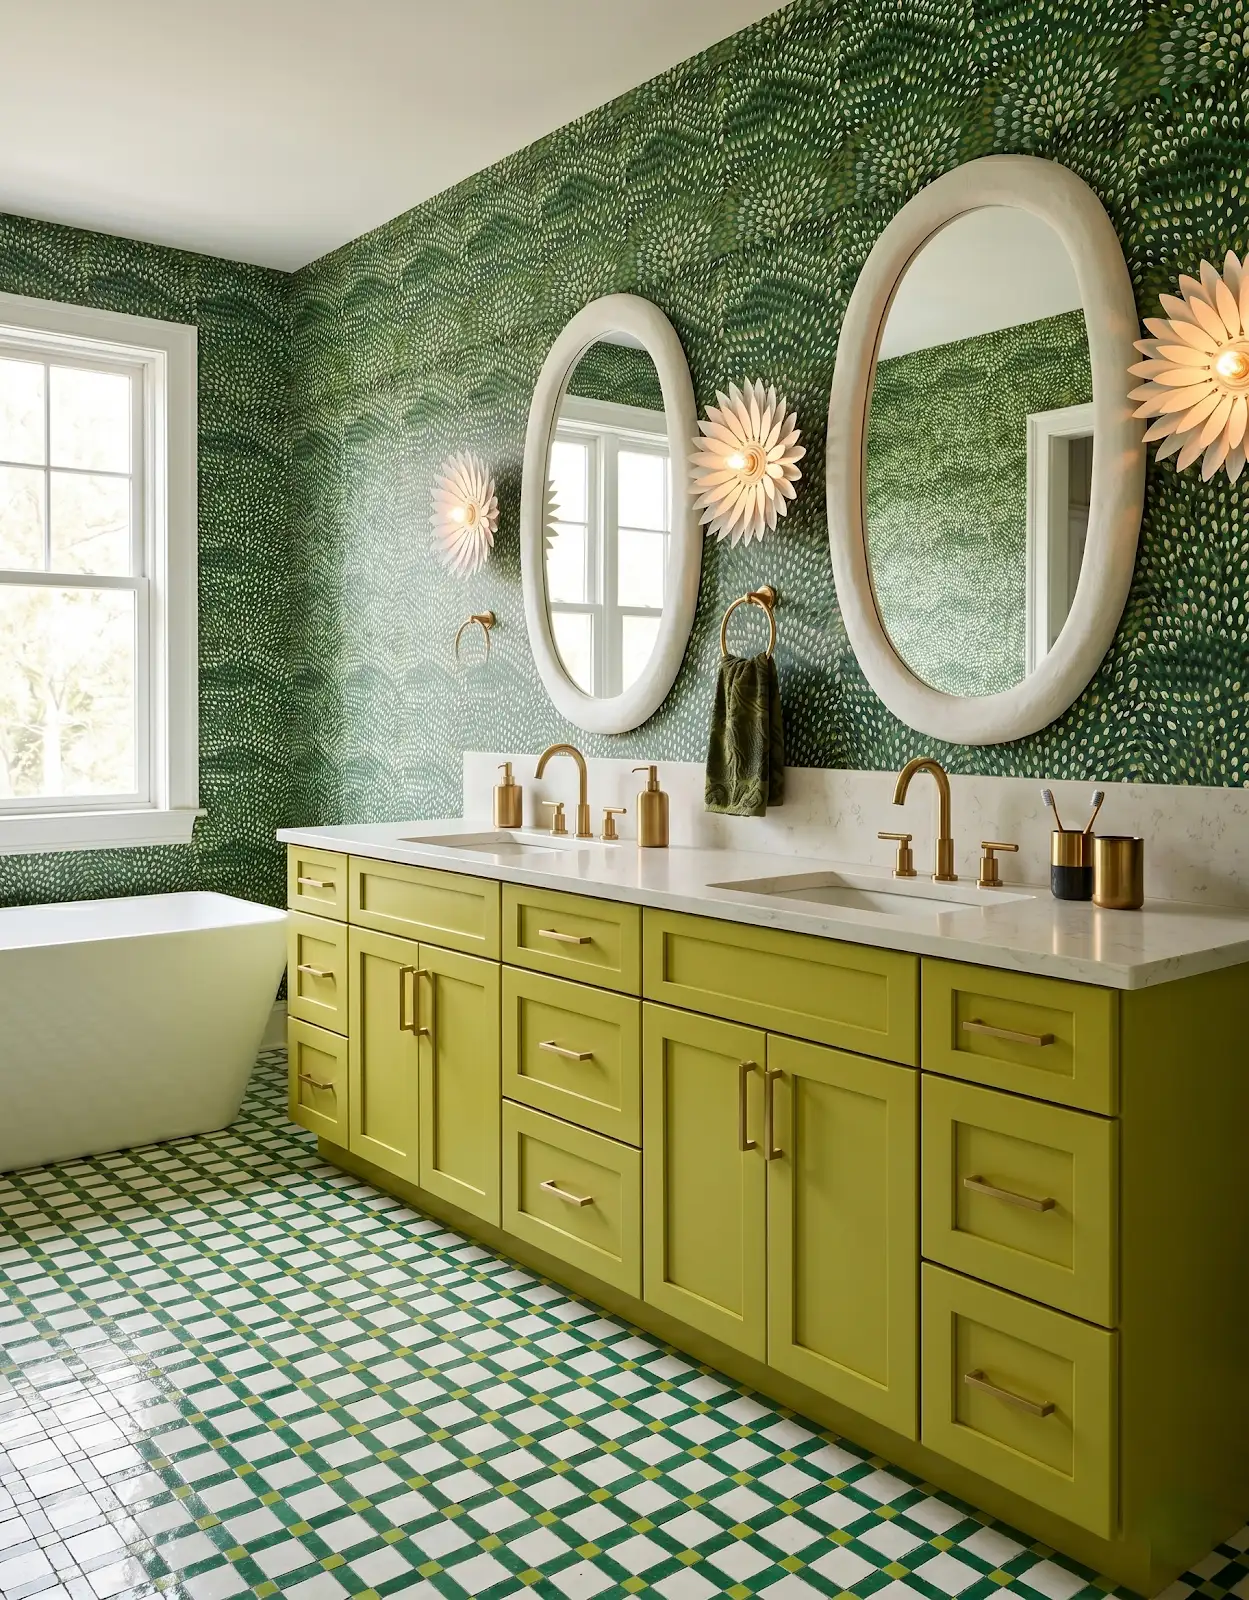
A closer color relationship can make a tile field feel quieter, while stronger contrast emphasizes the shapes. Compare both effects with the same tile. The choice is about the pattern you want to see across the actual wall or floor.
2. Compare the undertone
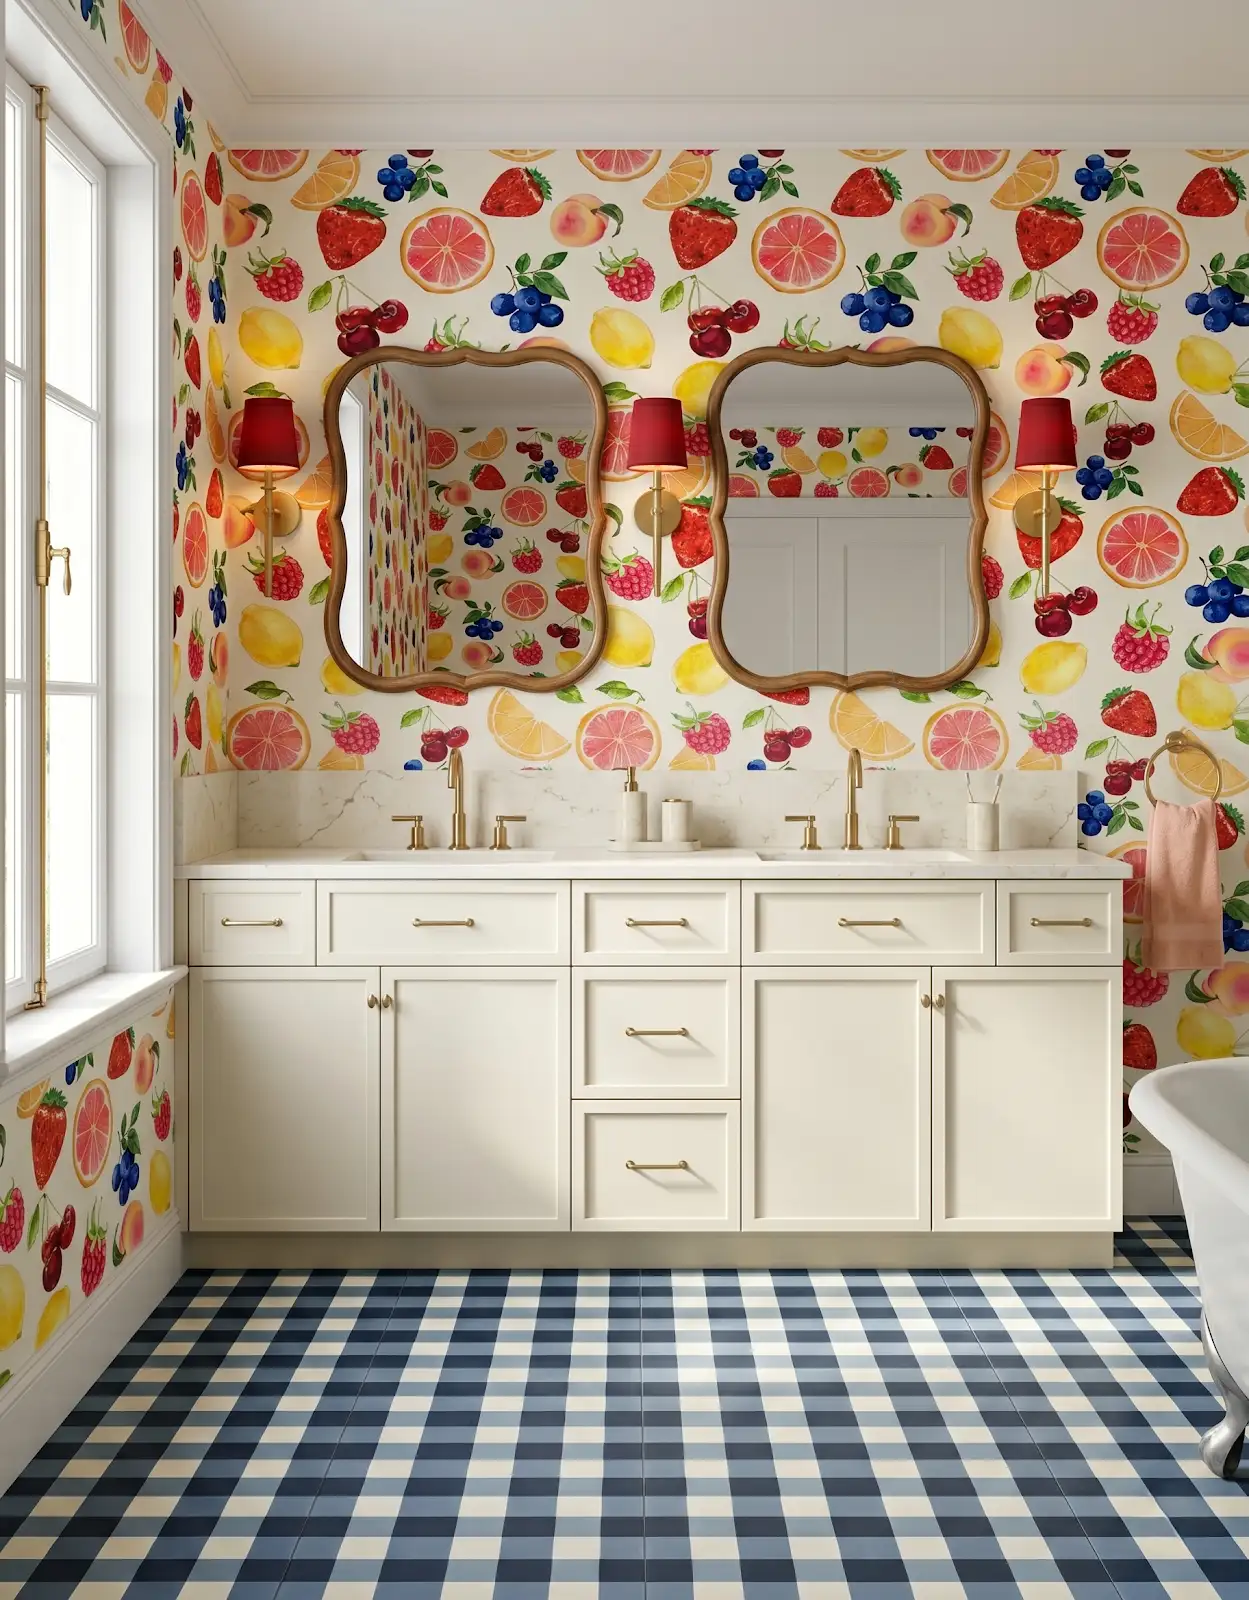
White, gray and beige each cover a broad range of tones. Hold grout samples against the tile rather than selecting by name. A warm grout beside a cool-looking tile may create an effect you enjoy, but you should see it deliberately.
3. Include cabinet and counter samples
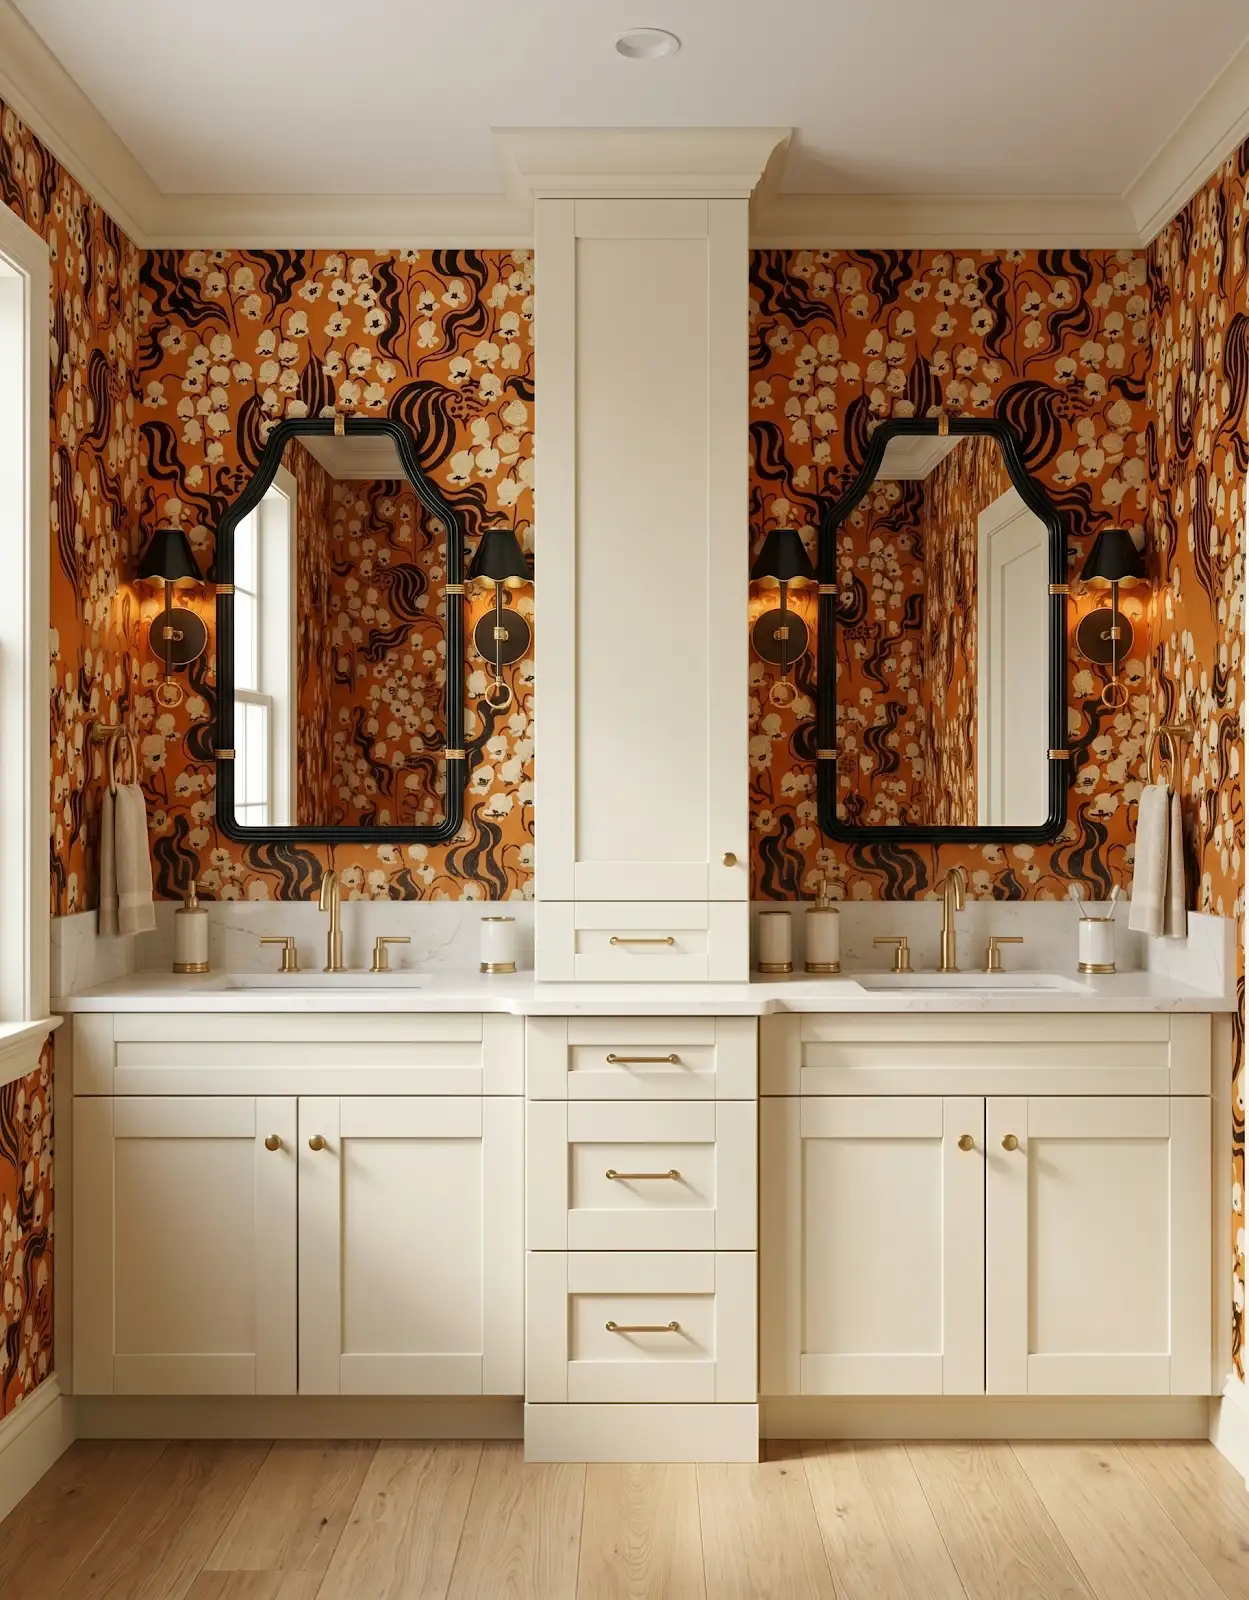
The grout sits within the larger room palette. Place the tile combination next to the cabinet finish and countertop direction. A line color that looks balanced on its own can feel stronger once a busy counter or pronounced wood grain is nearby.
4. View several tile pieces
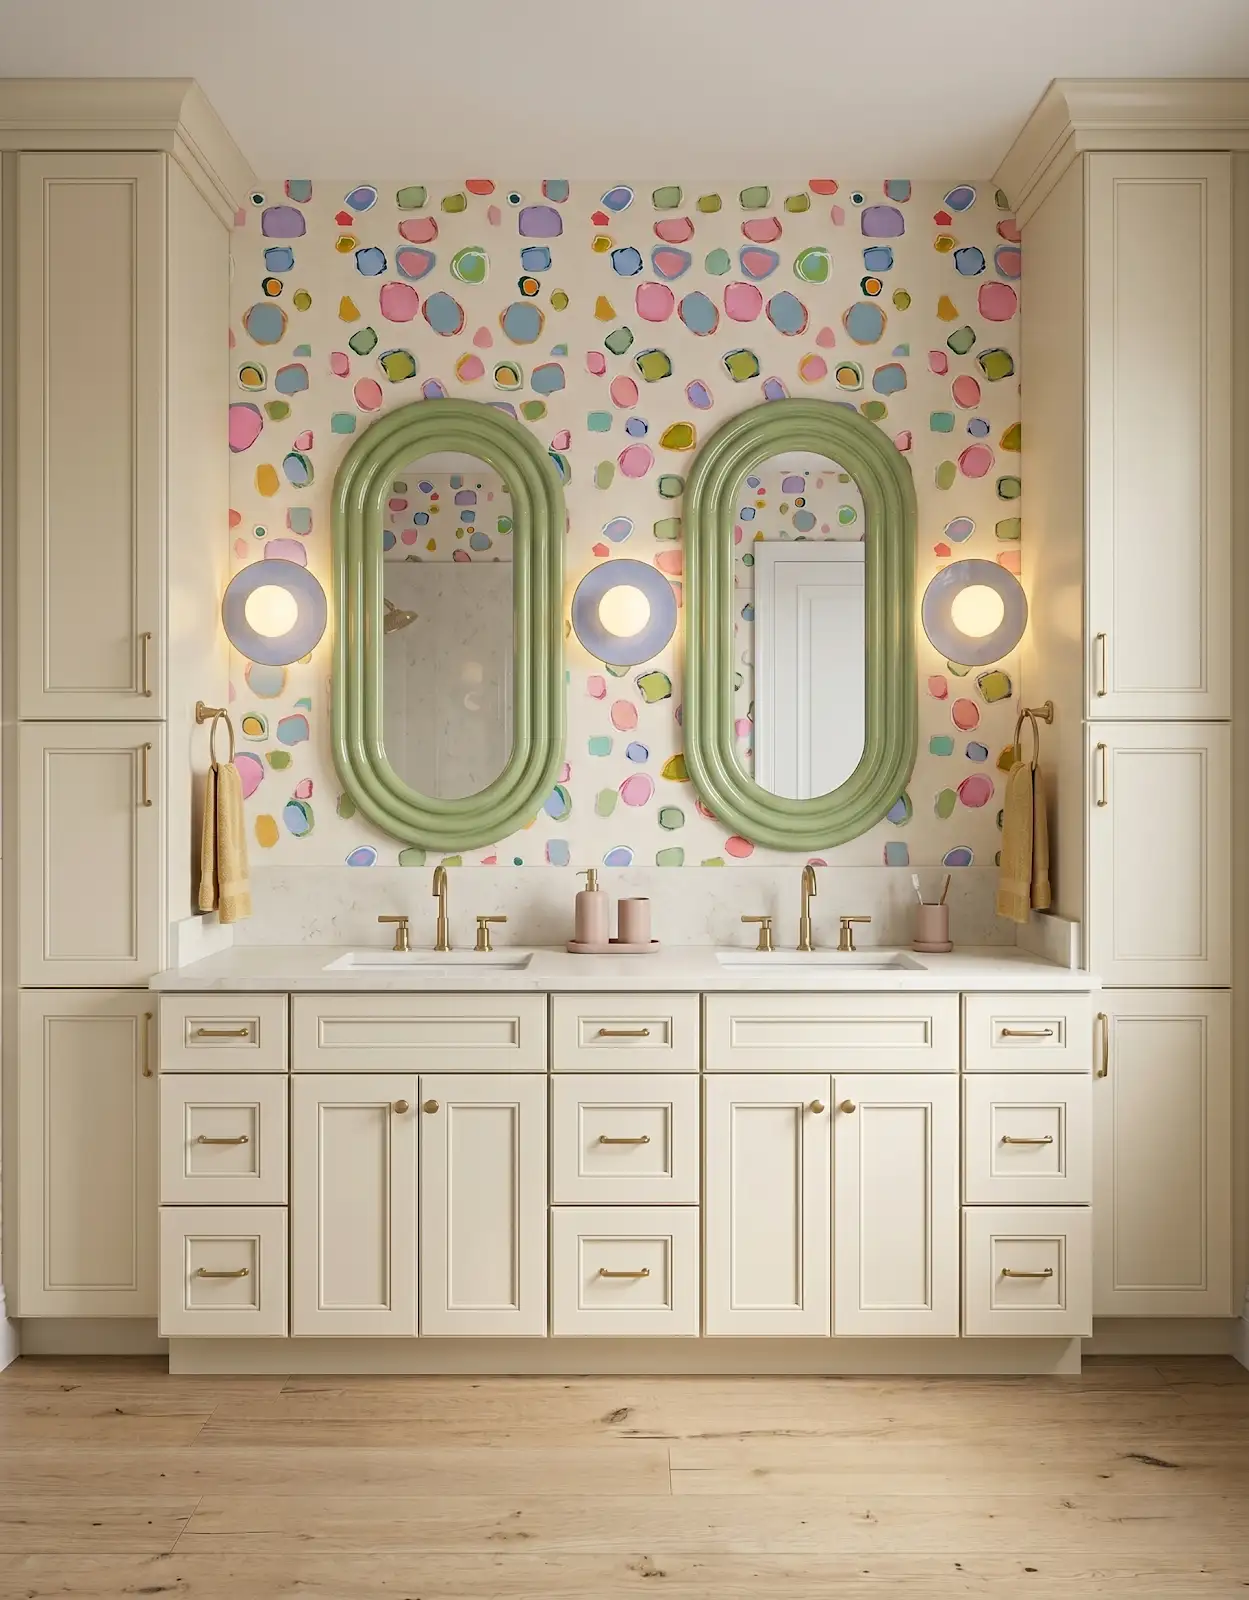
Arrange enough pieces to understand the repeating joint pattern. A single tile with a narrow sample strip cannot show the full effect. Photograph the arrangement from farther away as well as close up to compare detail with the overall surface.
5. Discuss joint width with the installer
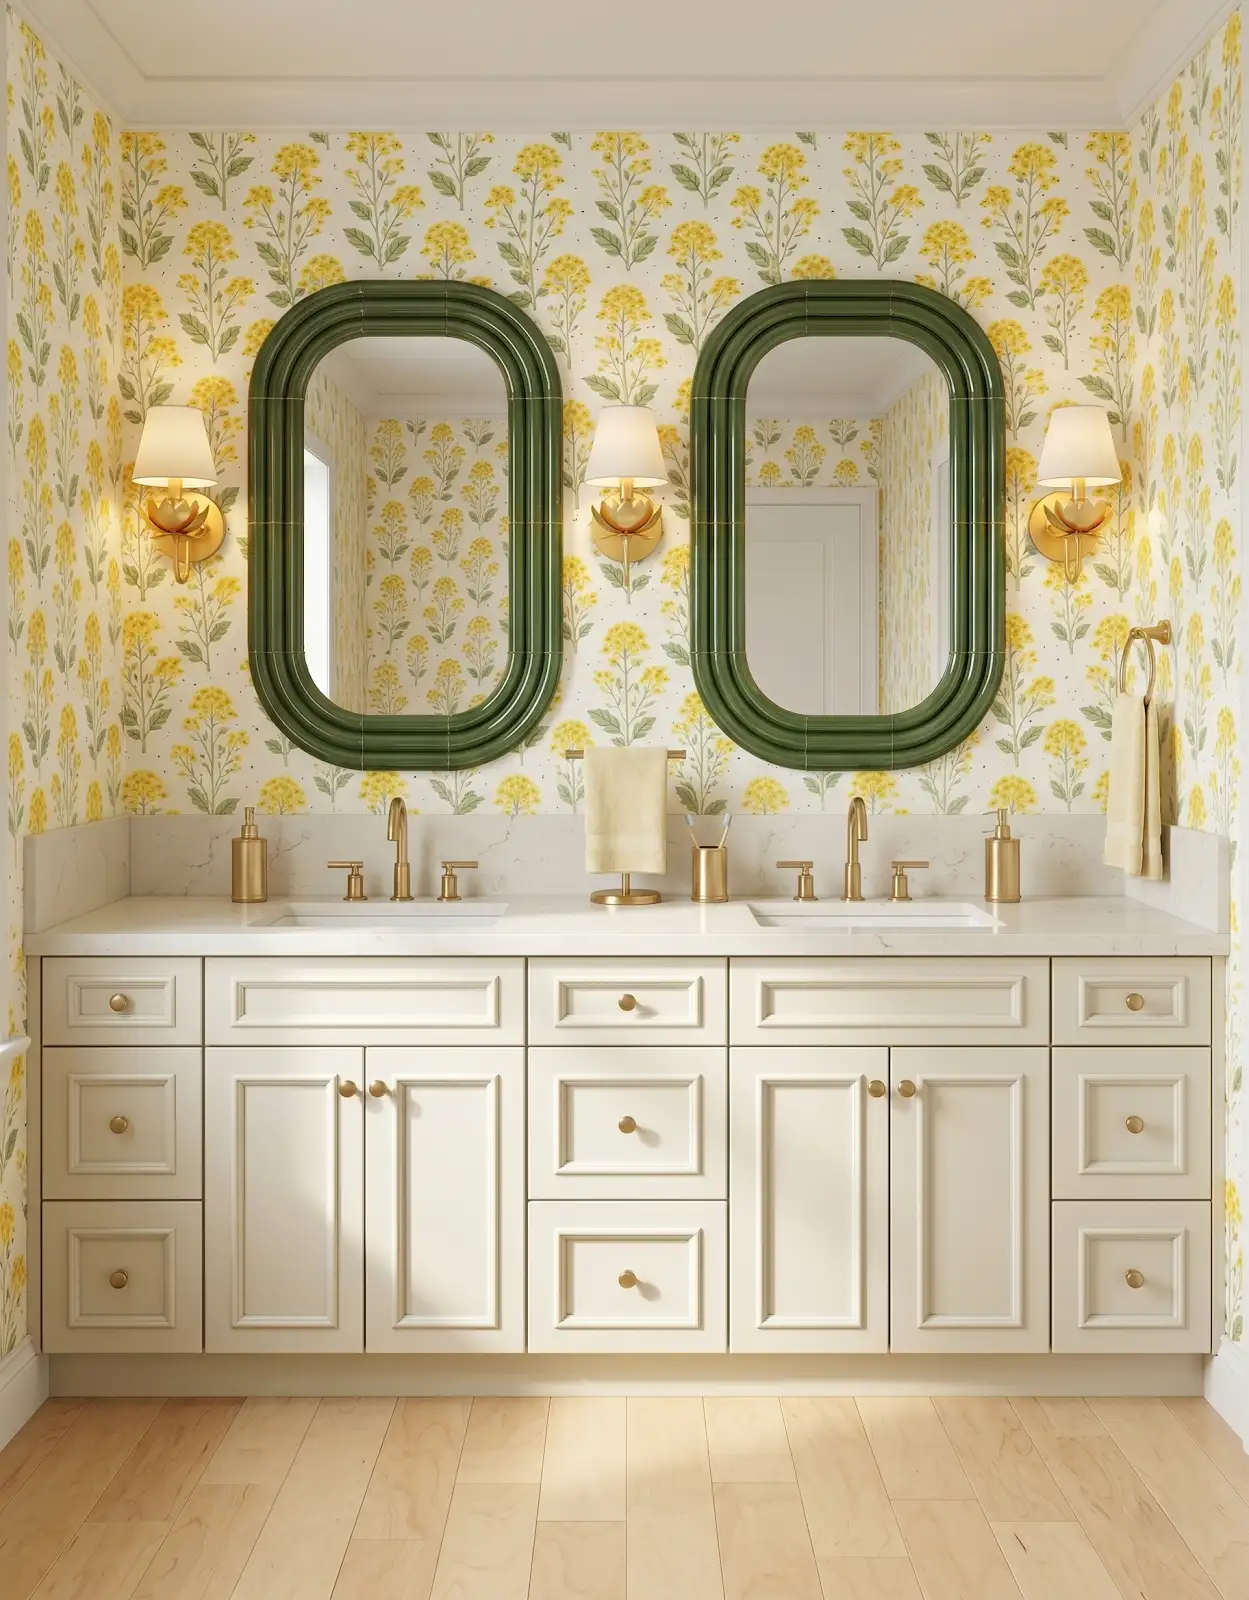
The selected tile and layout influence the joint recommendation. Bring the product information into the installation conversation rather than specifying a narrow joint from an inspiration image. Choose the color with the intended spacing in mind so the finished effect is easier to anticipate.
6. Compare a mockup when appropriate
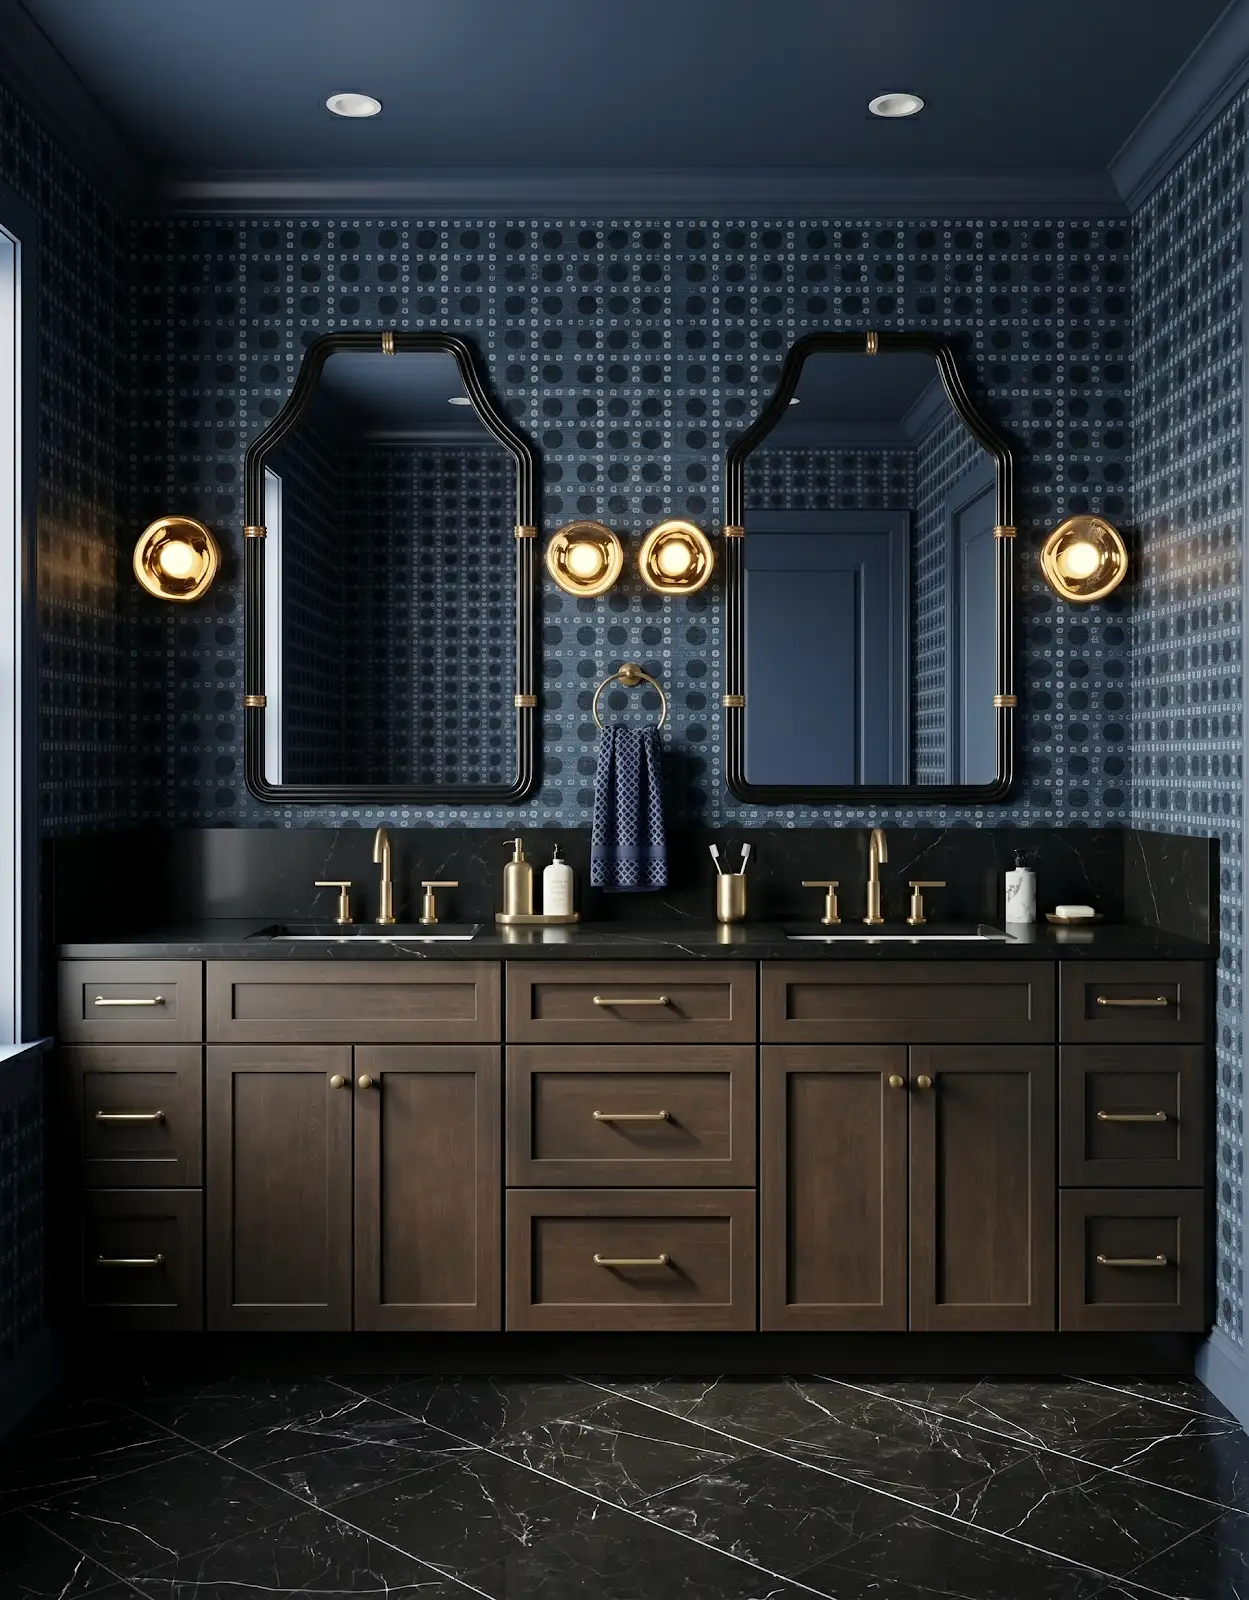
For a highly visible or uncertain combination, ask how a representative sample board could be prepared. Review it in lighting similar to the room. Confirm that the sample reflects the selected products rather than relying solely on a printed color chart.
7. Ask about product-specific care
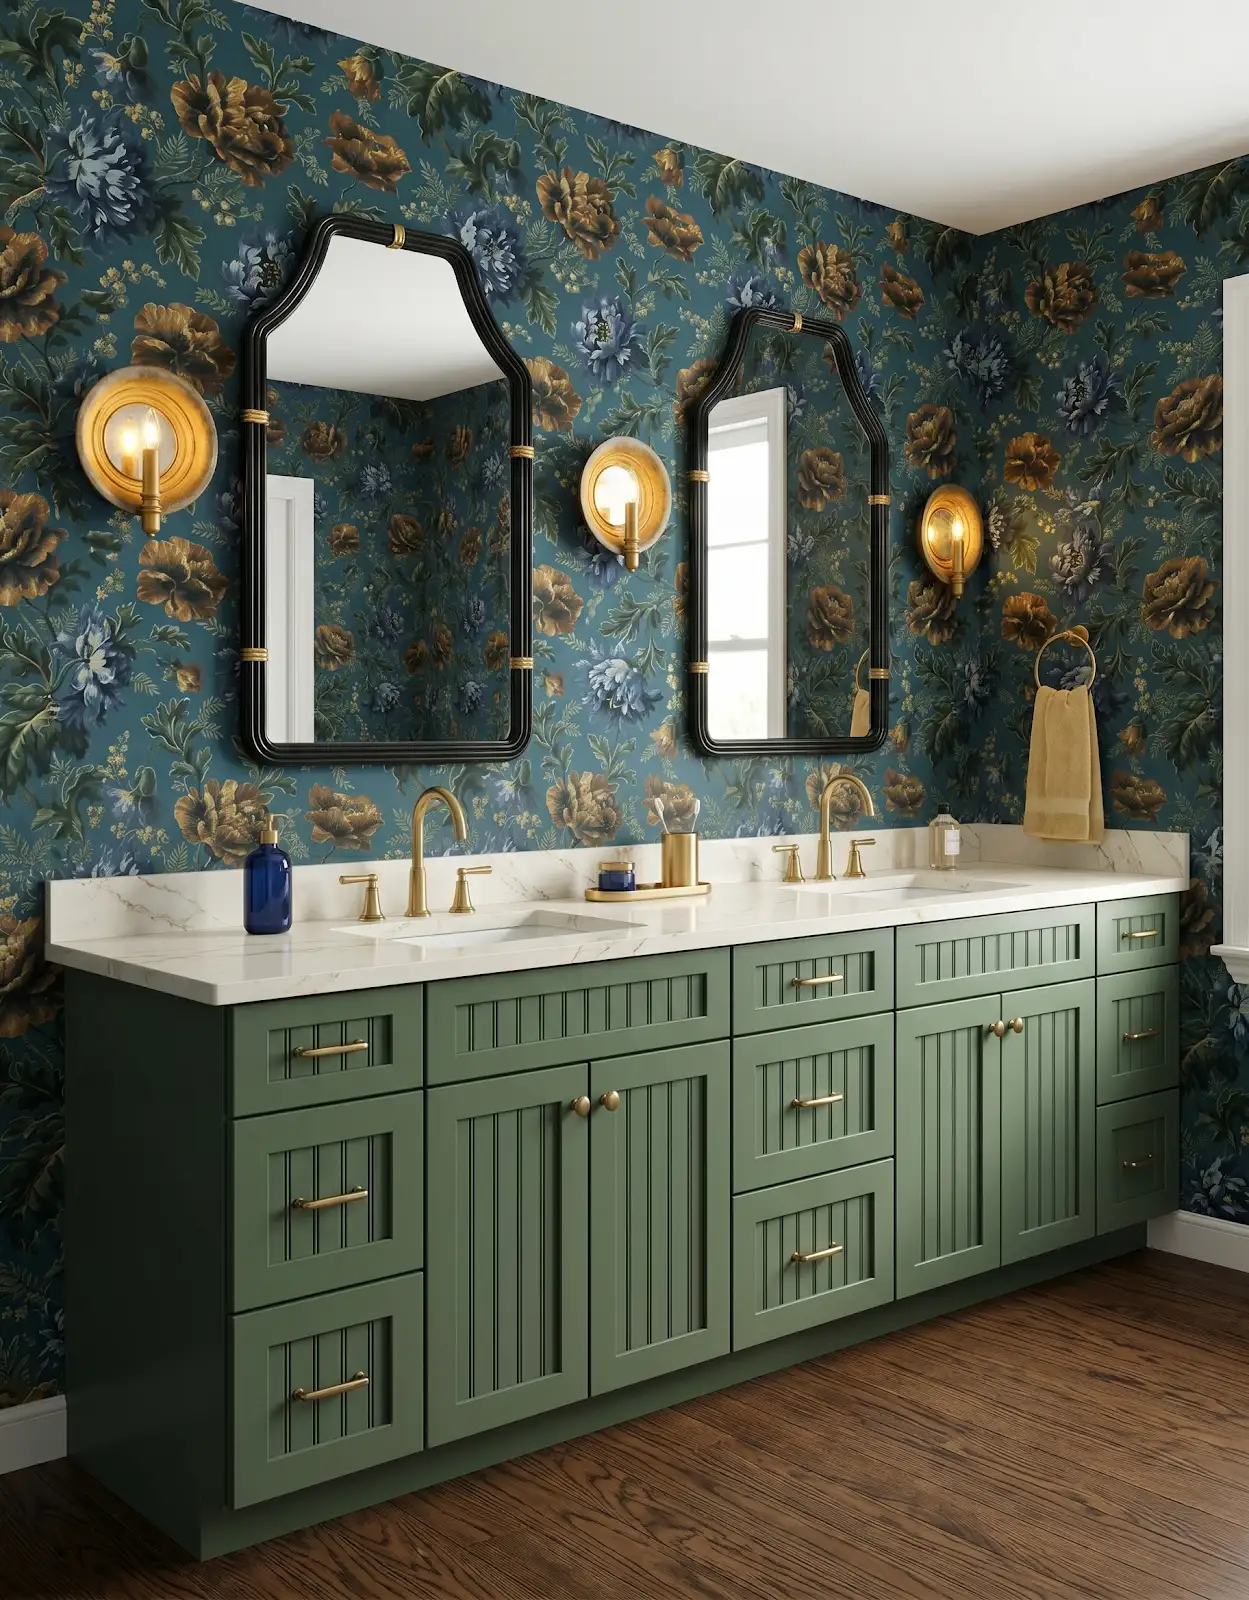
Discuss the grout product, application and cleaning requirements with the installer or supplier. Color alone does not determine maintenance. Keep that information with the tile record so the material that creates the desired look also fits the intended use.
8. Plan transitions with the layout
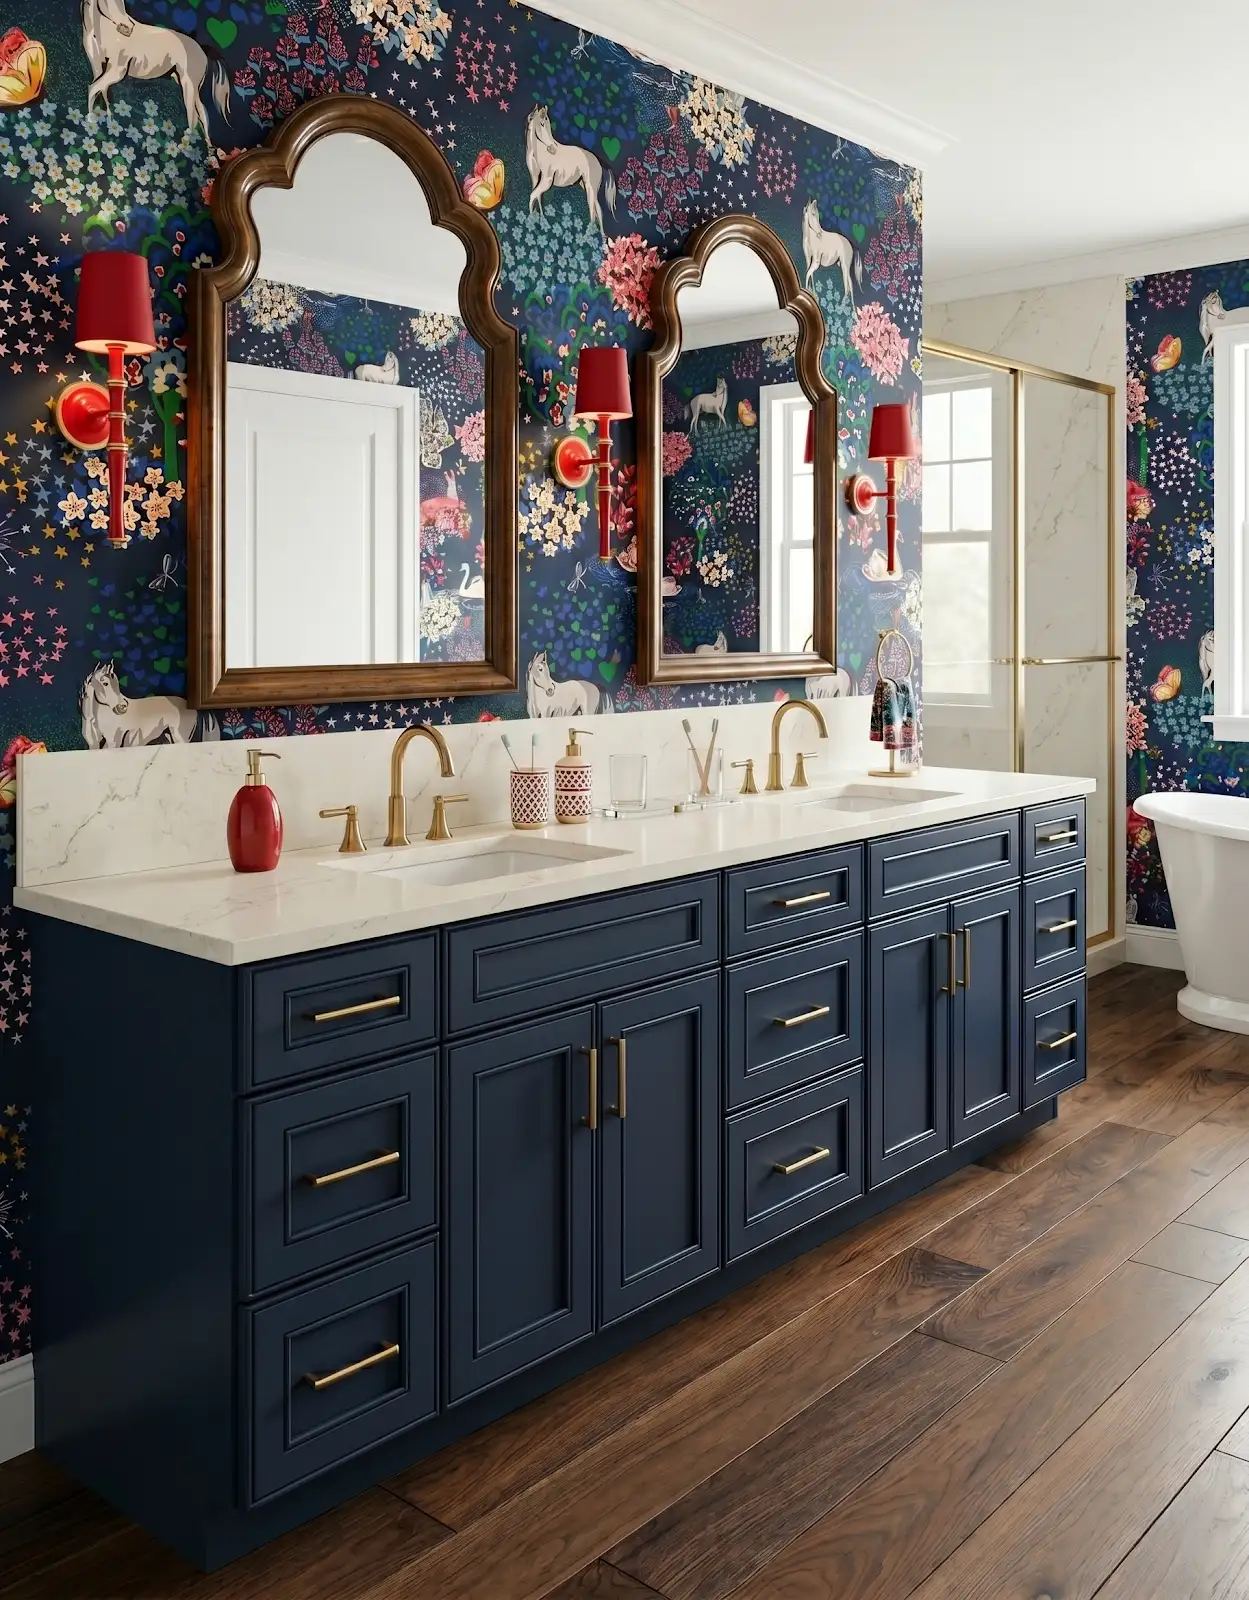
Look at corners, edges and where one material meets another. Ask the installer to explain the appropriate treatment at each location. A consistent visual plan still needs the correct installation detail; not every visible joint is handled in the same way.
9. Save the complete tile combination
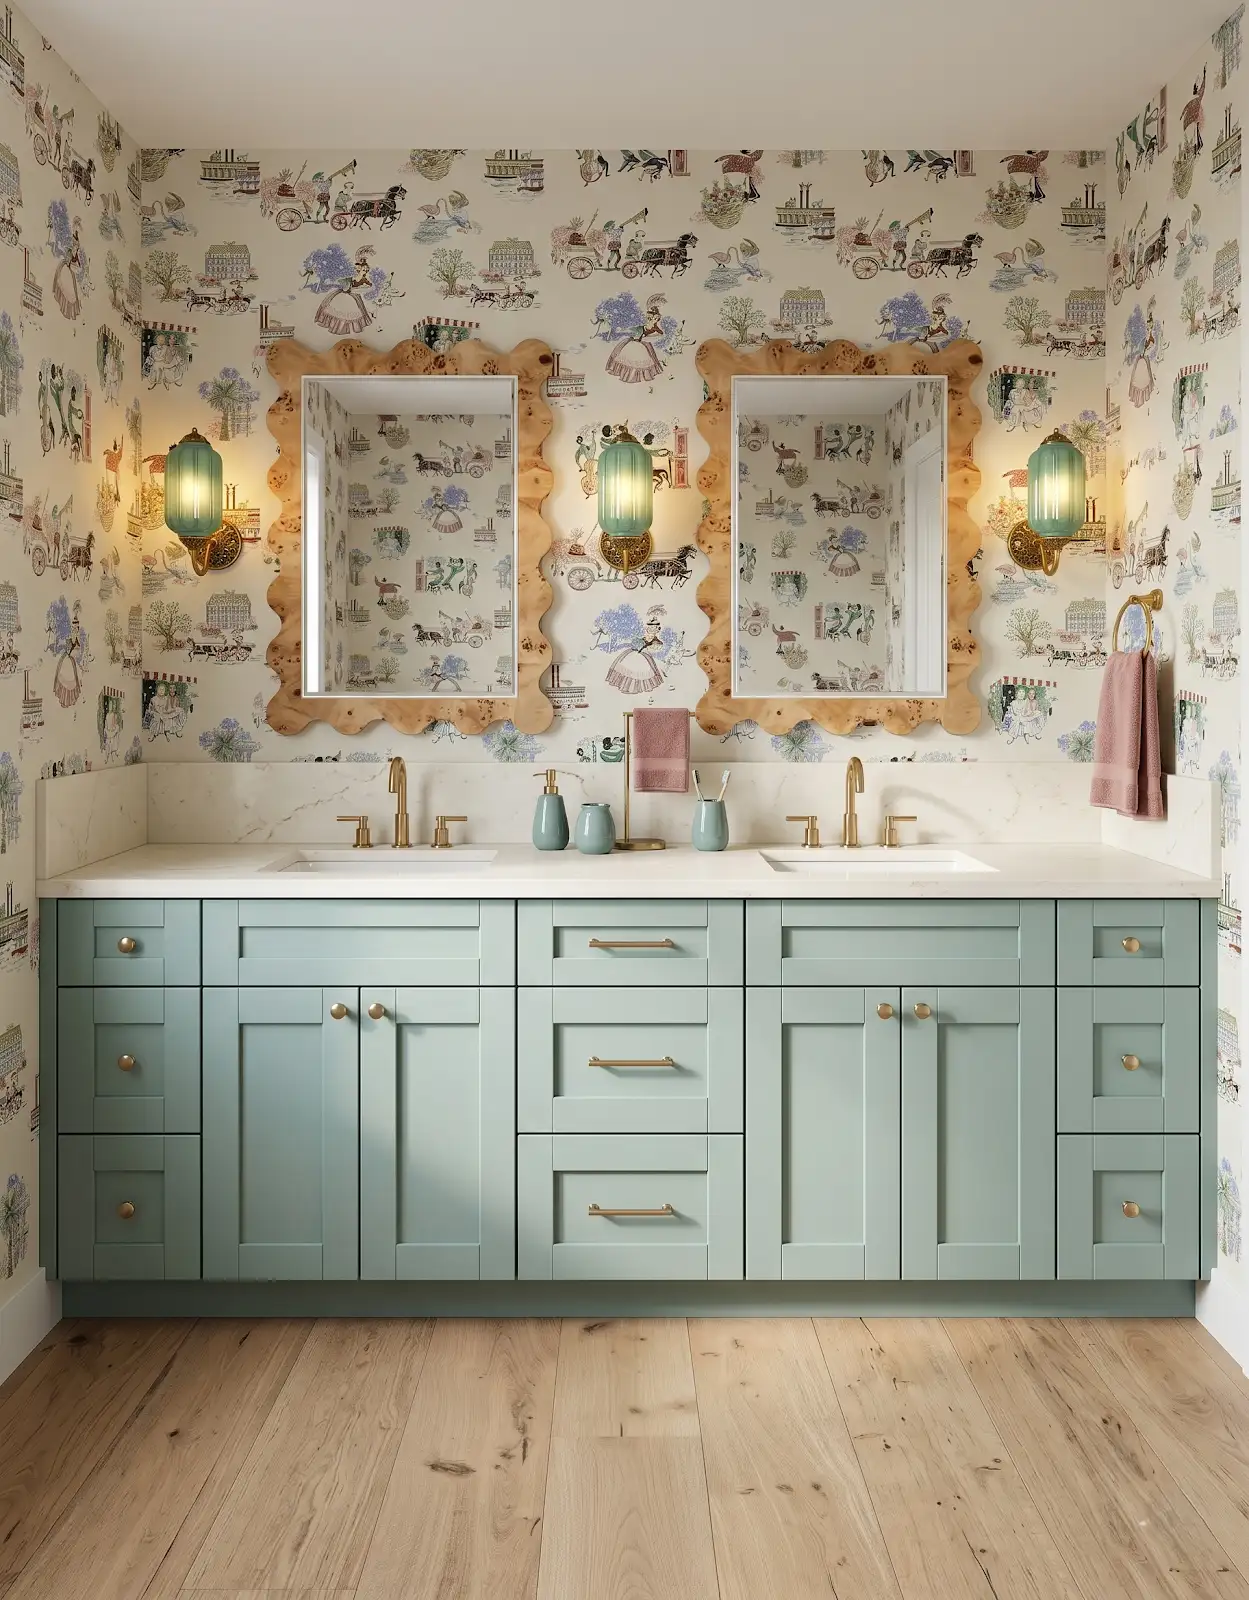
Record the tile series, color, size and finish alongside the grout selection and proposed layout. Bring those details to The Design Center. We can help compare options from Daltile, Olympia Tile and The Masonry Center before the installation plan is finalized.
Compare the options with The Design Center
Browse the relevant guides and official catalogs, then bring your room photos and exact product details to the showroom. We can help coordinate selections and confirm availability, pricing and timing for your project.
Tile for Floors, Walls & Backsplashes Daltile Olympia Tile The Masonry Center Search Daltile tile Browse Olympia residential tile Mosaics and accents Daltile: choosing grout color All design ideasTHE DESIGN CENTER / OROFINO, IDAHO
Come in with an idea. Leave with a direction.
A favorite color. A cabinet sample. A room that needs a little love. Bring it to the showroom and let’s find the finishes that feel like you.
Step inside the showroomFind us on Johnson Ave.
124 Johnson Ave, Orofino, ID 83544
Monday–Friday · 8am–5pm
Call or text 208-786-0361
Directions & contact details