
How do I Hang pictures perfectly?
Plan picture height, spacing and placement before hanging artwork, and choose hardware suited to the frame and wall.
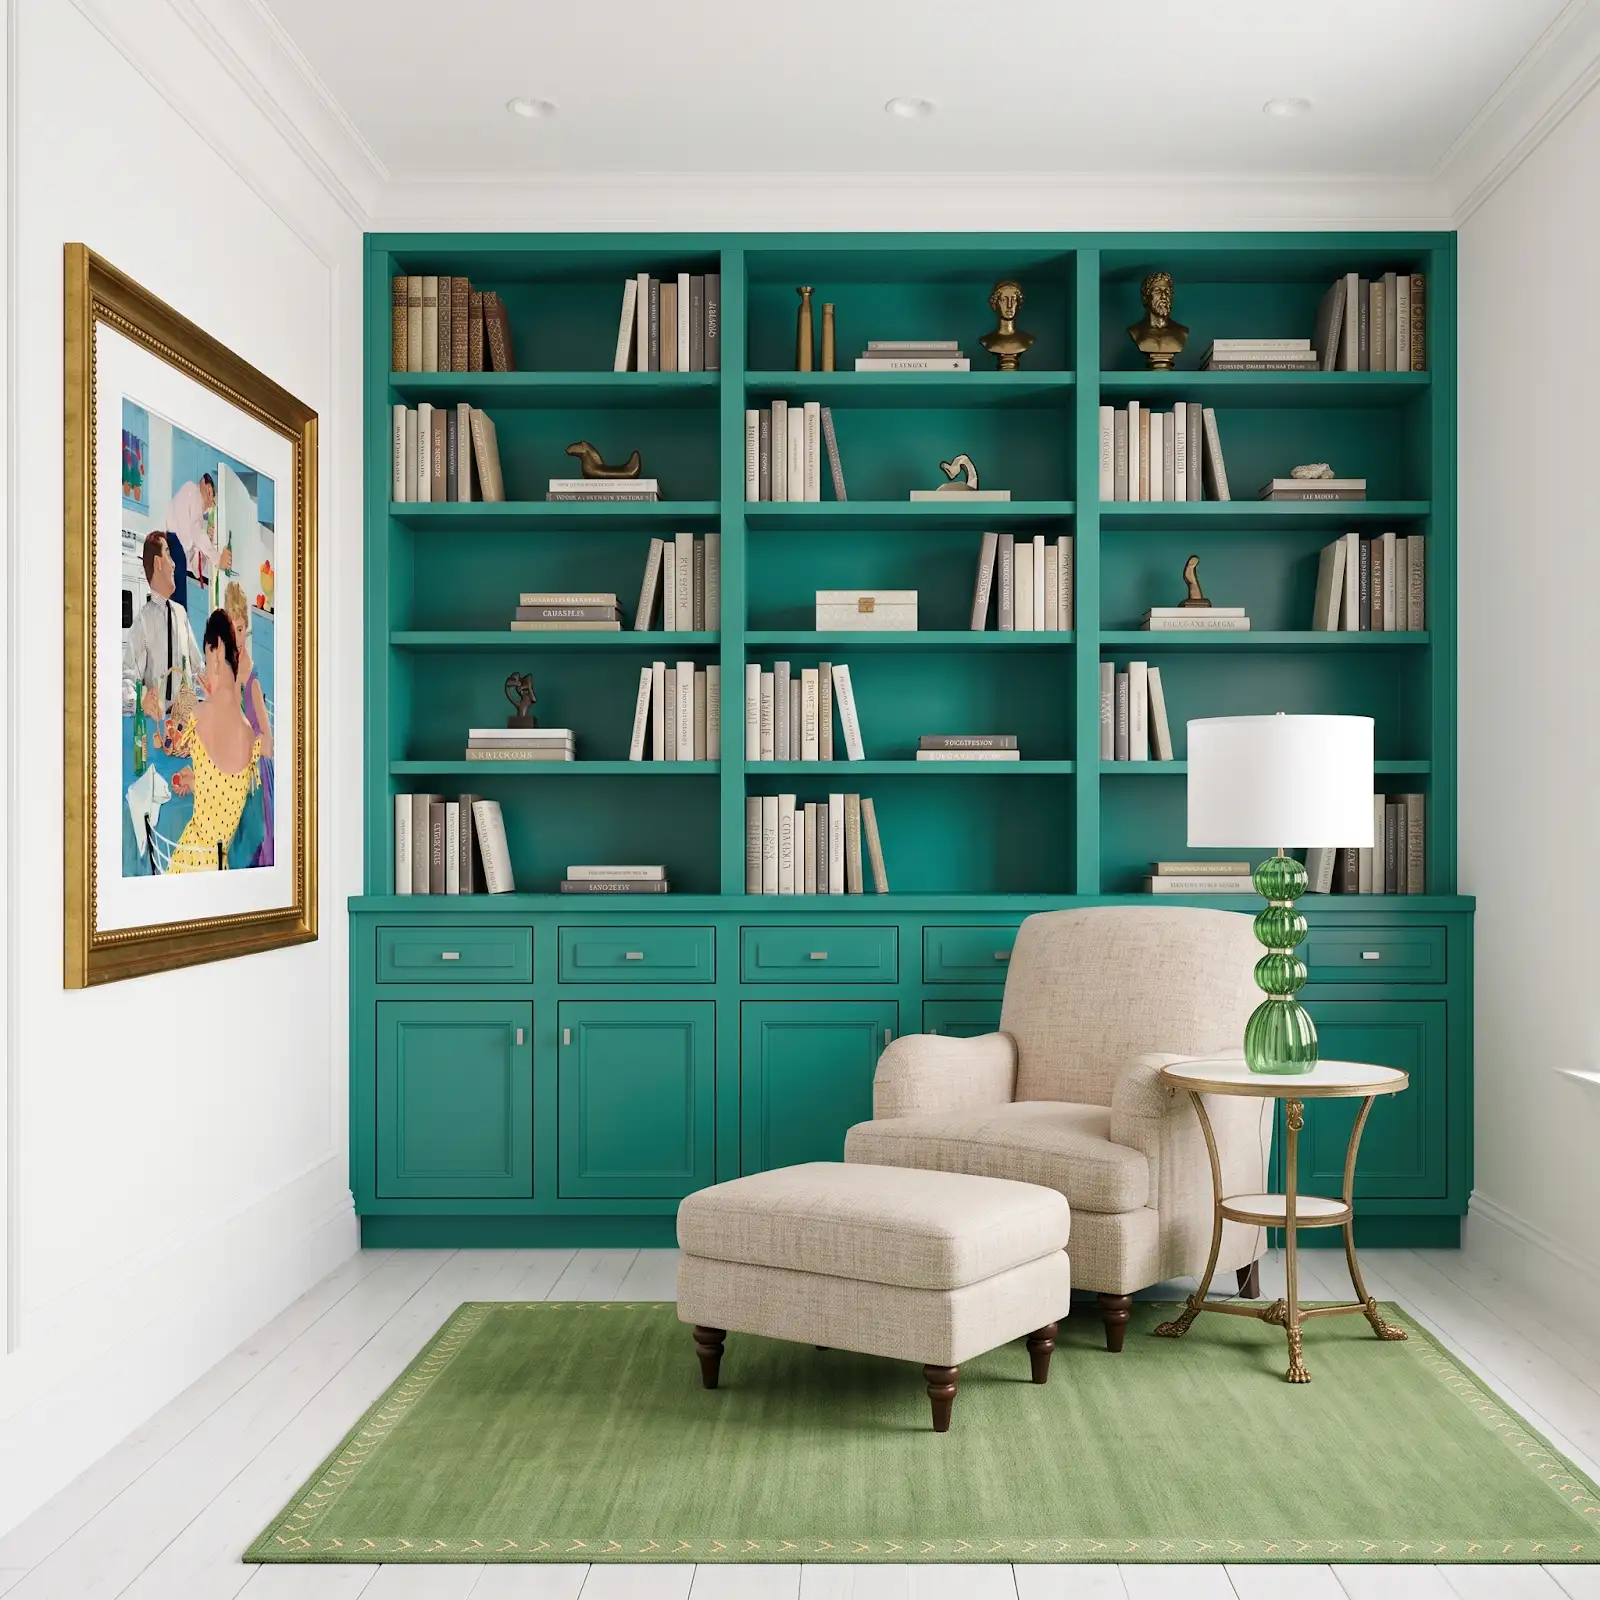
AI-generated design concepts from Anna’s approved inspiration library. Images illustrate color, proportion and finish relationships; they are not completed customer projects or exact manufacturer products. Decorative items and uncovered windows are styling examples, not a product-stock list.
1. Choose the relationship to the furniture
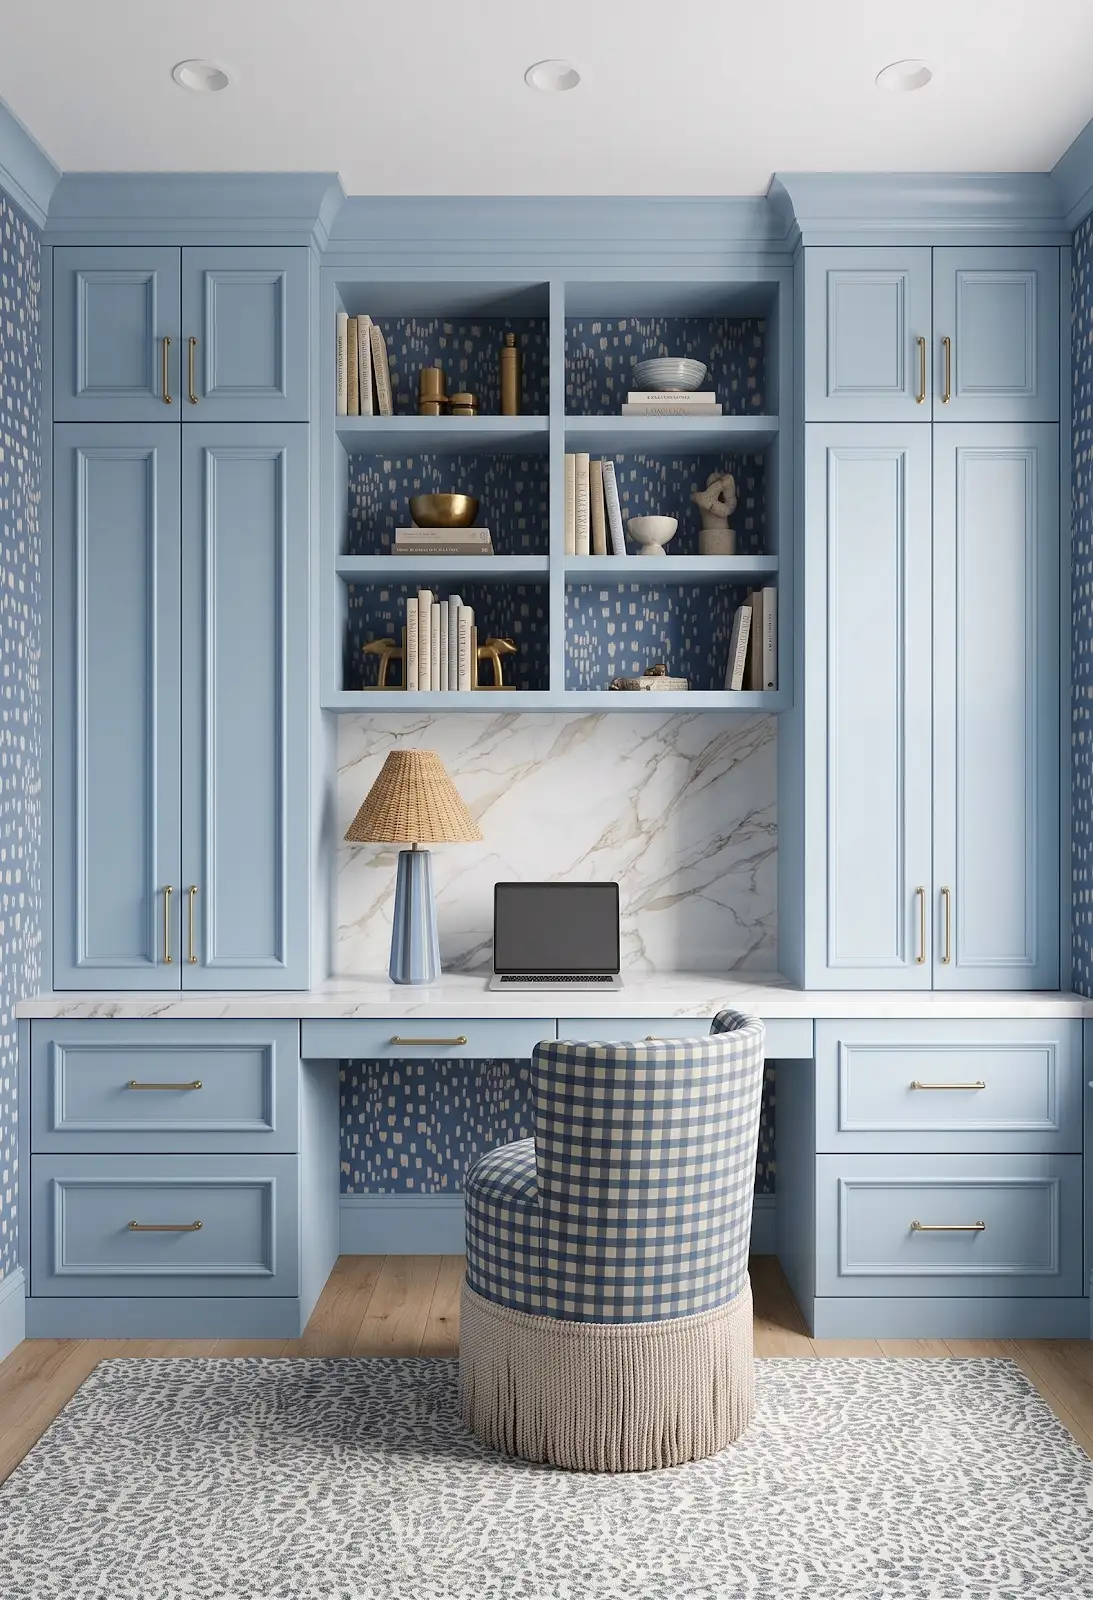
Decide whether the picture belongs with a sofa, cabinet, desk or a clear wall. The supporting furniture often provides a better visual reference than the whole wall alone. Compare the frame size with that area before making any marks for installation.
2. Look from the normal viewing position
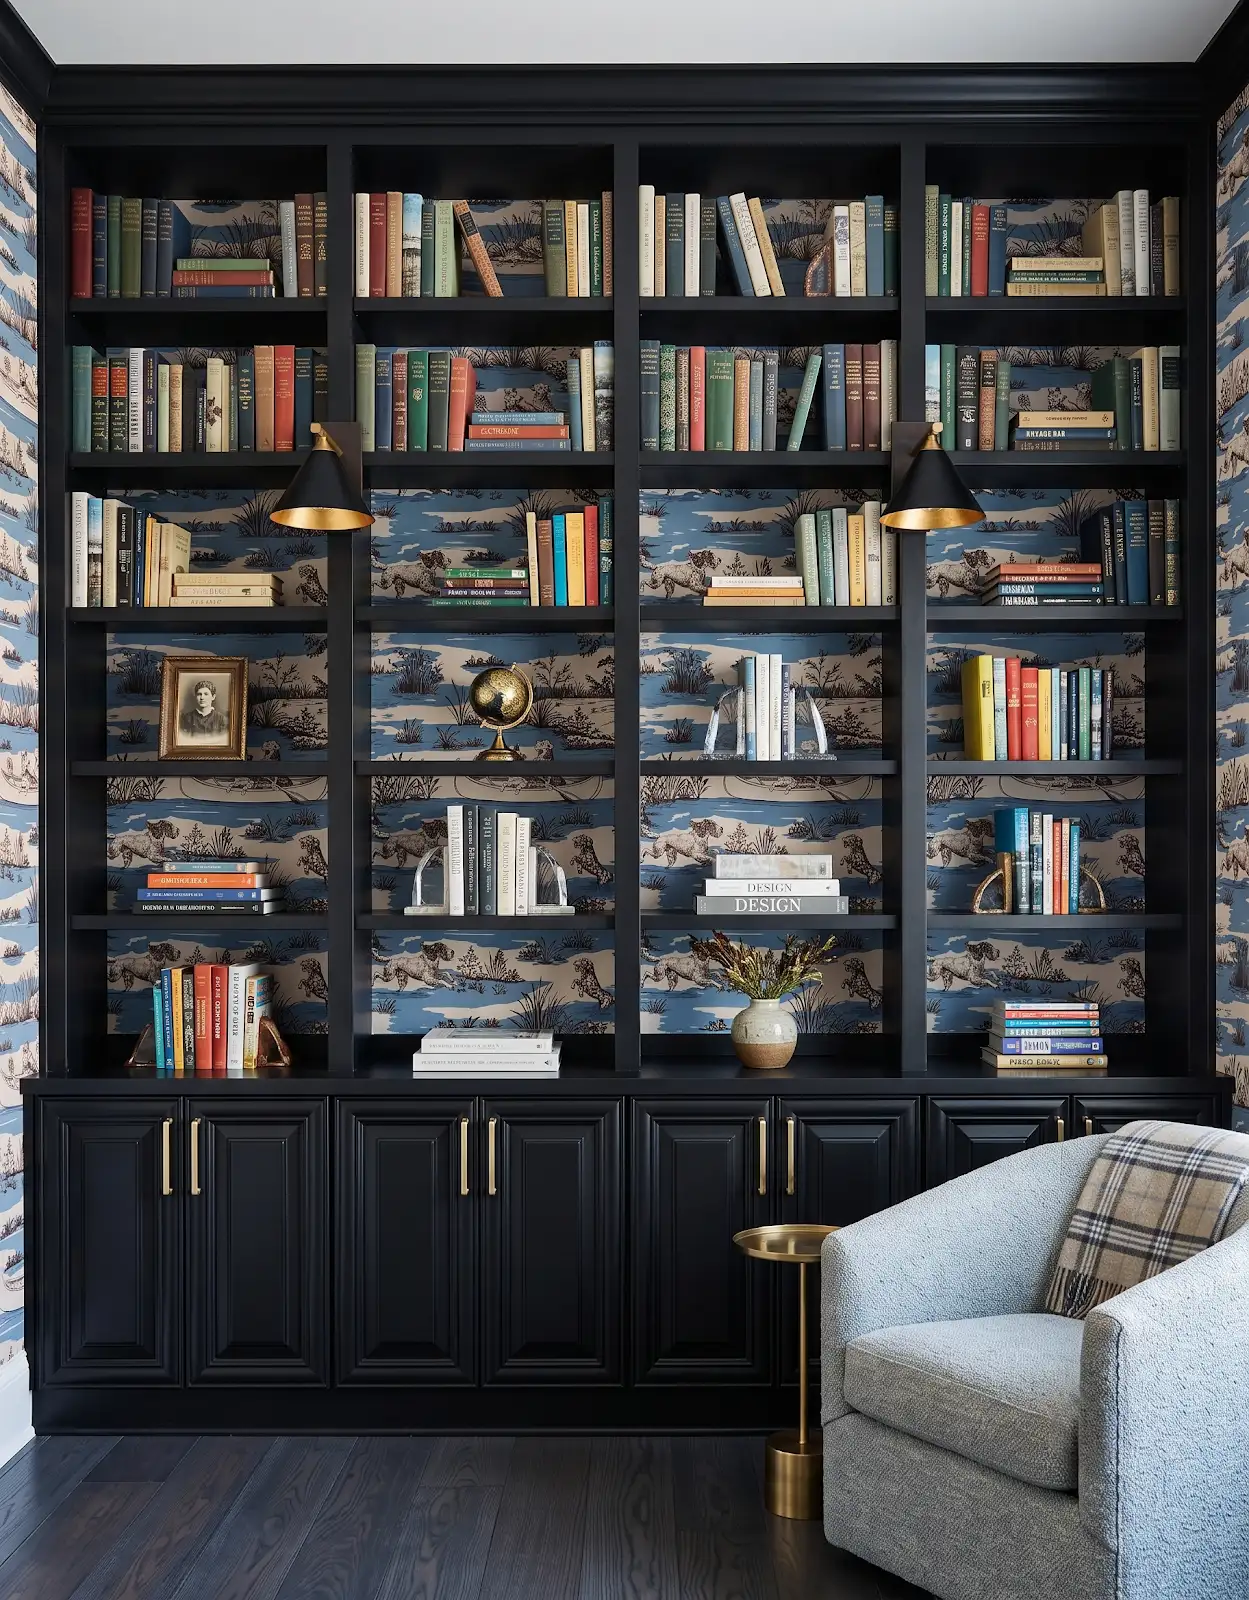
View the proposed location while standing and from nearby seating. The most comfortable height can depend on how the space is used. A room concept helps with composition, but your own sightline is the useful reference for the final placement.
3. Make a paper arrangement
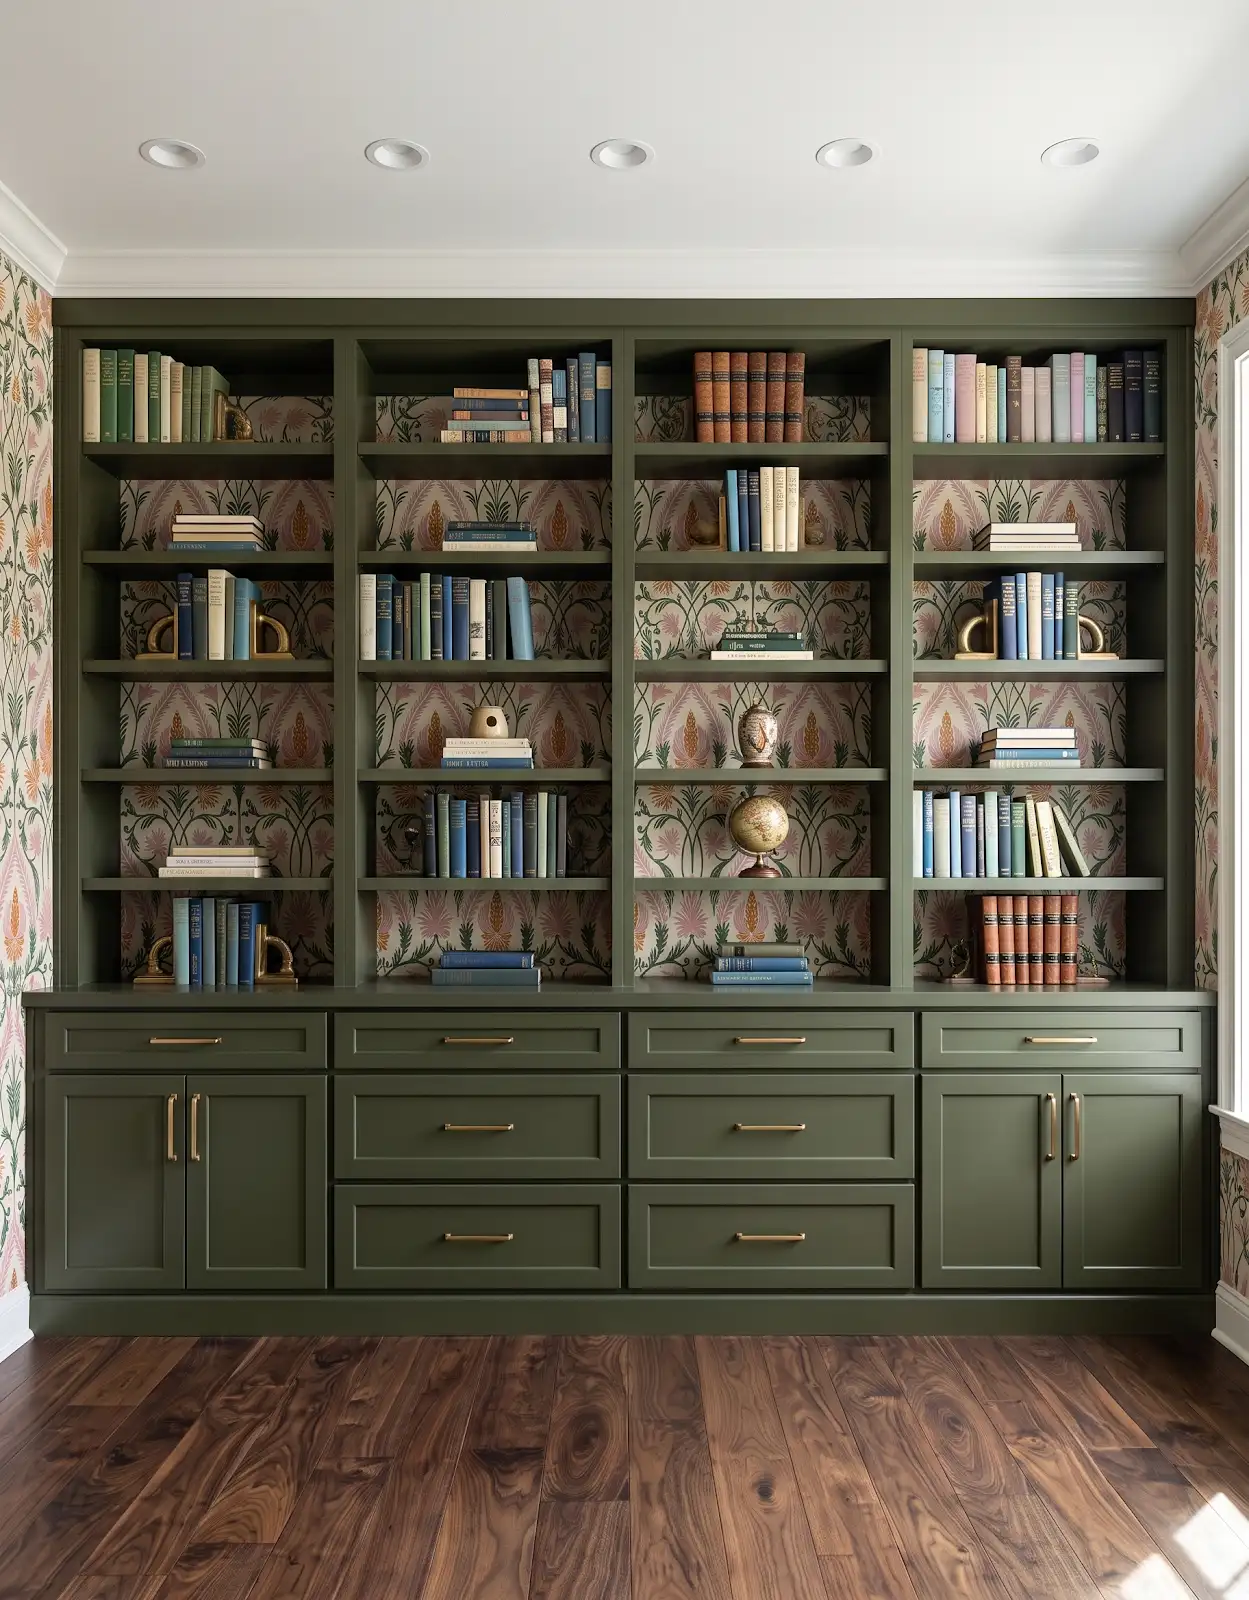
Use paper outlines to compare frame sizes and groupings before hanging. Keep the arrangement easy to revise. This is particularly helpful when several pieces need to relate to each other, because changing the spacing on paper is simpler than relocating multiple wall fixings.
4. Check the spacing as a group
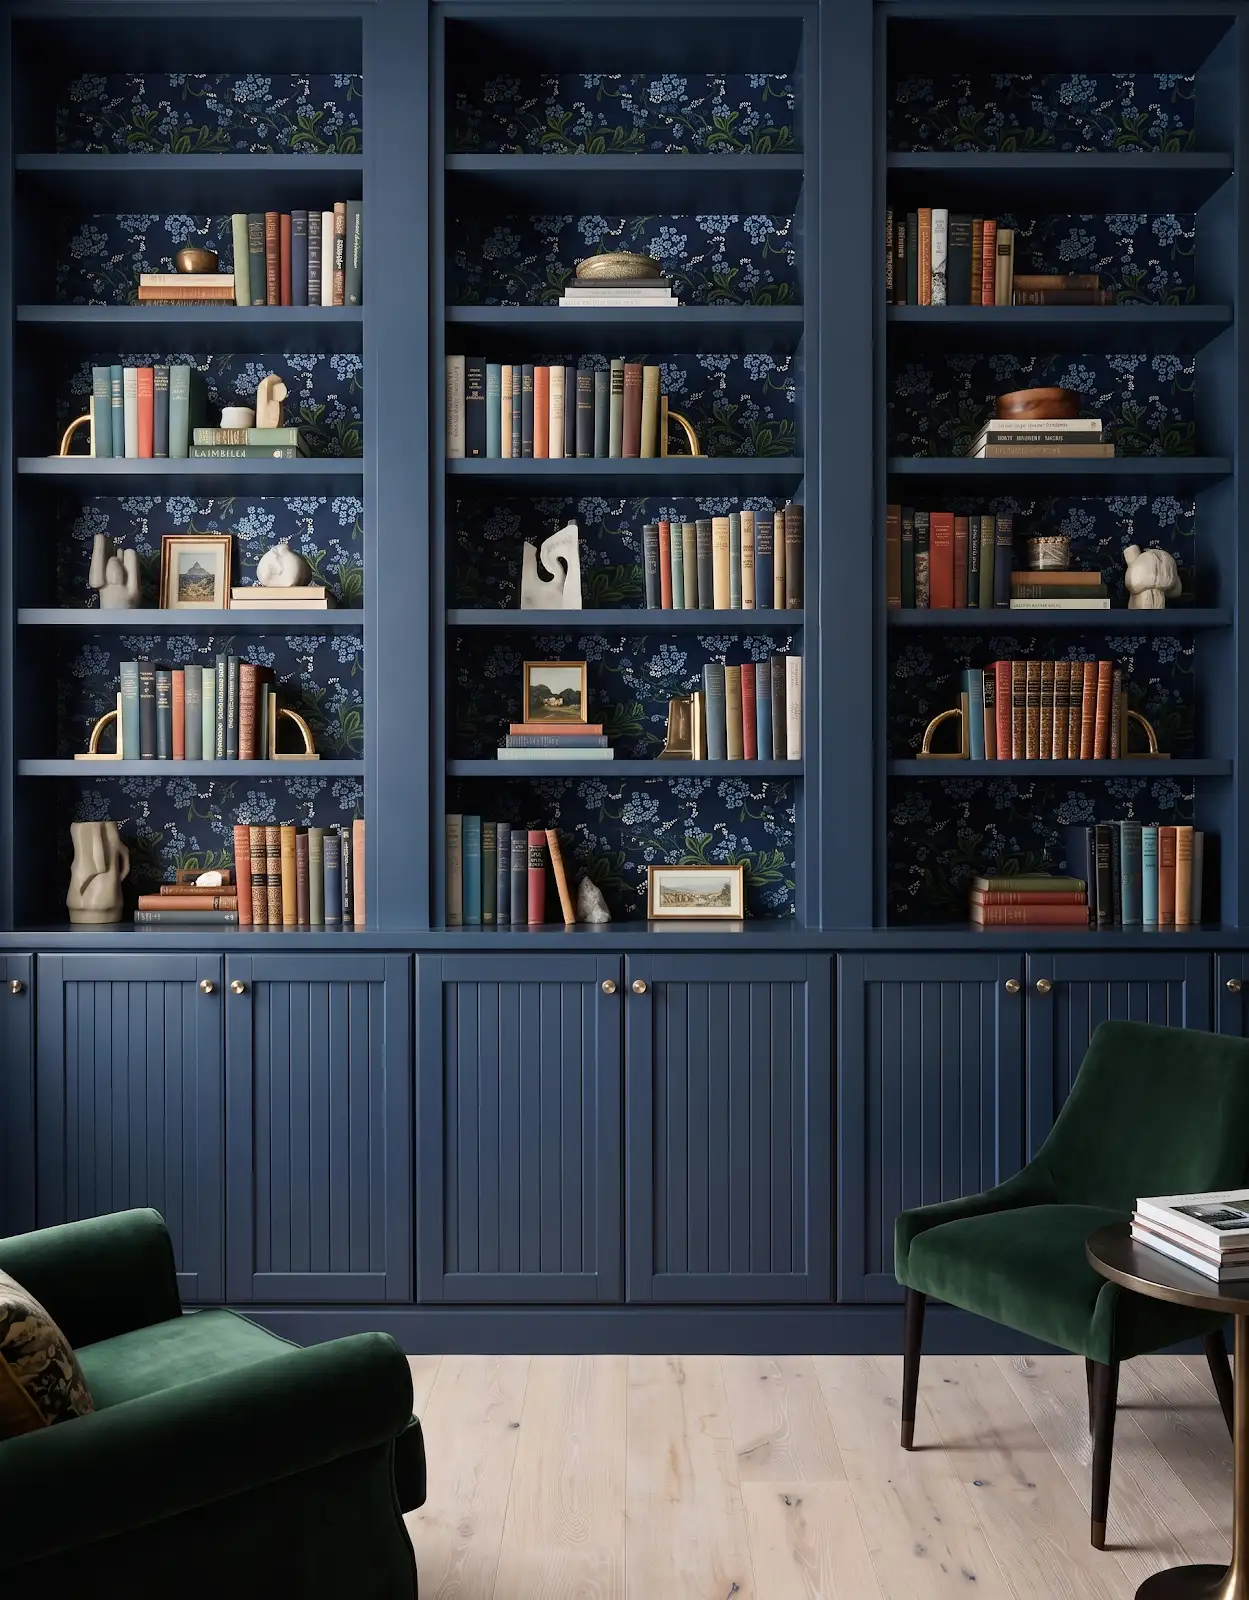
Look at the gaps between frames as well as the outer shape of the arrangement. A group can feel connected through consistent spacing even when the pictures differ. Step back to judge the whole composition rather than concentrating only on one frame at a time.
5. Measure the frame's hanging points
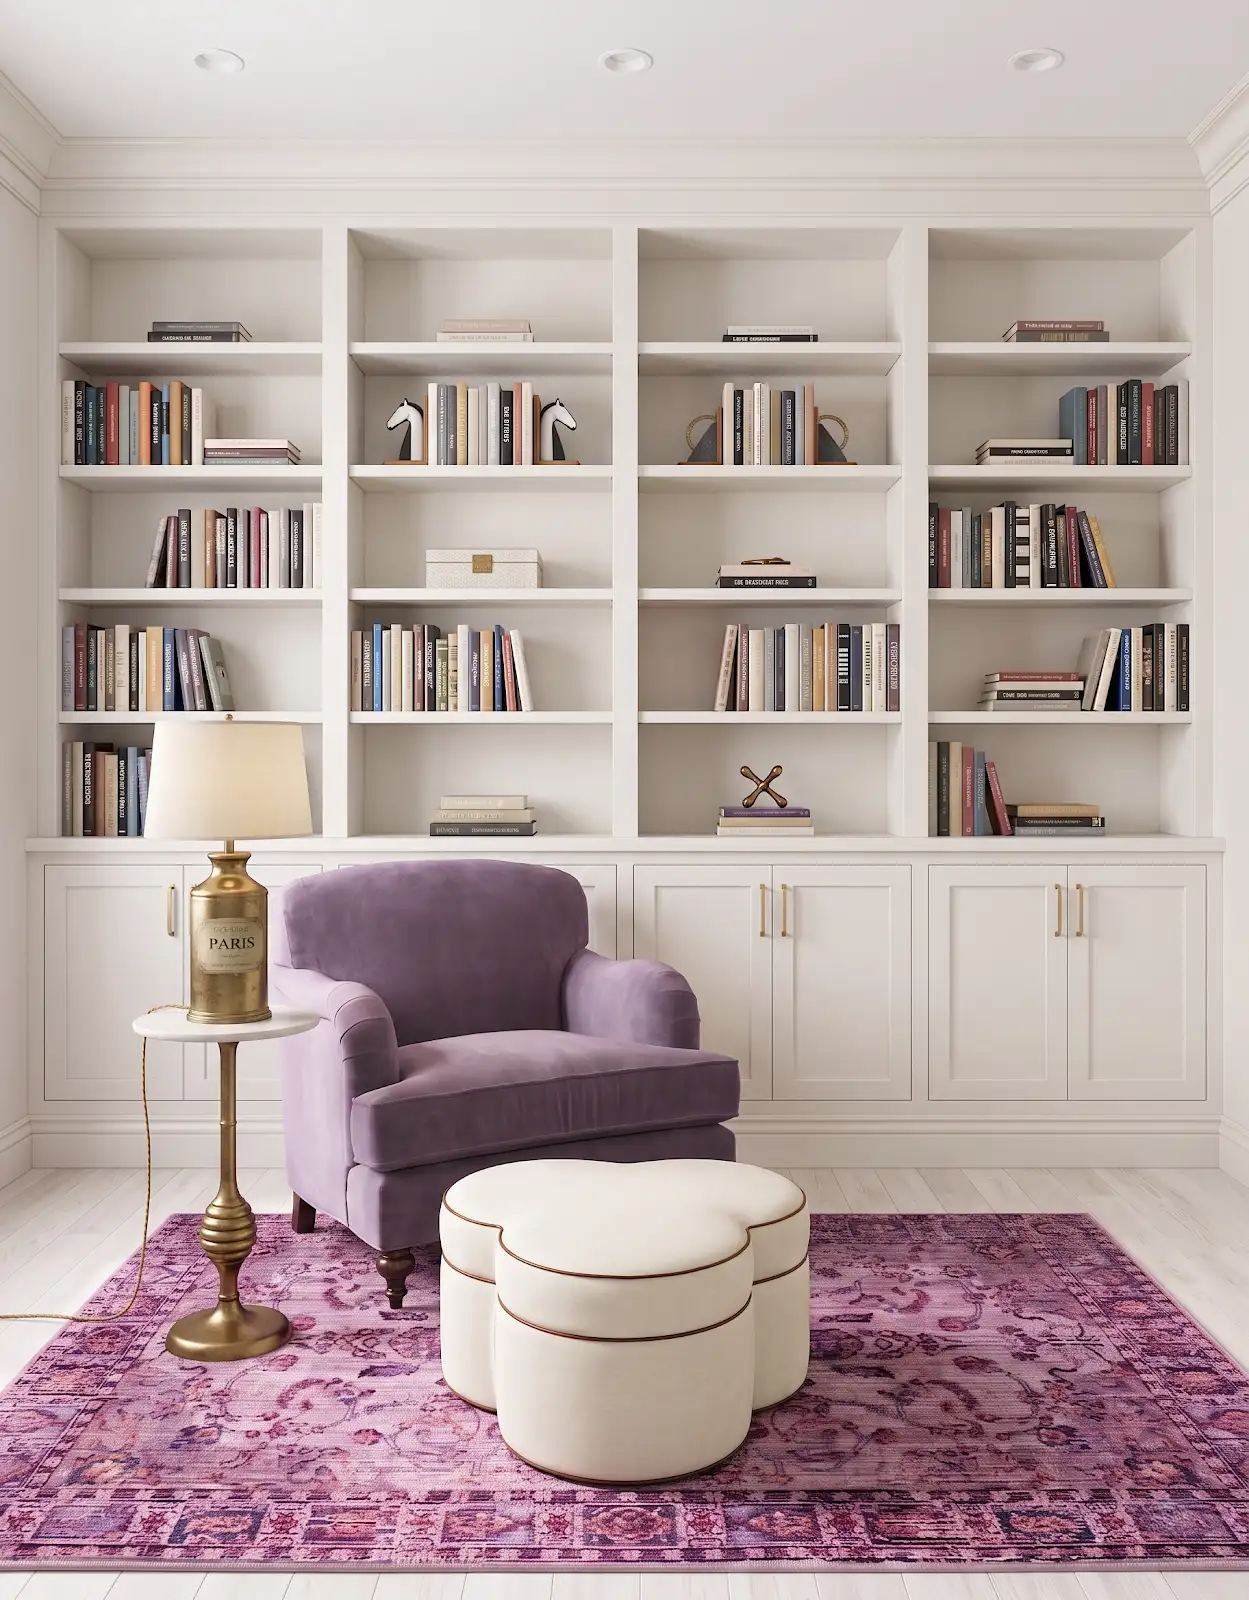
Record how the actual frame is supported and how those points relate to its top edge. Different hanging systems can put the fixing in different positions. Use the frame's own hardware information rather than assuming every picture hangs from the same measurement.
6. Select support for the actual wall
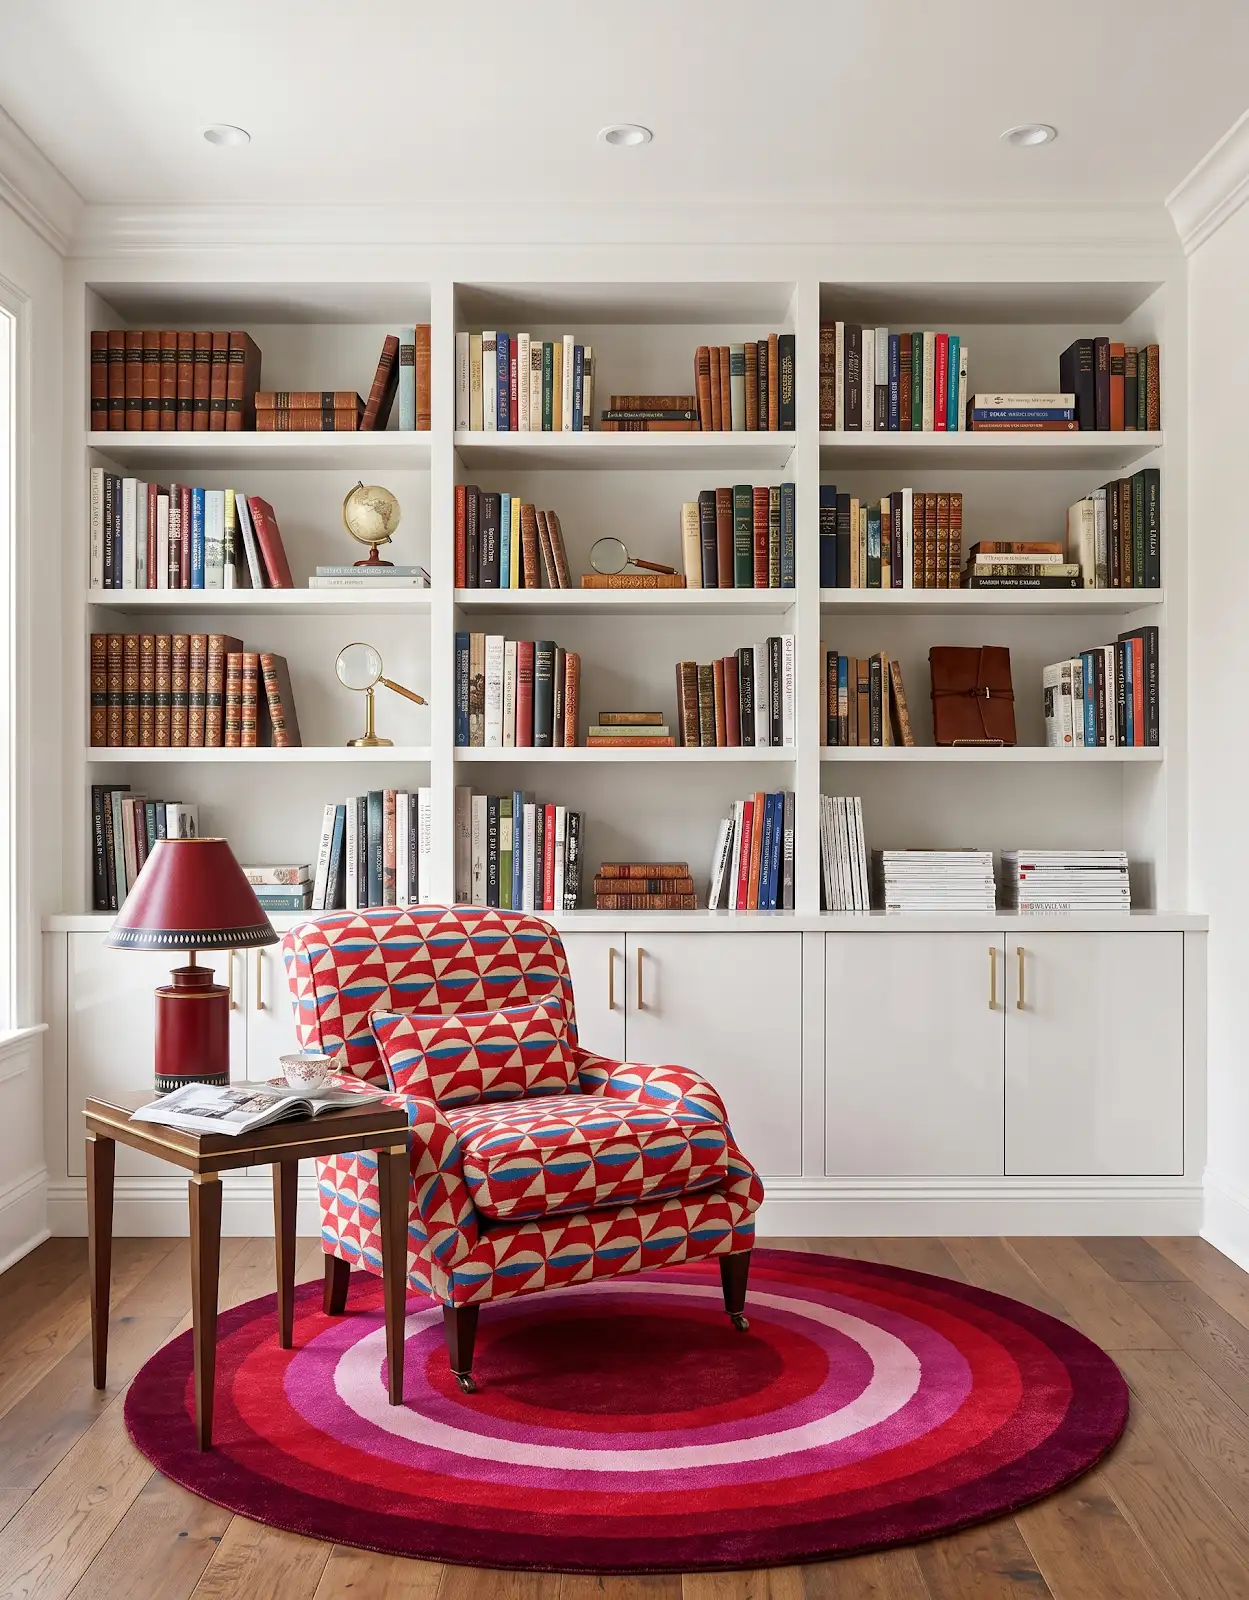
Identify the wall construction and the picture's weight, then follow the selected hanger's requirements. For heavy or uncertain installations, use a suitable professional. A decorative room image cannot establish hidden wall conditions or the correct fixing for a particular piece of art.
7. Check alignment after hanging
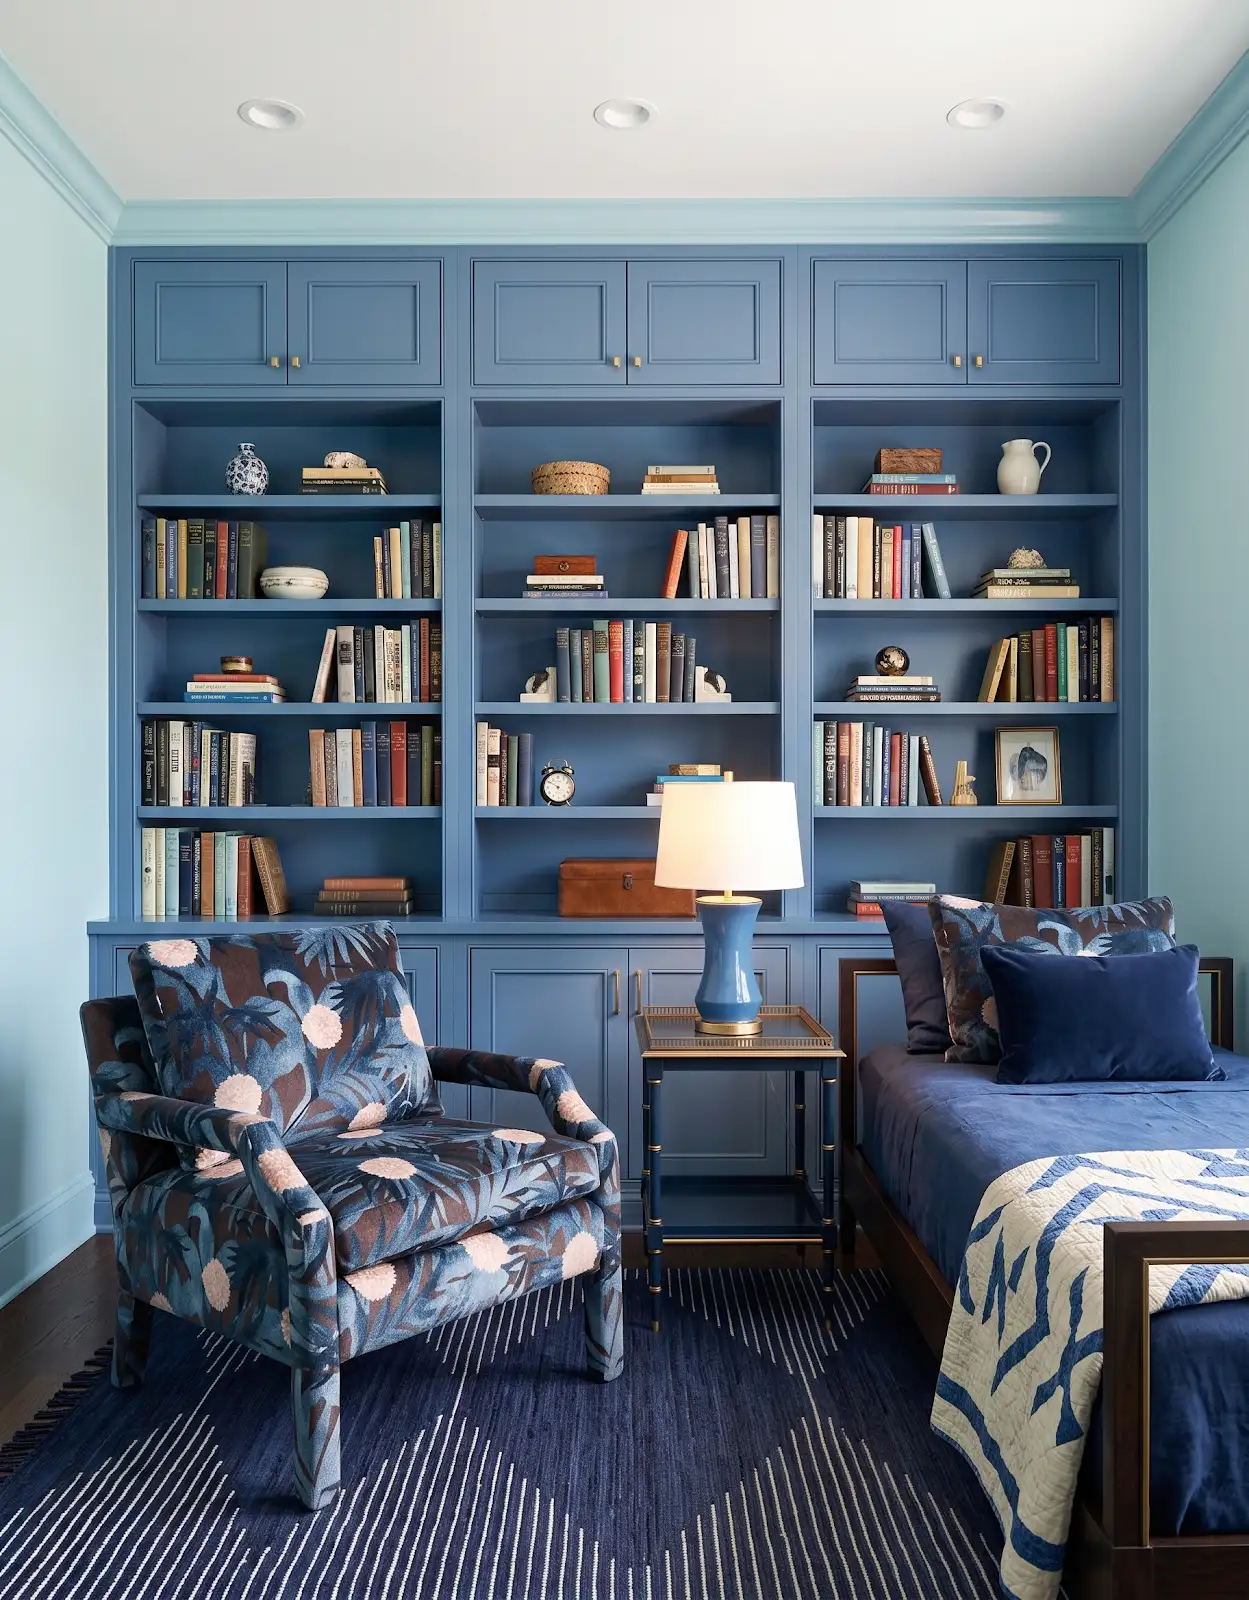
Use an appropriate level and review the picture from the doorway and nearby seating. Compare it with adjacent frames and furniture rather than only the wall edge. Small placement adjustments can improve the composition once the actual frame is in position.
8. Review temporary hanging products carefully
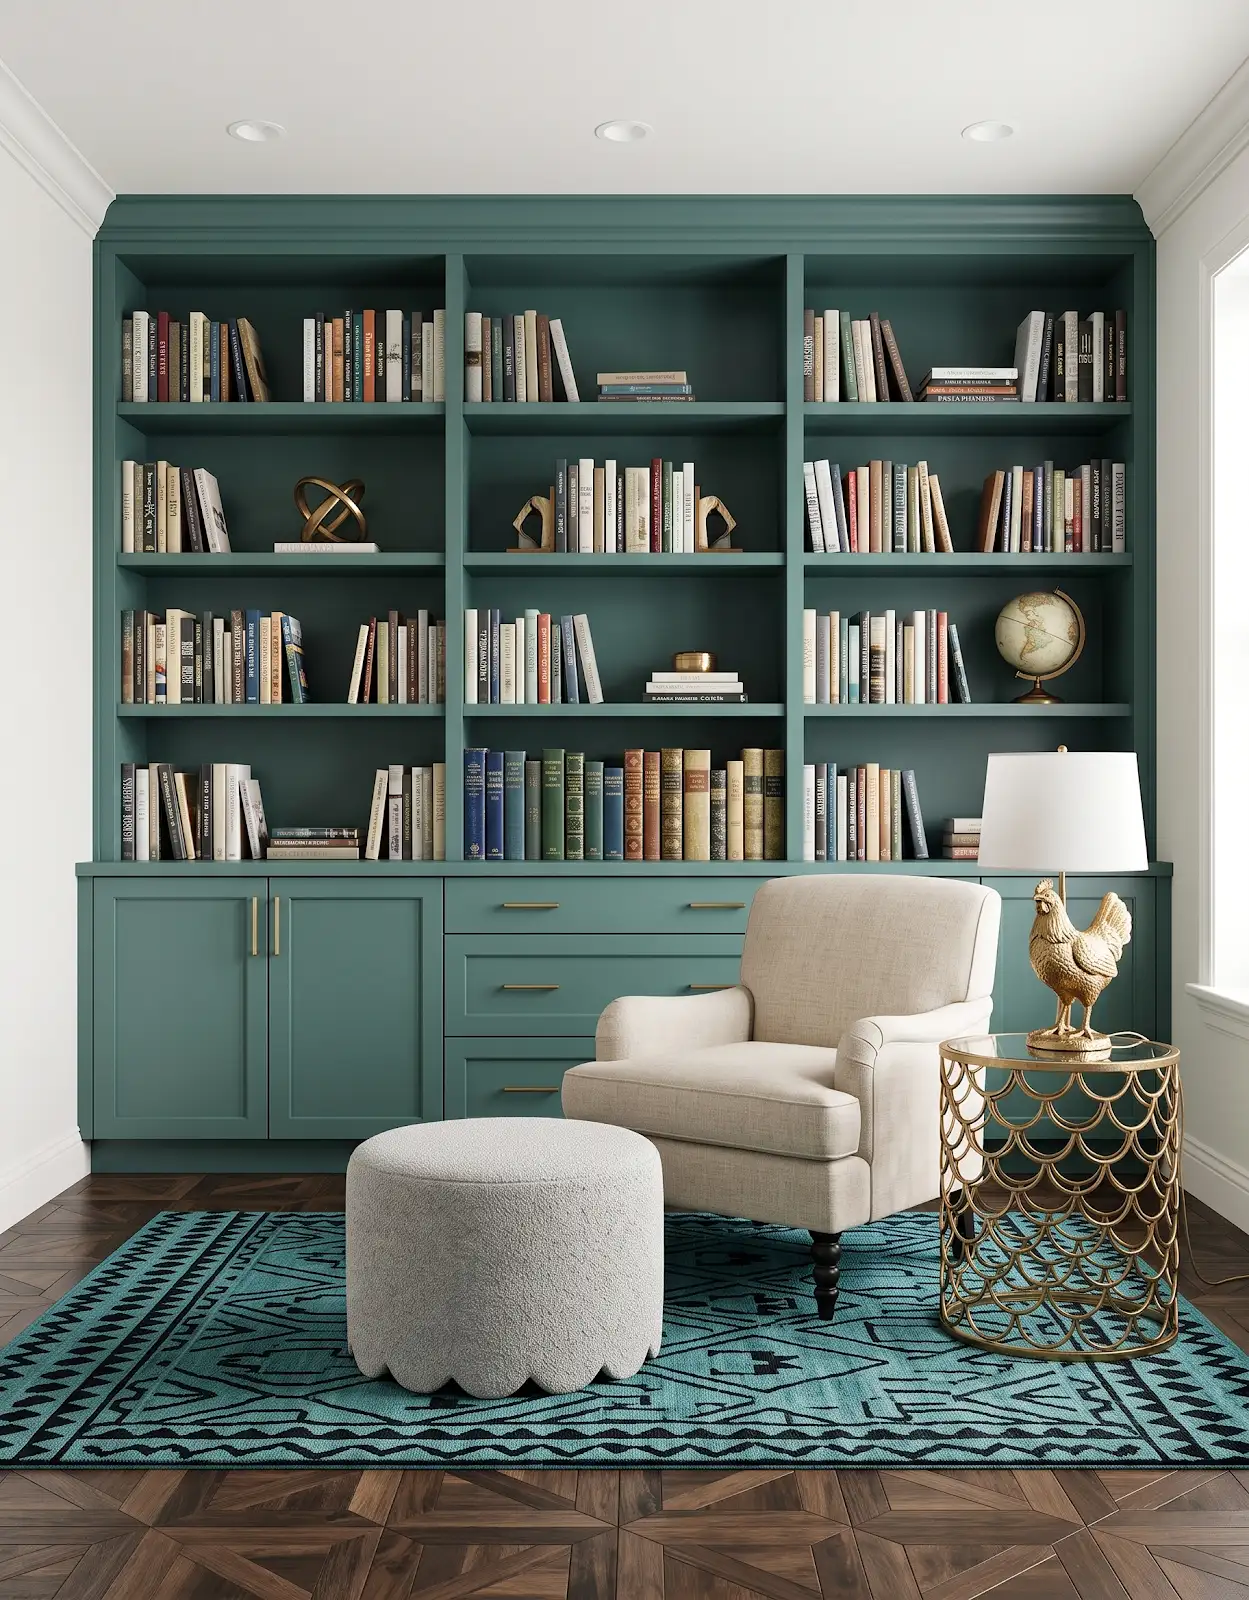
If using removable or adhesive hangers, follow their surface, weight and removal guidance for the exact product. Do not assume that a temporary label guarantees compatibility with every painted wall. Keep that practical review separate from the visual arrangement you are testing.
9. Connect art to the room palette
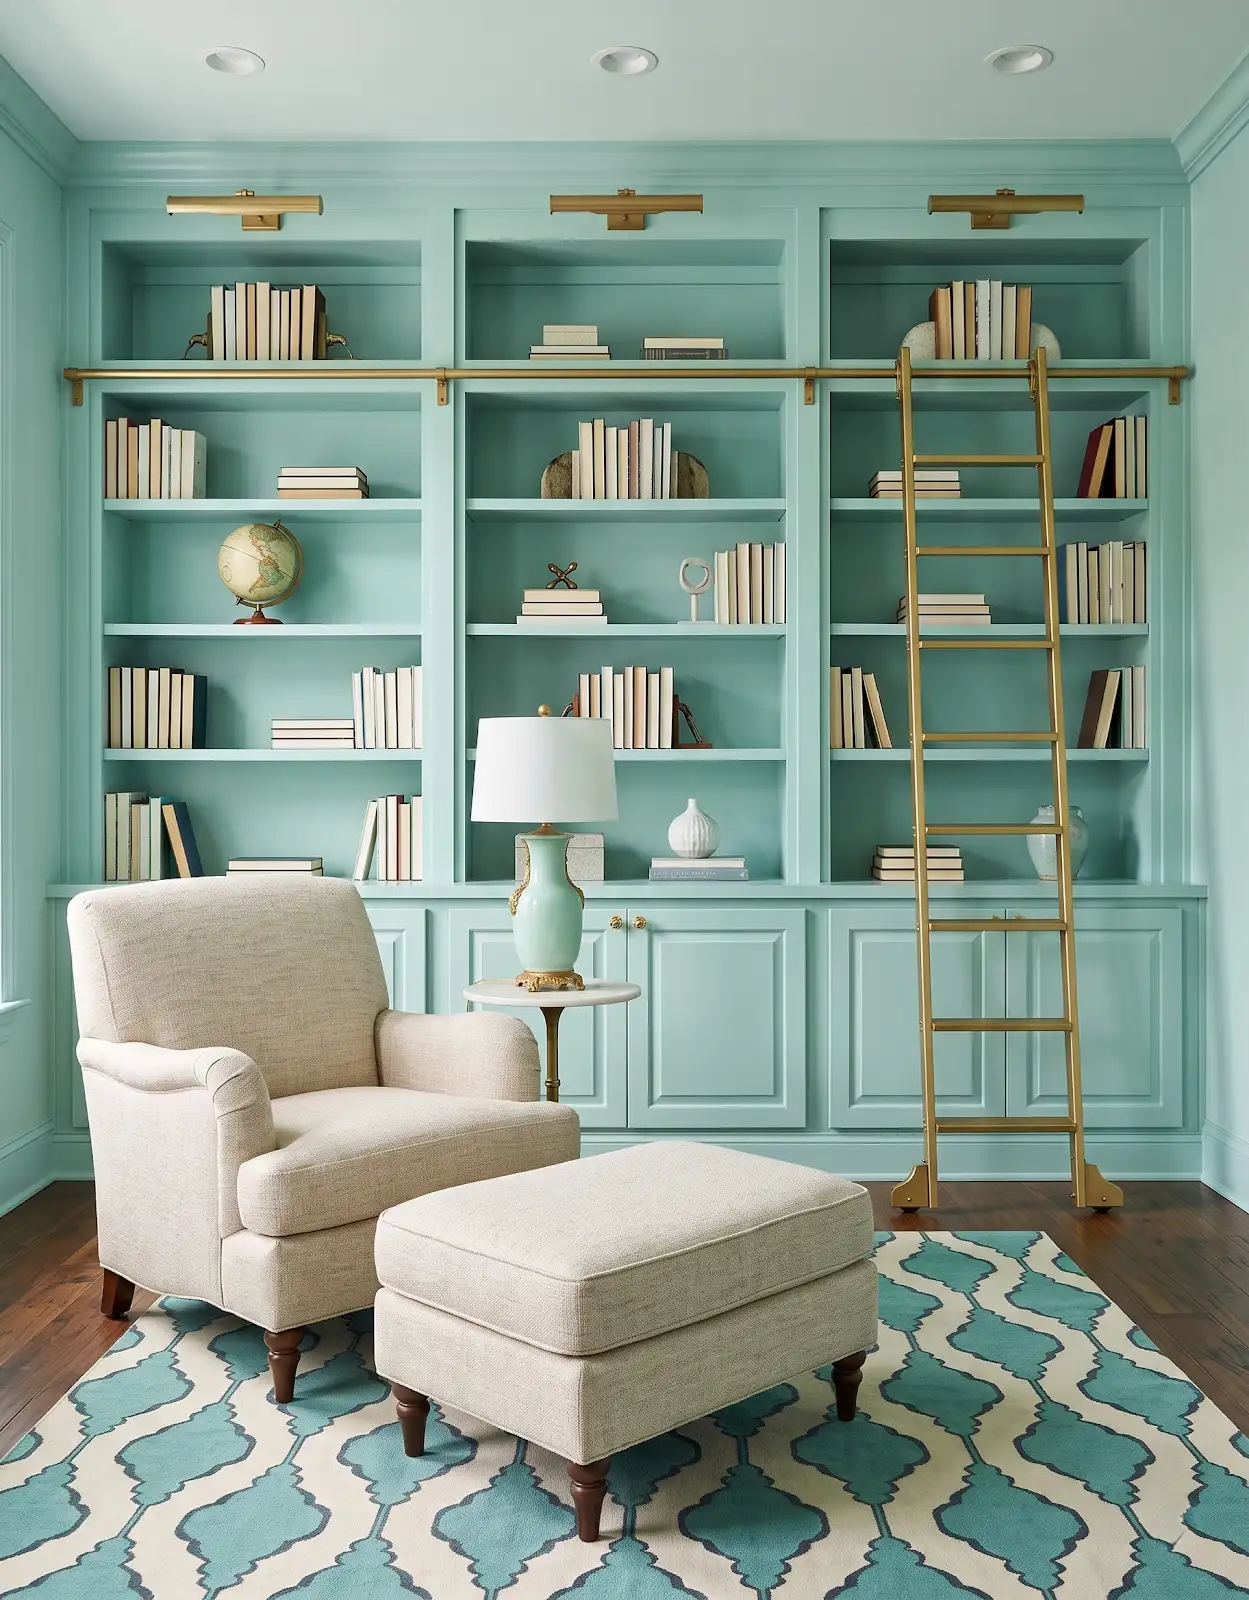
Let a color or frame finish relate to the cabinetry, flooring or textiles without matching everything. Bring the artwork reference when discussing new materials at The Design Center. The framed objects in the concepts illustrate styling relationships and are not a catalog of products for sale.
Compare the options with The Design Center
Browse the relevant guides and official catalogs, then bring your room photos and exact product details to the showroom. We can help coordinate selections and confirm availability, pricing and timing for your project.
Products for Your Home All design ideasTHE DESIGN CENTER / OROFINO, IDAHO
Come in with an idea. Leave with a direction.
A favorite color. A cabinet sample. A room that needs a little love. Bring it to the showroom and let’s find the finishes that feel like you.
Step inside the showroomFind us on Johnson Ave.
124 Johnson Ave, Orofino, ID 83544
Monday–Friday · 8am–5pm
Call or text 208-786-0361
Directions & contact details