
A Coffee Station That Leaves Room to Work
A coffee station works best when it contains the whole routine, from filling the machine to putting the mugs away. Before choosing cabinet colors, make a small inventory. The resulting storage and surface decisions can create a useful corner without taking over the kitchen.
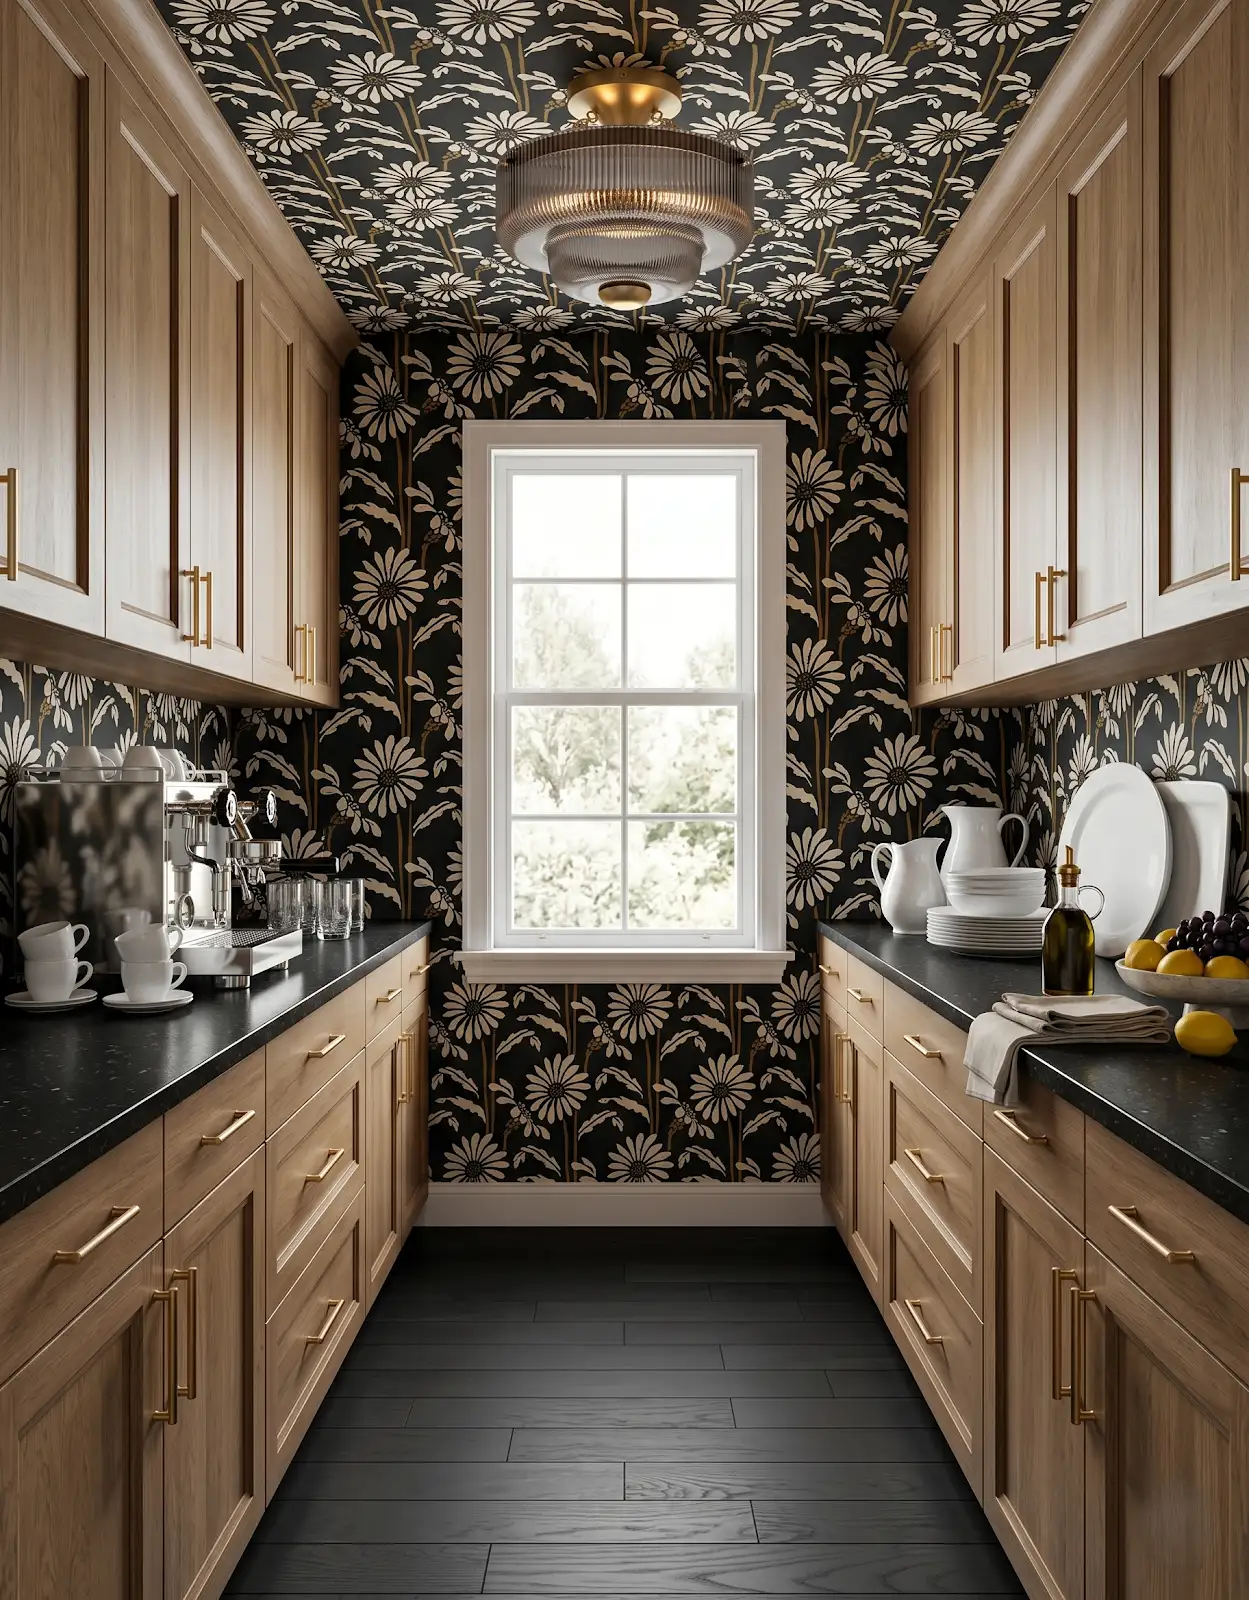
AI-generated design concepts from Anna’s approved inspiration library. Images illustrate color, proportion and finish relationships; they are not completed customer projects or exact manufacturer products.
1. Measure the actual equipment
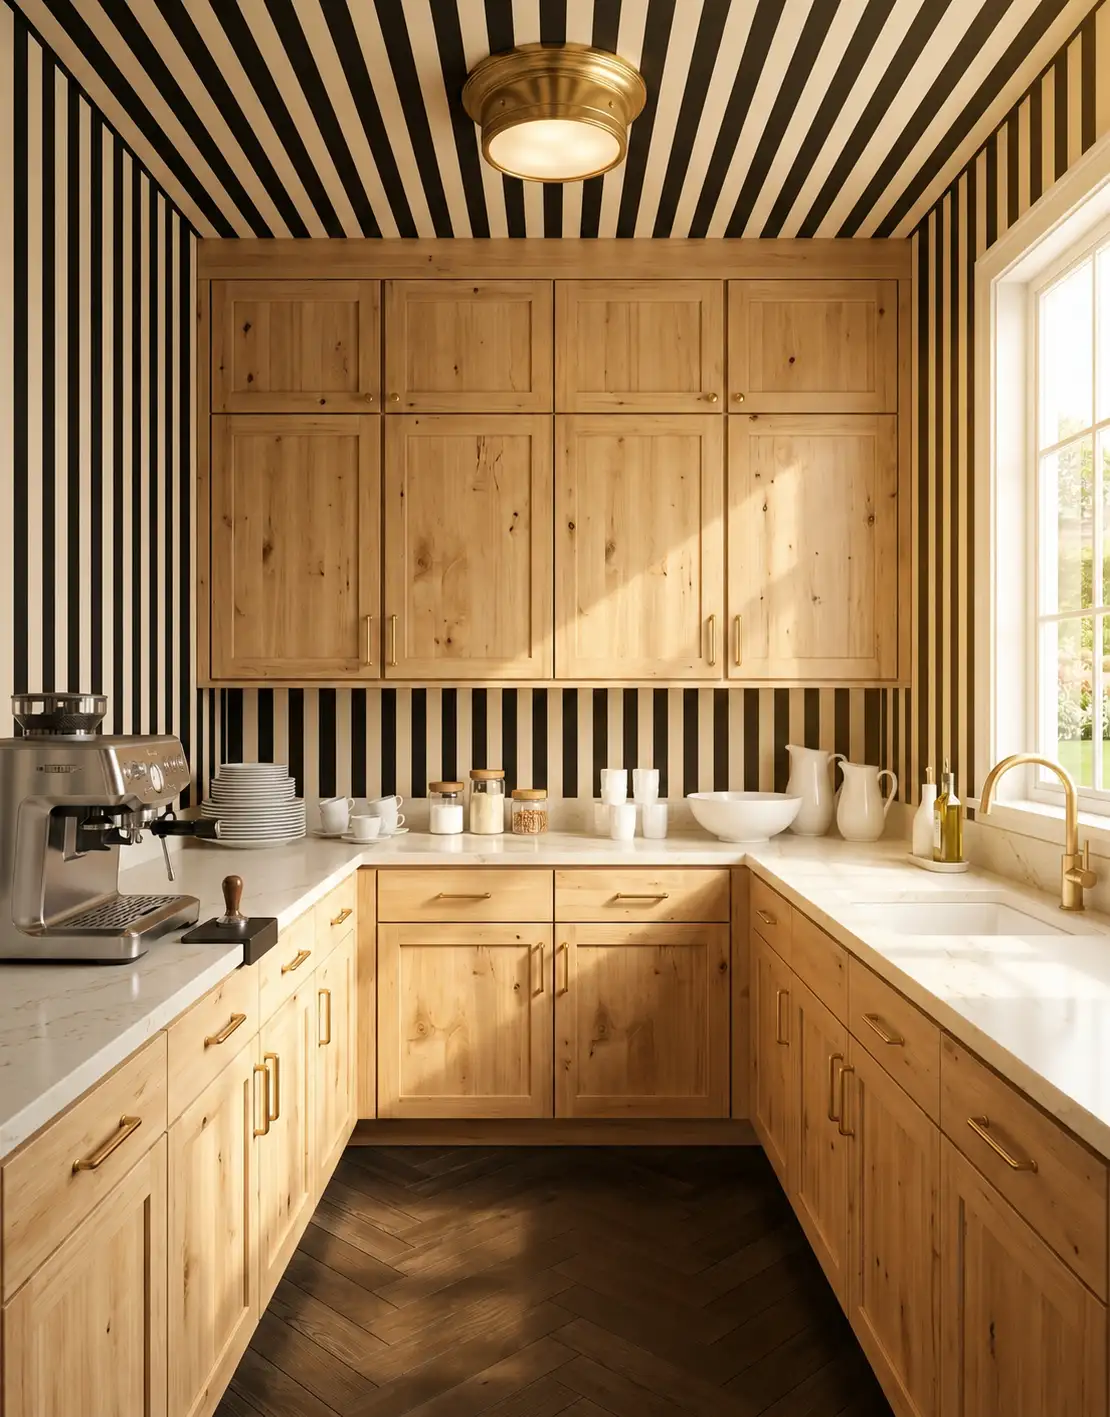
Record the dimensions of the machine you intend to use. Include what opens, lifts or slides during operation. Product instructions and the installation plan determine required clearances; an inspiration photo cannot tell you whether a particular appliance will work in that position.
2. Follow the morning routine
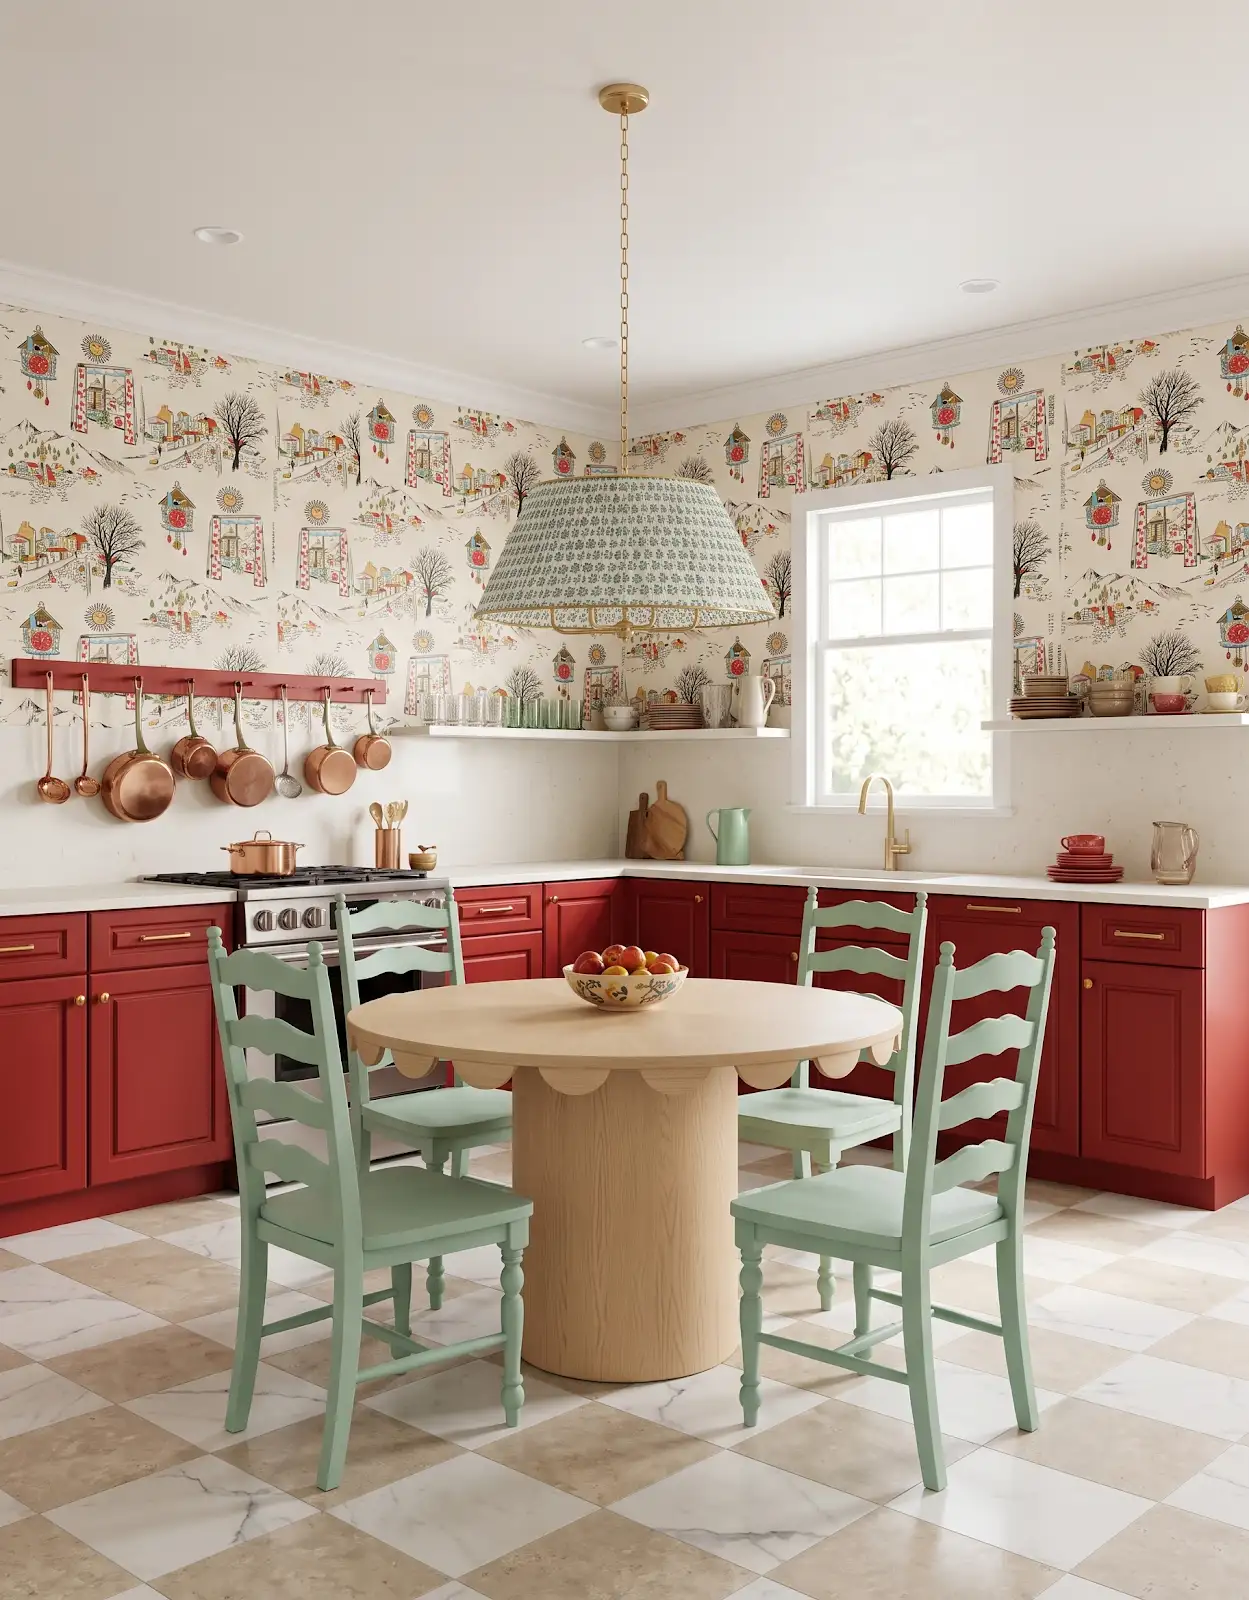
Think through water, coffee, cups, spoons and cleanup in order. Notice which supplies currently live across the kitchen. Keeping related items nearby can make the station convenient, but the arrangement should still leave space to prepare and set down a drink.
3. Plan for the less attractive supplies
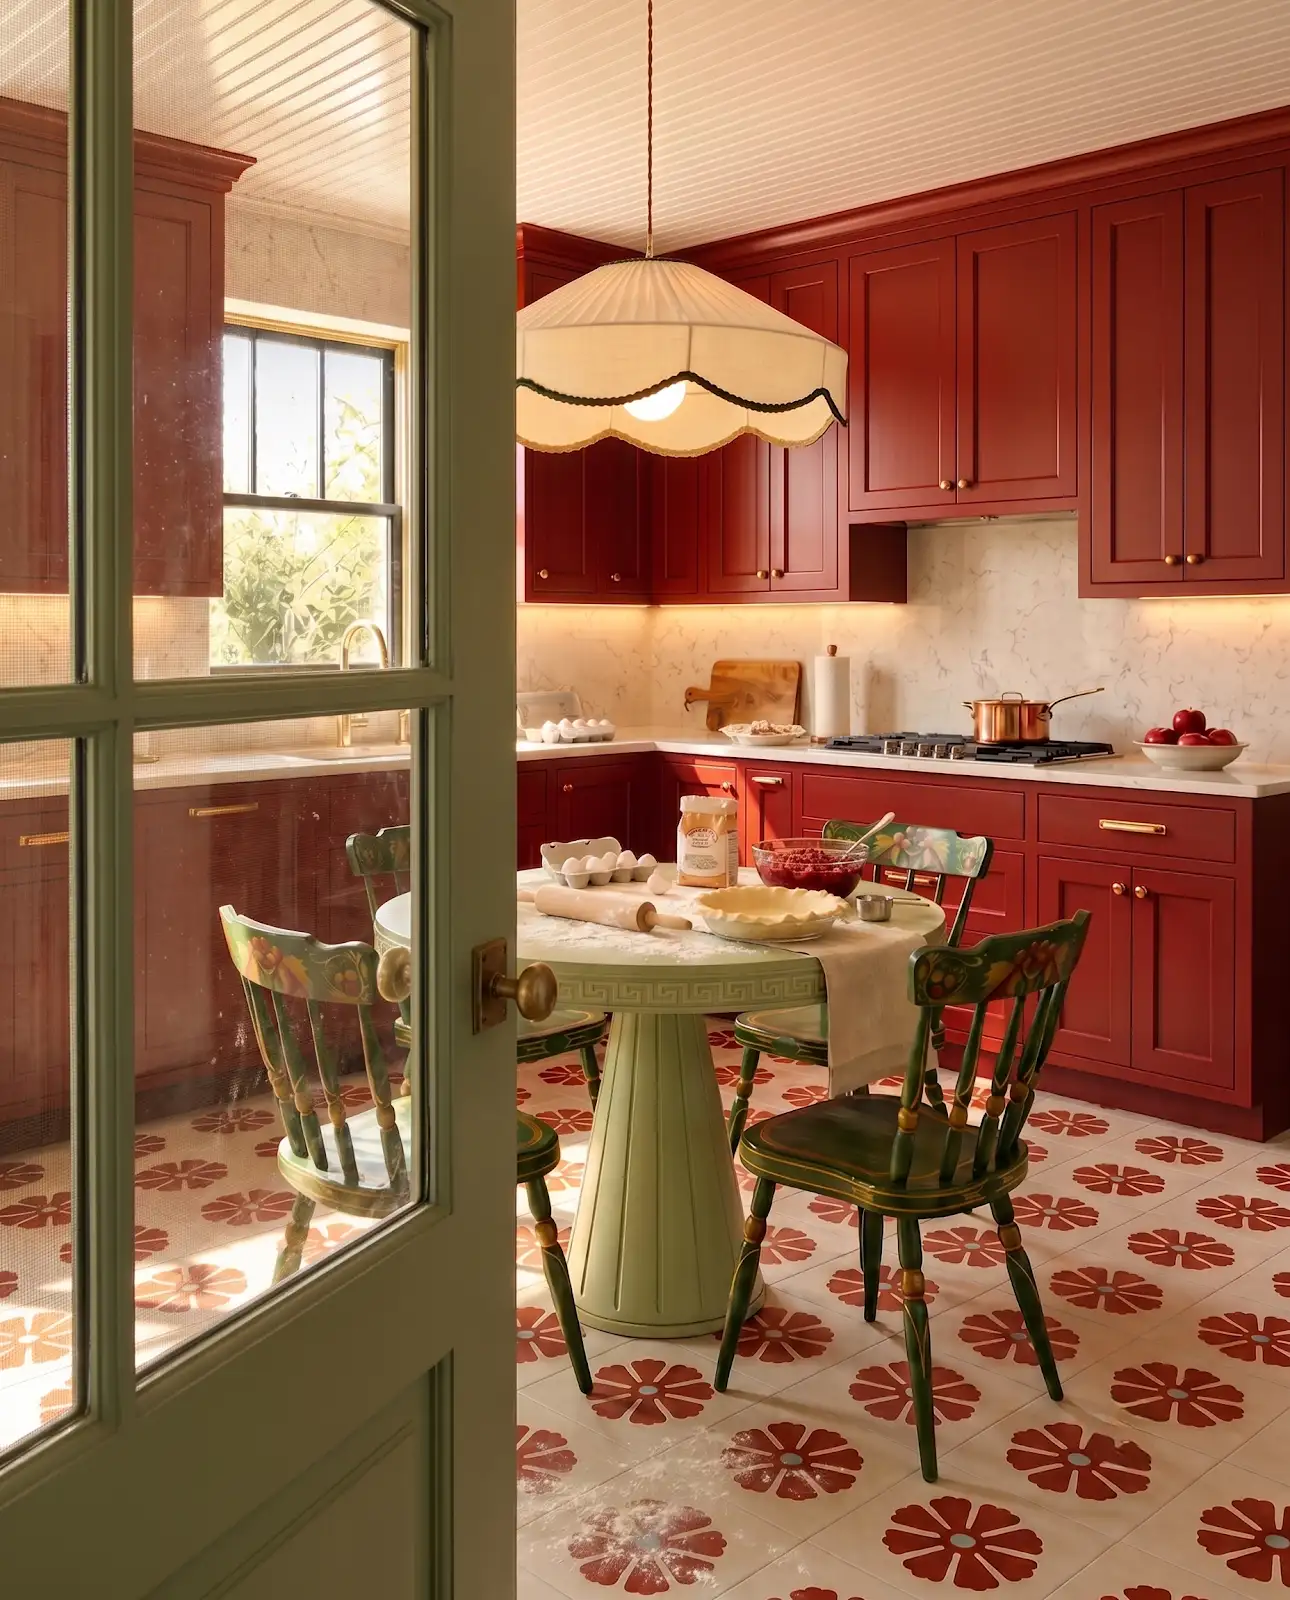
Filters, packaging and spare accessories need storage too. Decide which belong behind a door or in a drawer. The station is more likely to stay orderly when its everyday contents have a place, rather than relying on a permanently styled countertop.
4. Leave a clear landing area
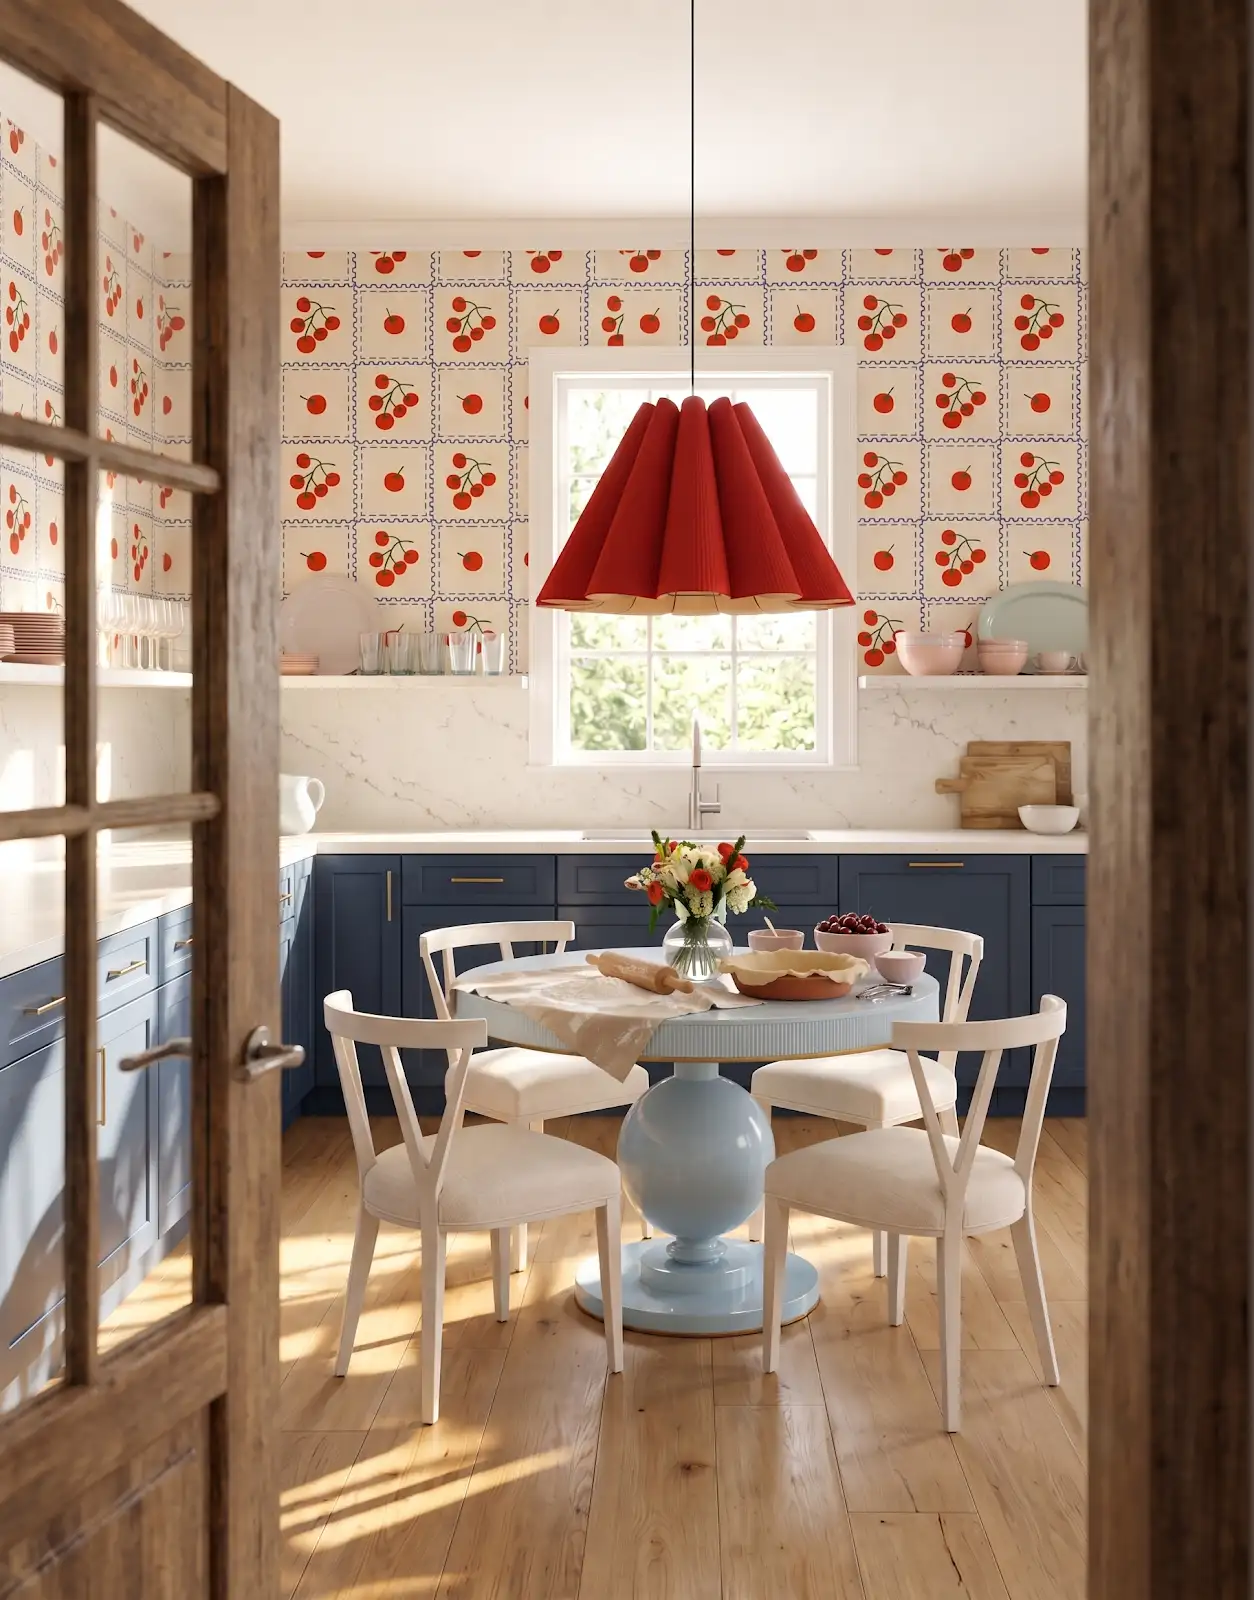
Draw the machine and other equipment onto the proposed surface. Keep a usable area beside them for cups and preparation. A counter can look generous when empty but become awkward once a grinder, kettle and tray are all added.
5. Consider cleaning habits
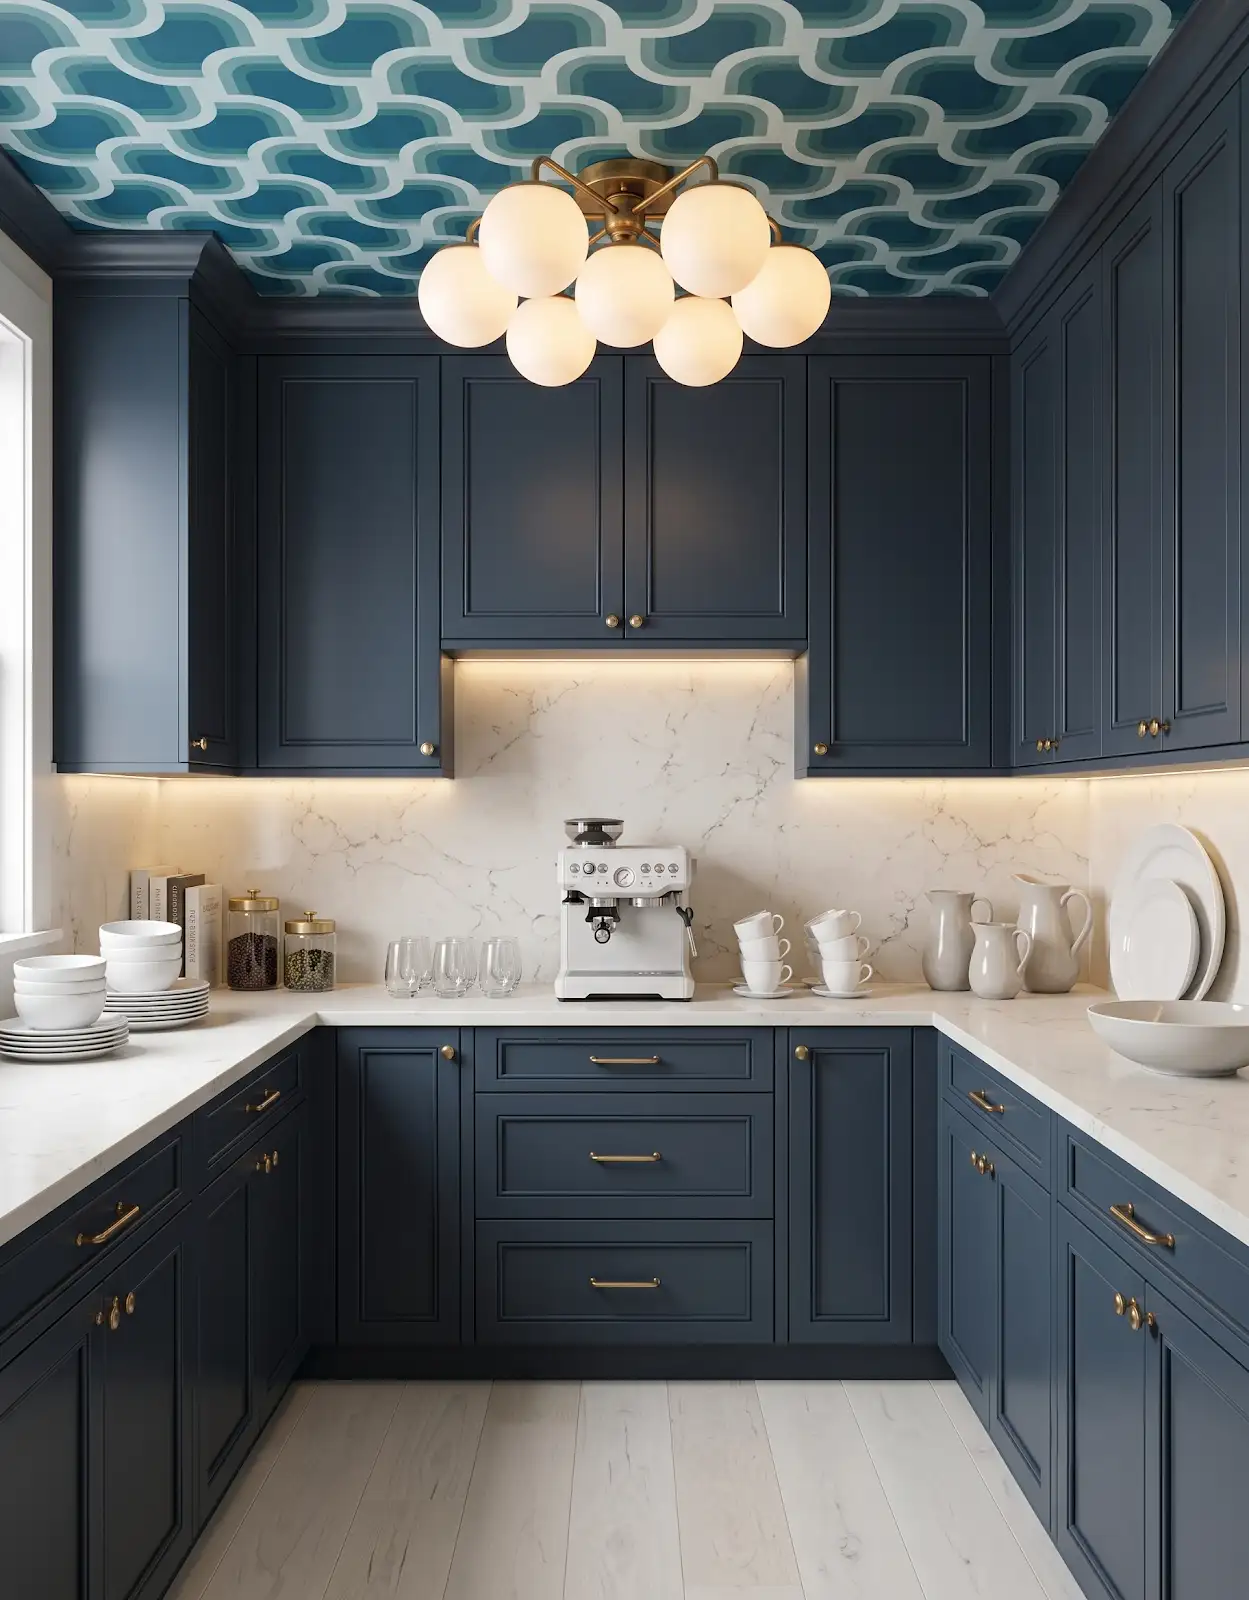
Compare countertop care requirements with the spills and products involved in your routine. Look at the wall directly behind the equipment as well. Choose the surface based on the selected product's guidance, not an assumption that every pale or smooth material behaves alike.
6. Coordinate utility needs early
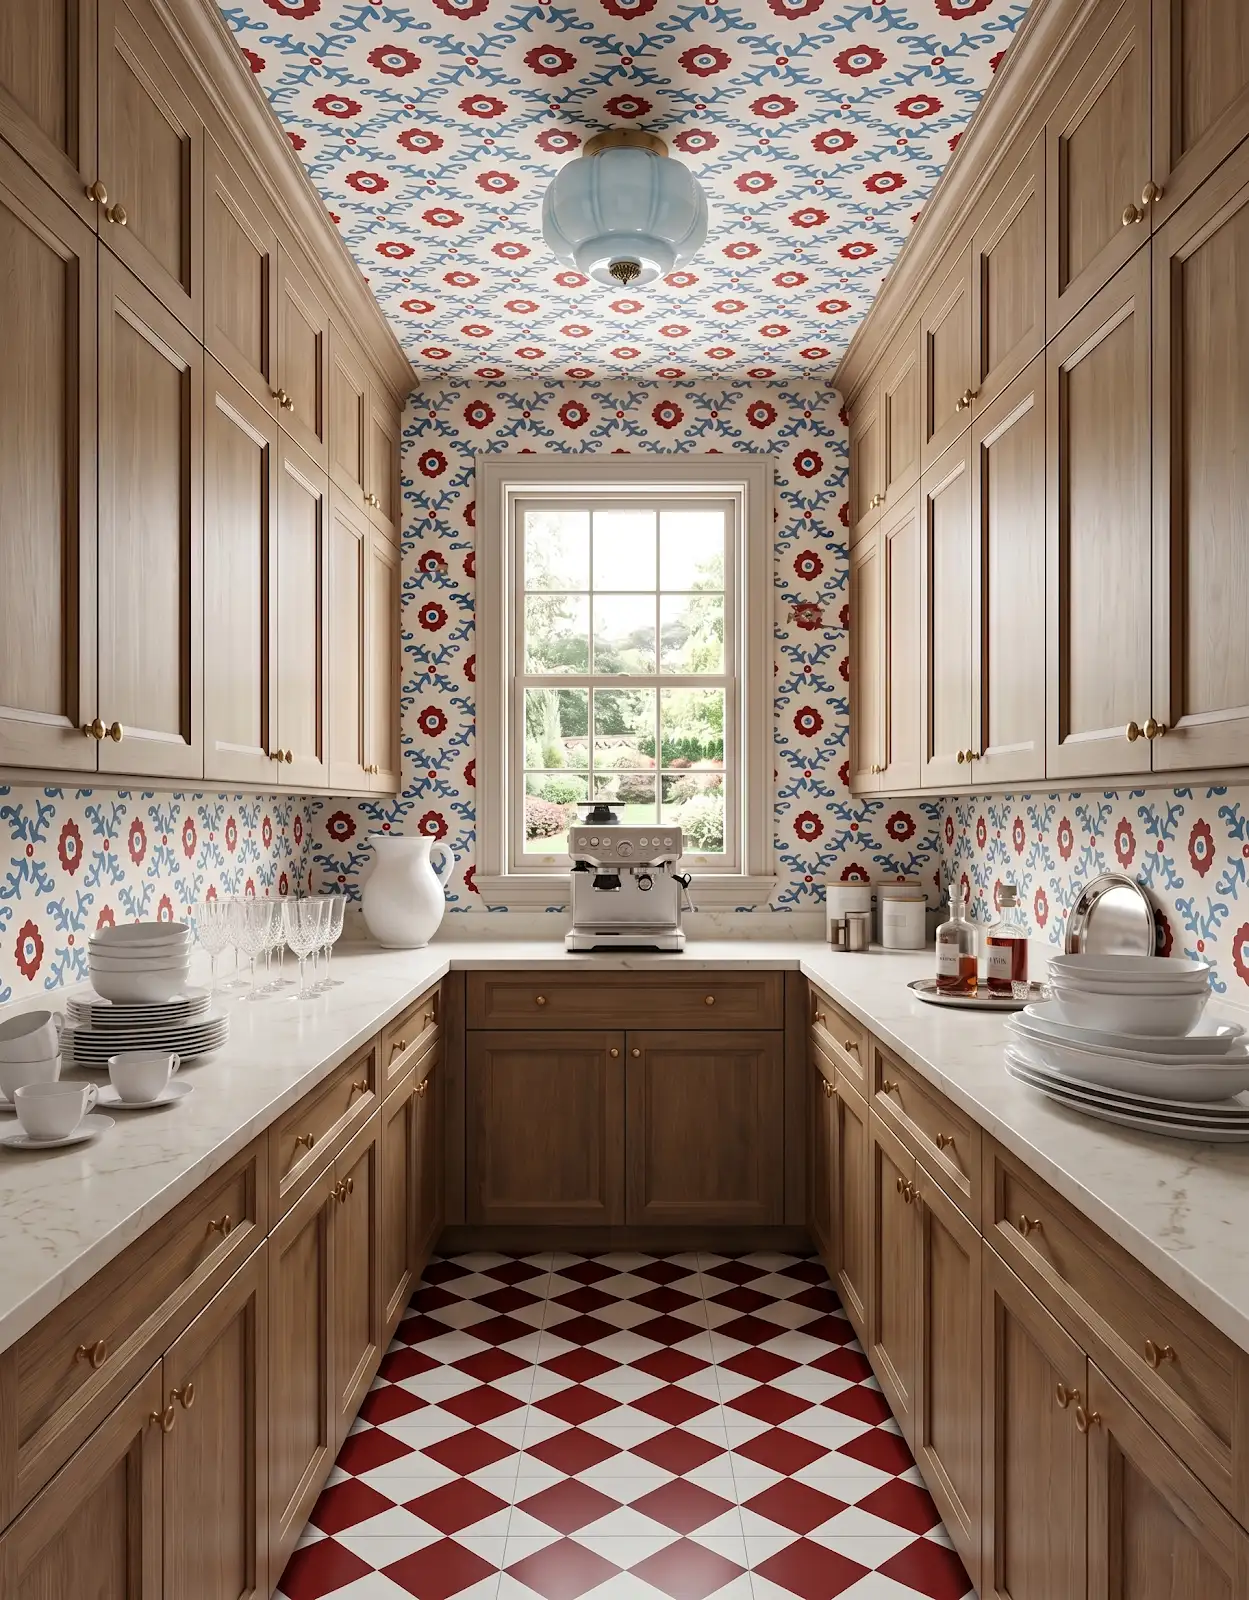
If the station needs new power or plumbing, discuss that work with the appropriate professional before finalizing cabinetry. Record the equipment information for that conversation. The Design Center's finish selection work and the installation scope should be clear to everyone involved.
7. Connect the cabinet finish
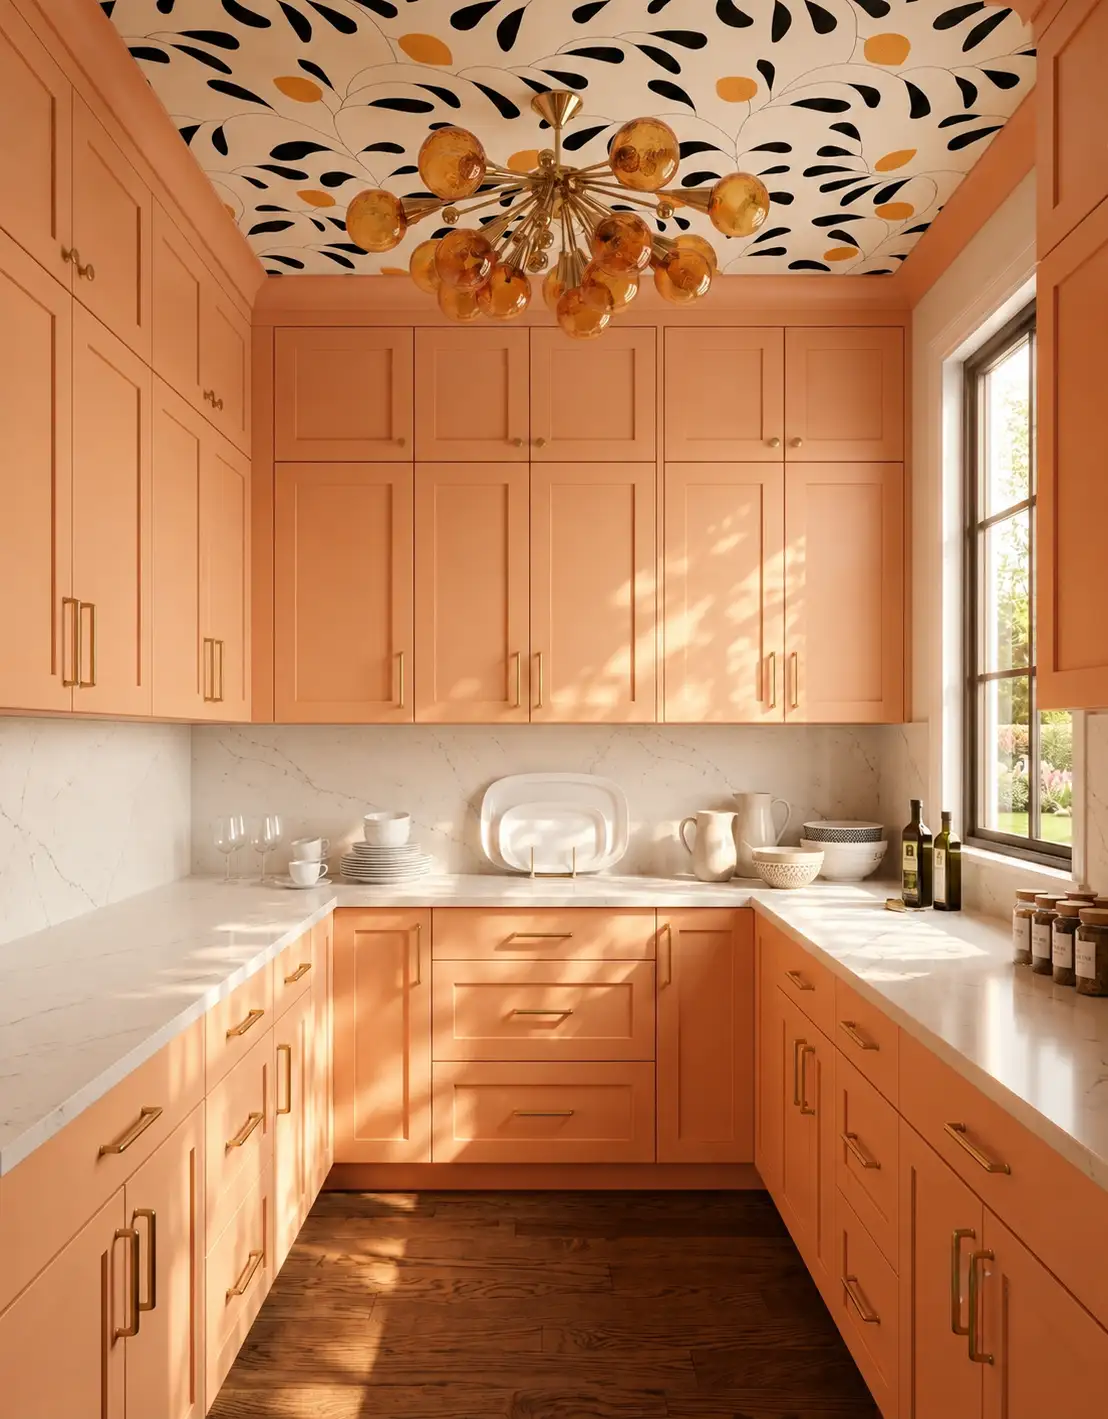
The station can repeat the surrounding cabinetry or become a distinct accent. Compare the door with nearby trim and flooring. If a contrasting color is the feature, a quieter counter and limited accessory palette can help keep the small area settled.
8. Choose hardware for repeated use
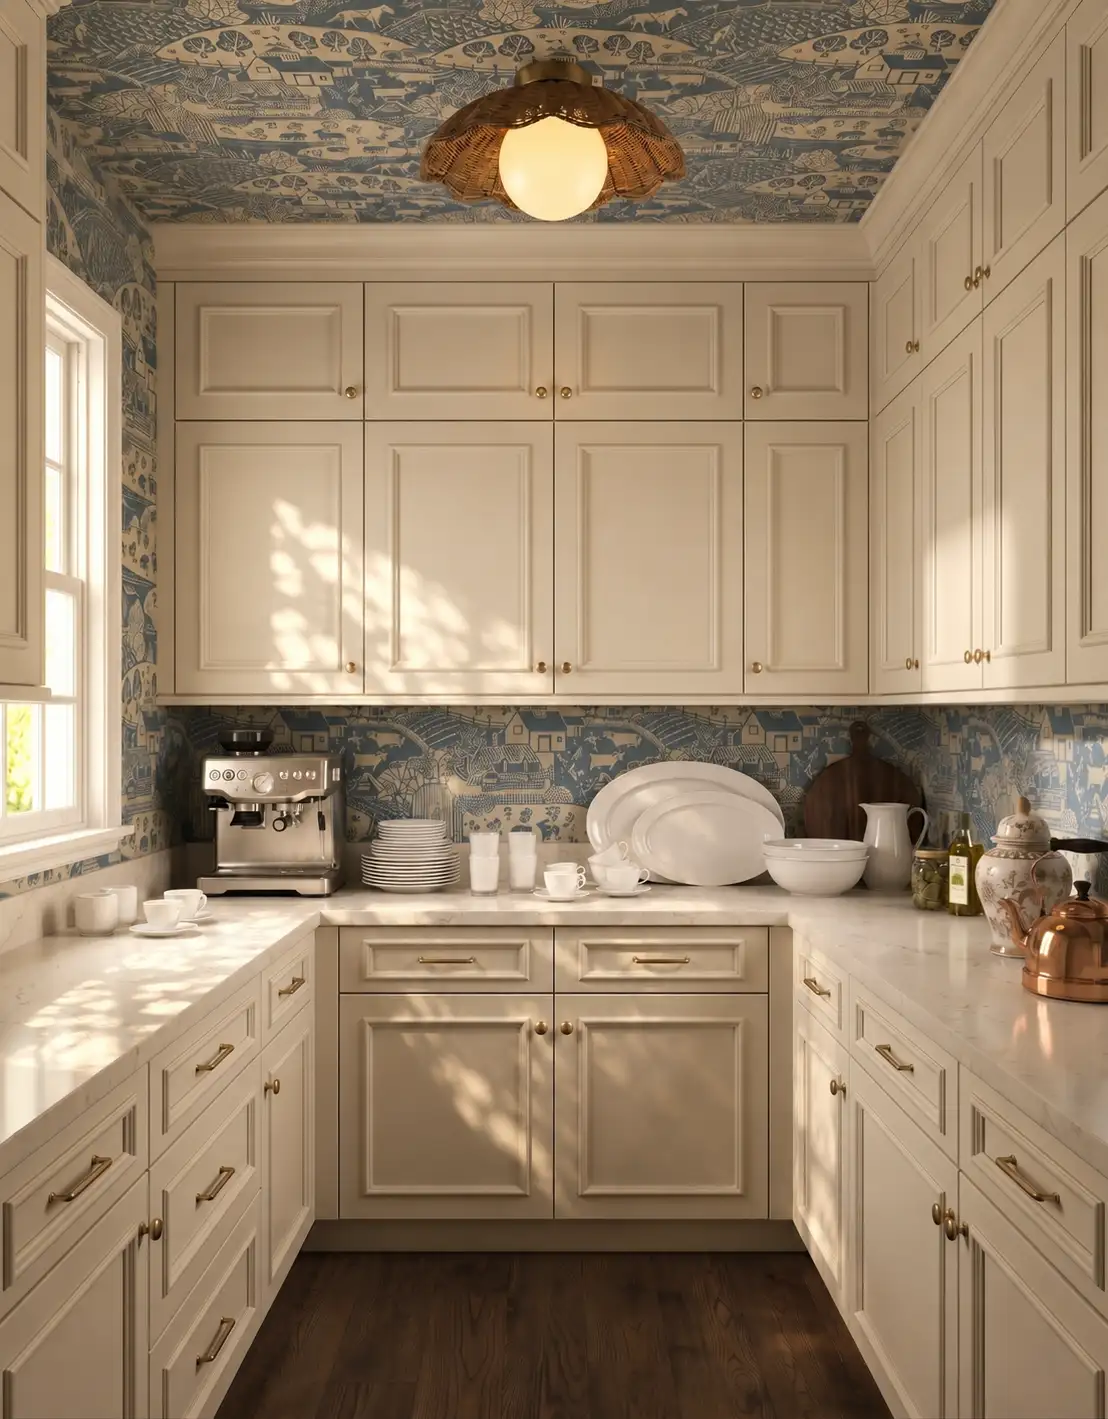
Try the grip on the doors and drawers you will use each morning. Compare hardware projection with nearby equipment and passage areas. Save the selected item number and dimensions so the piece that felt comfortable is the one included in the order.
9. Bring your equipment list
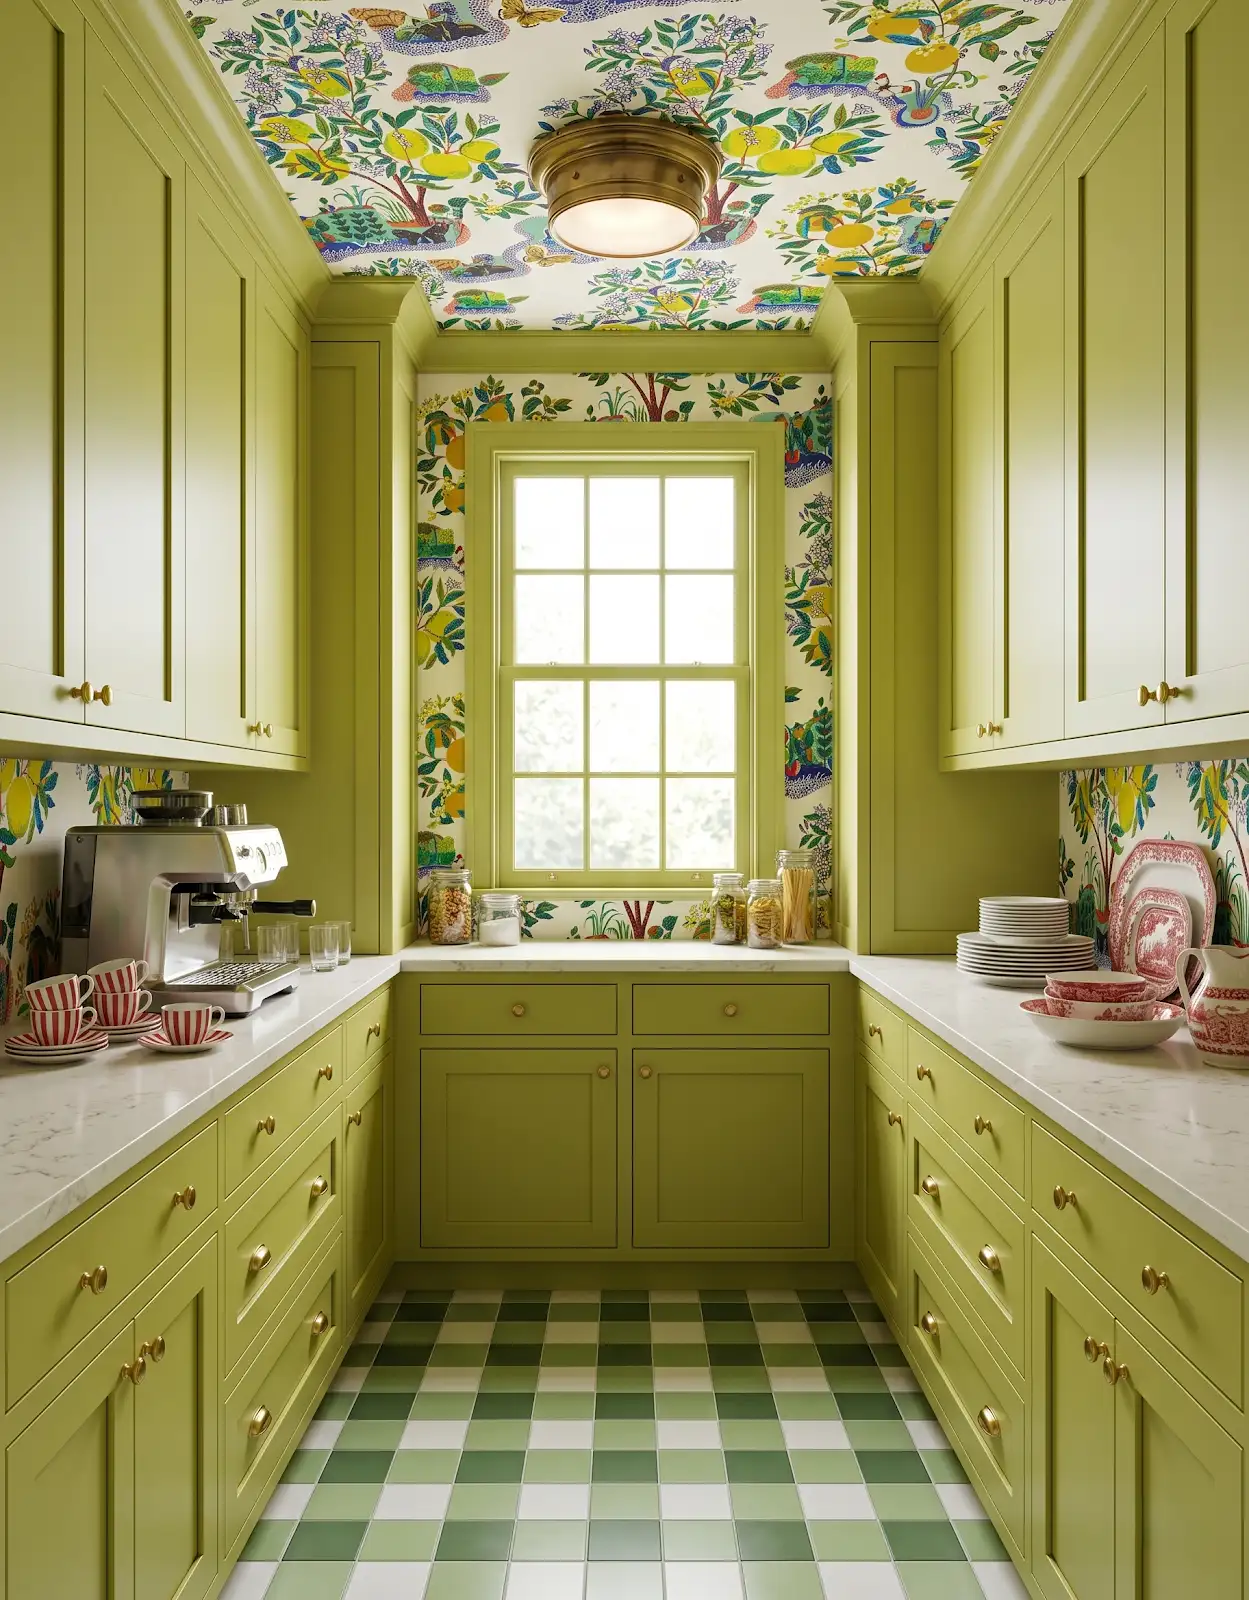
At The Design Center, bring machine details, room photos and a sketch of the intended station. We can discuss cabinetry through Honest Cabinets and coordinate surfaces and hardware. Confirm available cabinet options and the separate installation requirements before completing the selection.
Compare the options with The Design Center
Browse the relevant guides and official catalogs, then bring your room photos and exact product details to the showroom. We can help coordinate selections and confirm availability, pricing and timing for your project.
Kitchen & Bathroom Cabinets Amerock Cabinet Hardware Browse Amerock pulls Explore Honest Cabinets All design ideasTHE DESIGN CENTER / OROFINO, IDAHO
Come in with an idea. Leave with a direction.
A favorite color. A cabinet sample. A room that needs a little love. Bring it to the showroom and let’s find the finishes that feel like you.
Step inside the showroomFind us on Johnson Ave.
124 Johnson Ave, Orofino, ID 83544
Monday–Friday · 8am–5pm
Call or text 208-786-0361
Directions & contact details